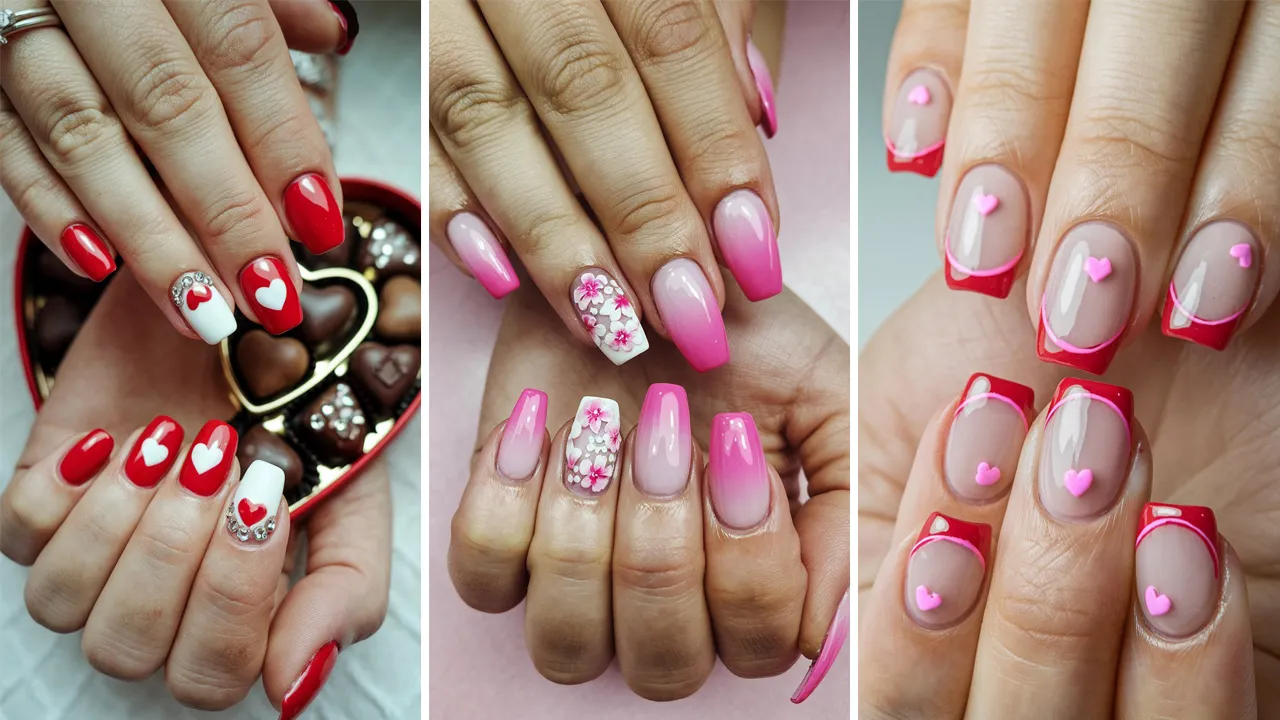
Valentine’s Day is the perfect occasion to indulge in romantic gestures, and what better way to express love than through your nails? Whether you’re planning a cozy dinner date or a fun girls’ night out, your nails can add the perfect finishing touch to your overall look. If you’re looking for some fresh and romantic nail art inspiration this Valentine’s season, you’re in the right place! In this post, we’ll explore 14 romantic Valentine’s nails ideas that will complete your look, along with detailed steps and tips for each design.
Table of Contents
- 1. Classic Red with Heart Accents
- 2. Pink Ombre Love
- 3. French Tip with a Twist
- 4. Love Letters Nail Art
- 5. Glittery Red Gradient
- 6. Nude Nails with Heart Stickers
- 7. Marbled Pink & White Design
- 8. Heart-Shaped French Manicure
- 9. Lace-Inspired Nail Art
- 10. Rose Gold & Nude Ombre
- 11. Pastel Love Birds
- 12. Rose Petal Nails
- 13. Cupid’s Arrow Nail Art
- 14. Diamond Accent Nails
1. Classic Red with Heart Accents
Red is the quintessential color of love, and pairing it with heart accents makes it even more romantic. This look is perfect for those who want a bold yet feminine style.
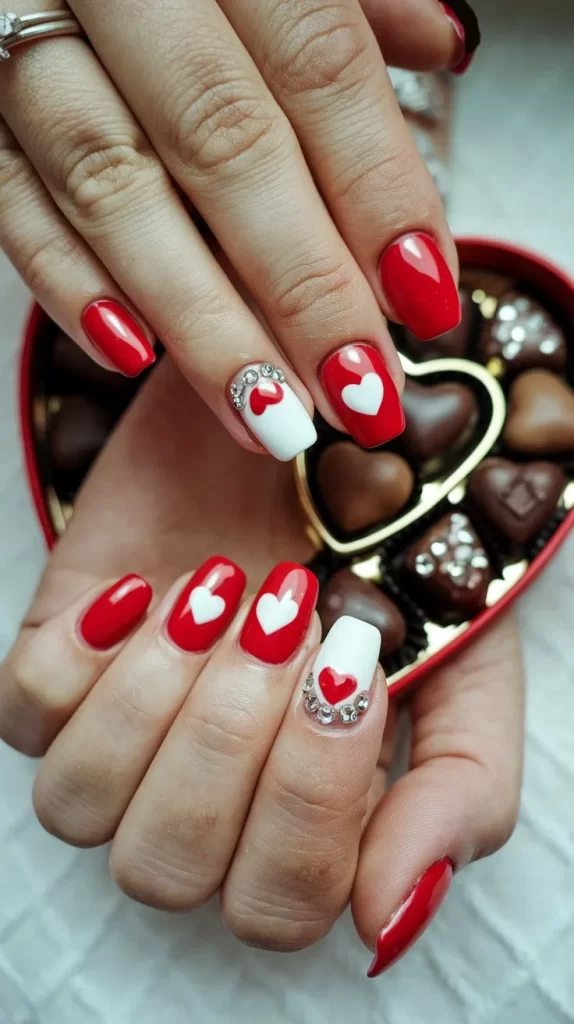
Steps & Tips:
- Start by applying a base coat to protect your nails.
- Apply two coats of a rich red nail polish, allowing each layer to dry before applying the next.
- Once the base color is dry, use a fine nail art brush and white or gold polish to paint small hearts on one or two nails.
- For added elegance, you can use rhinestones around the heart designs or on the tips of the nails for a sparkly finish.
Tips:
- Make sure your base coat is completely dry before moving on to the hearts to avoid smudging.
- For a quick alternative, use heart-shaped nail decals instead of painting them by hand.
2. Pink Ombre Love
Pink ombre nails blend shades of soft pinks into one another, creating a gradient effect that looks soft and romantic, perfect for Valentine’s Day.
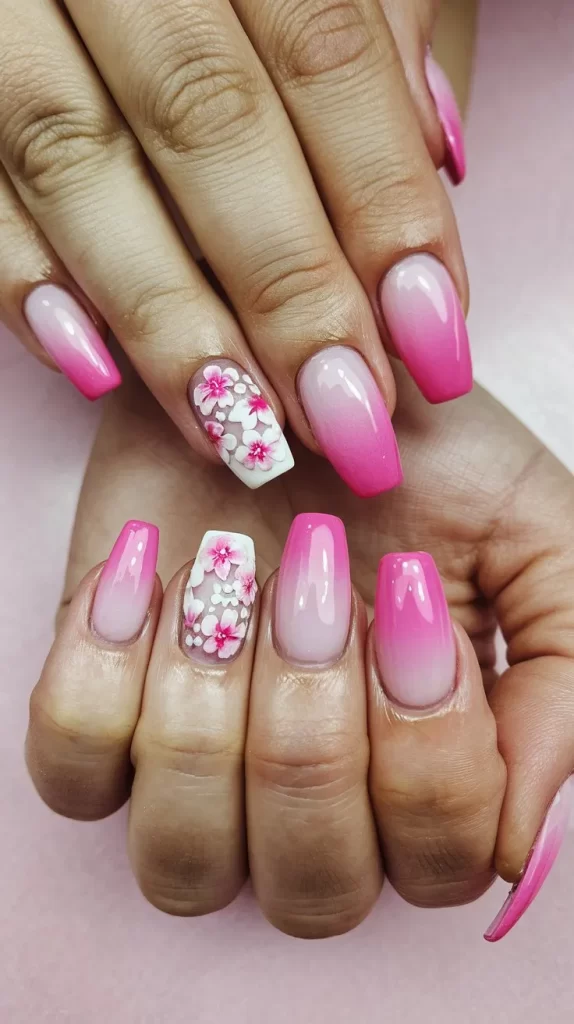
Steps & Tips:
- Start with a pale pink base coat on all nails.
- Next, use a sponge to apply a darker pink or rose color at the tips of the nails.
- Gently dab the sponge onto the nail to create an ombre effect. Repeat the process until you achieve the desired gradient.
- Seal with a topcoat for a glossy finish.
Tips:
- Use a makeup sponge to achieve a smooth and blended ombre effect.
- Experiment with different shades of pink to find a combination that matches your style.
3. French Tip with a Twist
The classic French manicure gets a romantic update with red or pink tips instead of the usual white, creating a chic and love-infused look.
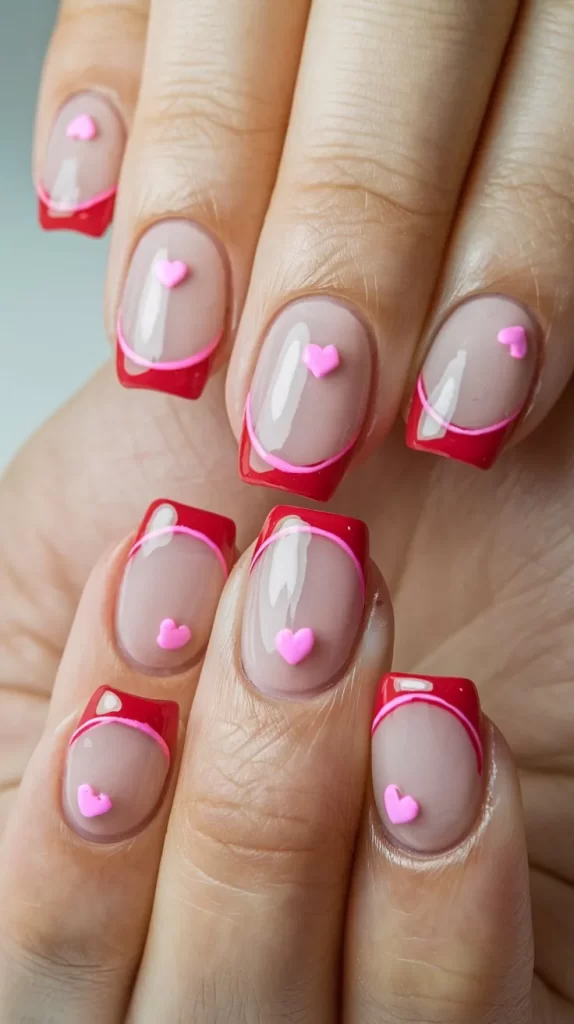
Steps & Tips:
- Begin by applying a neutral or soft pink base coat.
- Once dry, use a striping tape or freehand method to paint the tips in a vibrant red or pink.
- Let the tips dry completely, then apply a clear topcoat to seal the design and add shine.
Tips:
- Ensure your tip lines are clean and crisp by using a fine brush or tape to avoid any smudging.
- For a more playful touch, consider adding small heart or glitter accents to the tips.
4. Love Letters Nail Art
Turn your nails into a love letter by painting tiny, handwritten messages on them. This romantic design is personalized and perfect for expressing your love.

Steps & Tips:
- Start with a nude or pale pink base.
- Using a fine-tip brush, write small love messages like “Be Mine,” “XOXO,” or “I Love You” on each nail in black or gold polish.
- Add small heart designs or little embellishments to complete the look.
- Seal with a clear topcoat.
Tips:
- If you’re not confident with your handwriting, you can use small letter stickers for a precise and uniform look.
- Use metallic colors for the lettering to add elegance.
5. Glittery Red Gradient
A glitter gradient is perfect for adding sparkle and romance to your nails. This design can be done with different shades of red and gold to create a magical, festive look.

Steps & Tips:
- Start with a solid red base coat on your nails.
- Apply a gold or silver glitter polish starting from the tip of the nails and work your way down, fading as you go.
- You can use a makeup sponge to achieve a seamless gradient if necessary.
- Finish with a topcoat to lock in the glitter and give it a smooth finish.
Tips:
- To achieve a more dramatic effect, use chunky glitter at the tips and fine glitter closer to the base.
- Pat the glitter in with a sponge for a flawless gradient.
6. Nude Nails with Heart Stickers
Keep it simple and elegant with nude nails adorned with tiny heart-shaped stickers. This is a minimalist design that still feels romantic and chic.
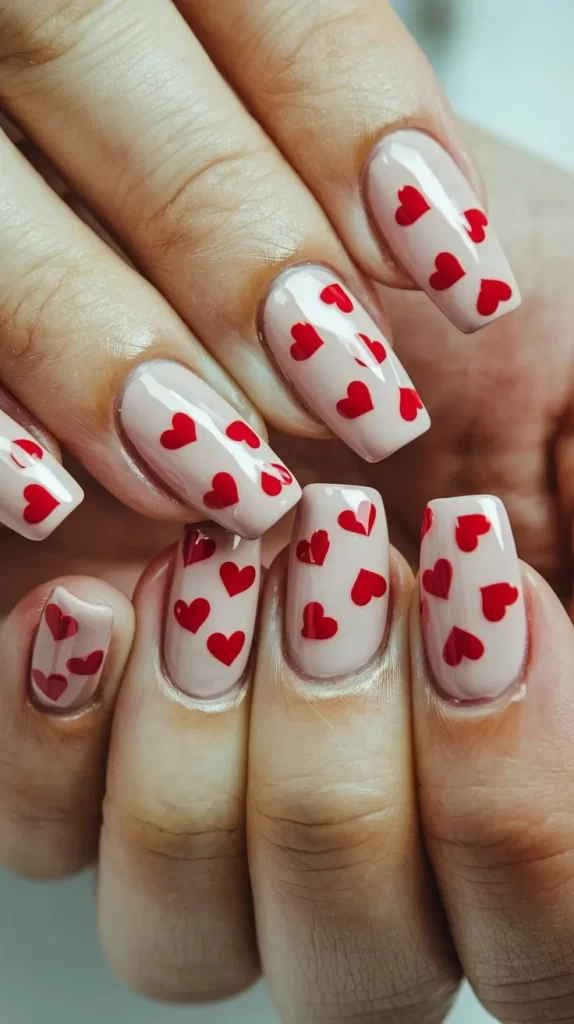
Steps & Tips:
- Begin with a nude or light beige nail polish as the base.
- Apply the base color and let it dry completely.
- Use small heart-shaped stickers in various colors like red, pink, or gold, and place them strategically on your nails.
- Finish off with a topcoat to seal the design.
Tips:
- Opt for transparent heart stickers to keep the look soft and subtle.
- You can mix different sizes of hearts for a more dynamic design.
7. Marbled Pink & White Design
The pink and white marble design brings a sophisticated touch to your nails. This marble effect mimics the flow of water and creates a serene yet romantic vibe.
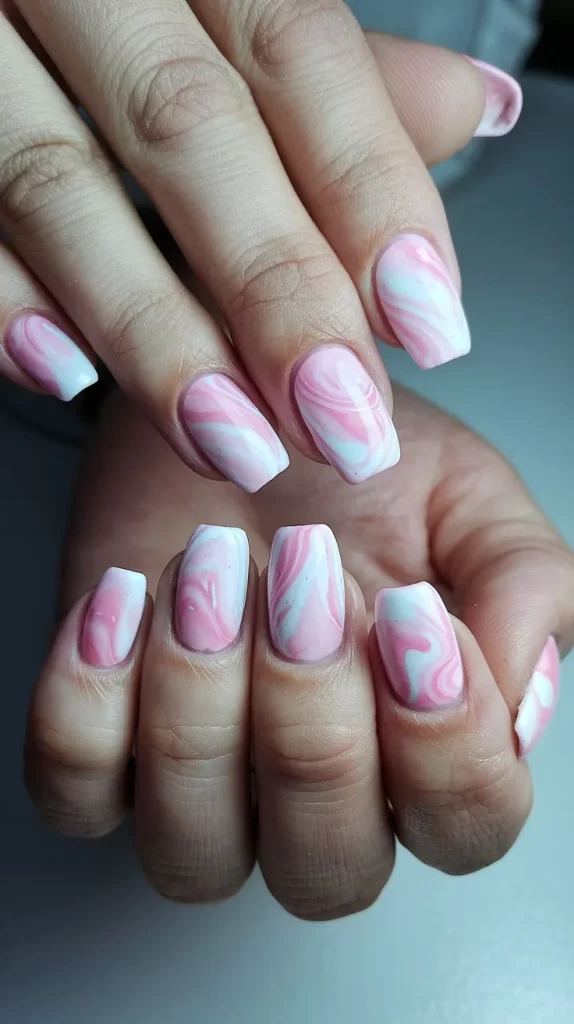
Steps & Tips:
- Apply a light pink base coat to your nails.
- For the marble effect, drop white polish and swirl it with a toothpick or nail art brush.
- Use a clean-up brush to perfect the design, removing any unwanted streaks.
- Seal the marble design with a topcoat to add shine.
Tips:
- Let the polish dry slightly before swirling to create more defined marble patterns.
- Use a white base for more contrast or opt for soft whites for a delicate look.
8. Heart-Shaped French Manicure
Put a love spin on the classic French manicure by replacing the tips with heart-shaped designs, making it a perfect option for Valentine’s Day.
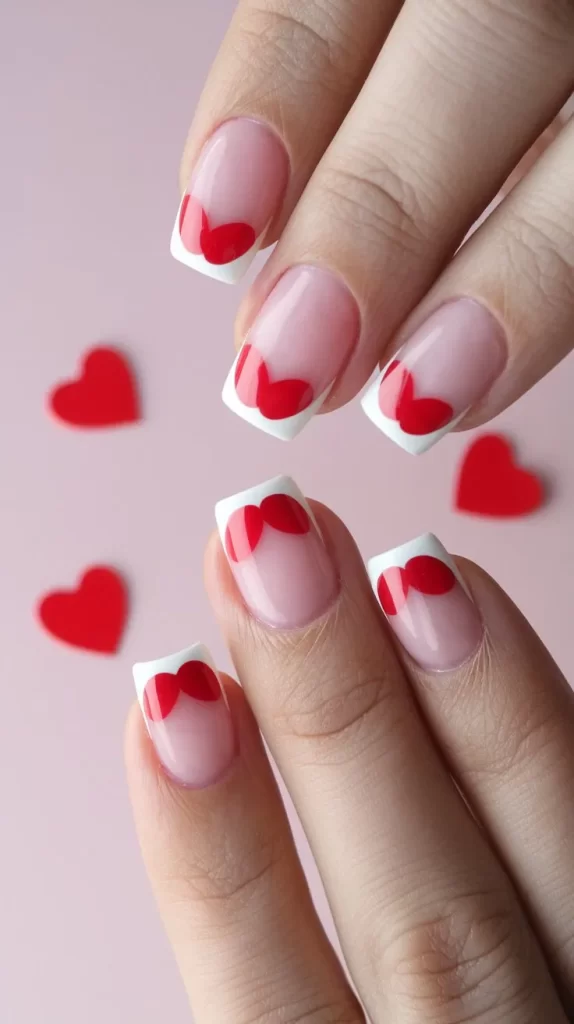
Steps & Tips:
- Start with a neutral or soft pink base.
- Using a fine nail brush, create a heart shape on the tips of your nails with red or pink polish.
- Let the design dry before applying a topcoat to seal the design.
Tips:
- Keep the heart shapes symmetrical for a polished and clean look.
- Experiment with different colors for the heart tips, such as gold, white, or silver.
9. Lace-Inspired Nail Art
Lace patterns bring a vintage and romantic touch to your nails. This intricate design is perfect for a classy, feminine look.
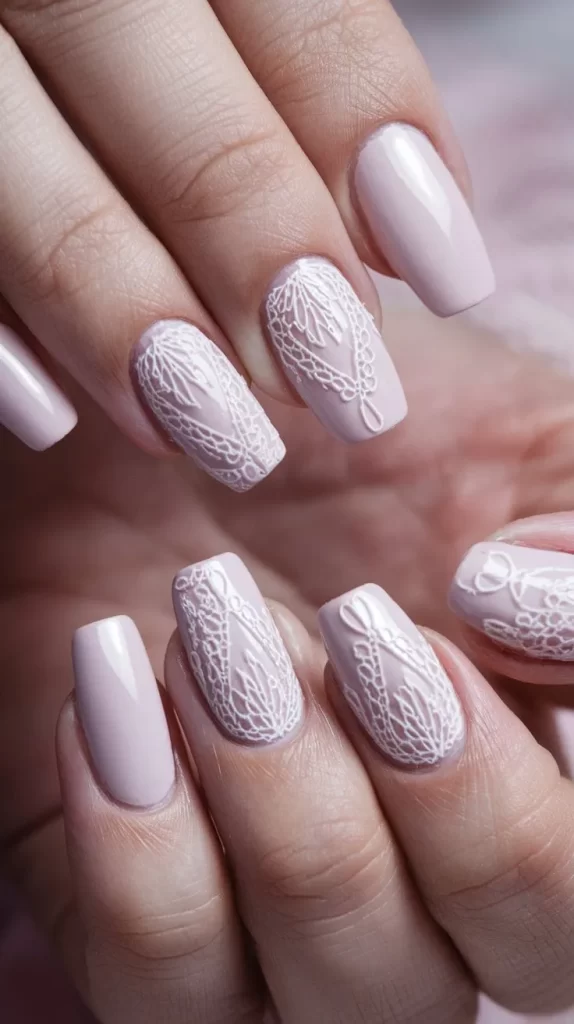
Steps & Tips:
- Apply a nude or soft pink base coat.
- Using a lace stencil or a fine nail art brush, create delicate lace patterns on your nails with white or black polish.
- Allow the design to dry before sealing it with a topcoat.
Tips:
- For a bolder look, try using black lace patterns over a lighter pink base.
- Use a steady hand when painting lace to avoid smudges.
10. Rose Gold & Nude Ombre
This combination of rose gold and nude shades is understated yet striking. It gives off a sophisticated and romantic vibe.
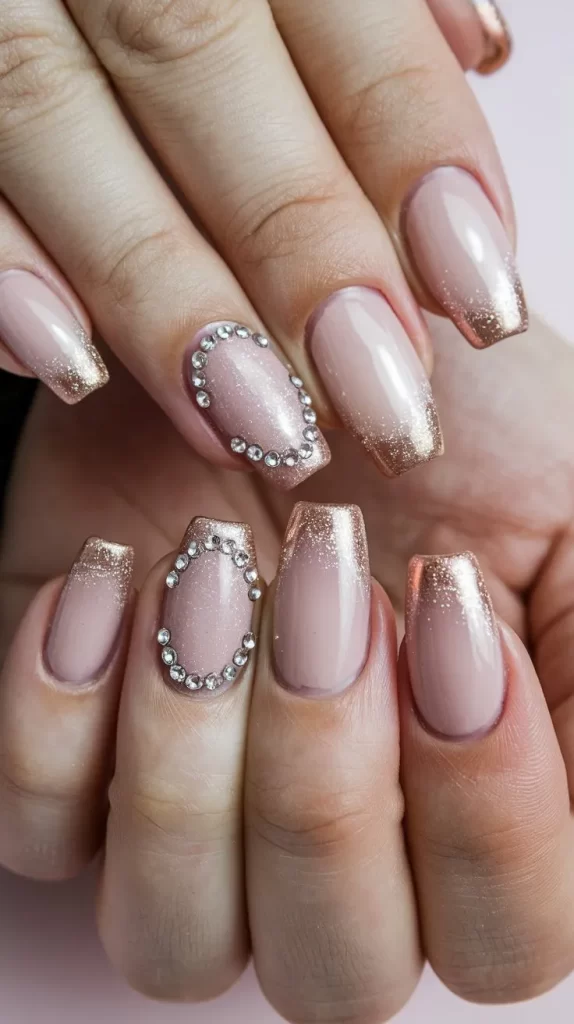
Steps & Tips:
- Apply a nude base color to your nails.
- Use a sponge to apply rose gold glitter or polish at the tips, blending it down towards the center of the nails.
- Seal with a topcoat for a smooth finish.
Tips:
- Opt for a fine rose gold glitter for a softer, more delicate look.
- Keep the gradient smooth for a more polished design.
11. Pastel Love Birds
This adorable design features pastel-colored love birds perched on your nails, making it a playful yet romantic choice for Valentine’s Day.
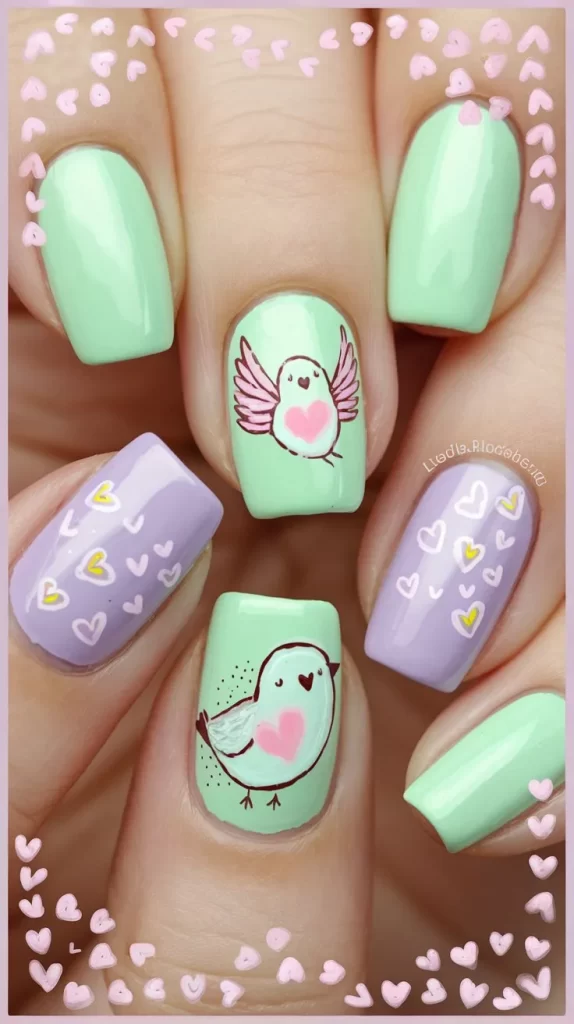
Steps & Tips:
- Apply a soft pastel base color, like lavender, mint, or peach.
- Use a fine brush to paint tiny love birds in contrasting pastel shades.
- Add hearts and details to complete the design.
- Seal with a topcoat.
Tips:
- Use a dotting tool for painting small details like eyes and beaks on the love birds.
- Stick to pastel shades for a soft and romantic look.
12. Rose Petal Nails
Incorporating real rose petals into your nails adds a unique and natural touch. This romantic design is perfect for a bohemian Valentine’s Day look.

Steps & Tips:
- Apply a neutral or soft pink base coat.
- Gently press dried rose petals onto your nails and use a clear polish to seal them in place.
- Finish with a topcoat.
Tips:
- Make sure to dry the rose petals thoroughly before applying them to your nails to prevent moisture from affecting the design.
- Use a small pair of tweezers to handle the petals for precision.
13. Cupid’s Arrow Nail Art
For a more whimsical and fun design, incorporate Cupid’s arrows into your nails. This playful style will add a touch of flirtation and fun to your look.

Steps & Tips:
- Apply a red or pink base coat.
- Use a fine nail brush to paint tiny arrows across your nails, using gold, silver, or white polish.
- Add a little heart detail at the end of the arrow for extra romance.
- Finish with a glossy topcoat.
Tips:
- Use a steady hand when painting arrows to ensure they are neat and clean.
- Experiment with different arrow colors for a modern twist.
14. Diamond Accent Nails
For a luxe Valentine’s Day look, diamond accent nails give a touch of glamour. These nails look sophisticated and perfect for a night out.
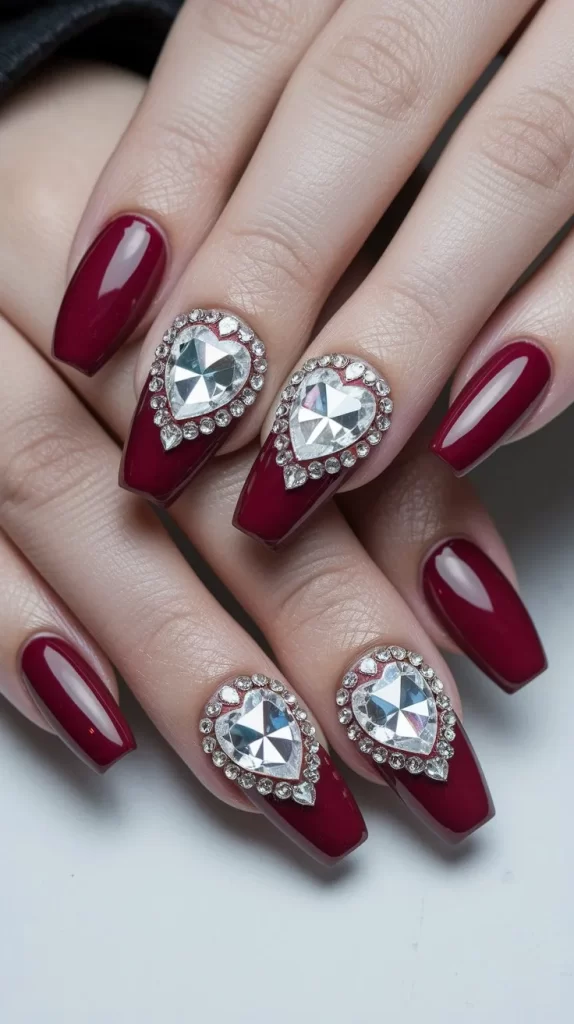
Steps & Tips:
- Apply a neutral base coat to all nails.
- On one or two nails, apply a diamond-shaped rhinestone in the center.
- Add a few small rhinestones around the larger one for a sparkling effect.
- Finish with a topcoat to secure the rhinestones in place.
Tips:
- Use tweezers to place rhinestones accurately.
- Choose rhinestones in colors like clear, silver, or gold for a luxurious touch.
These 14 romantic Valentine’s nails ideas will surely complete your look and make your hands feel just as special as the occasion. Whether you prefer a subtle touch of love or something bolder, there’s a design here for everyone. Try them out and make your Valentine’s Day even more memorable!
