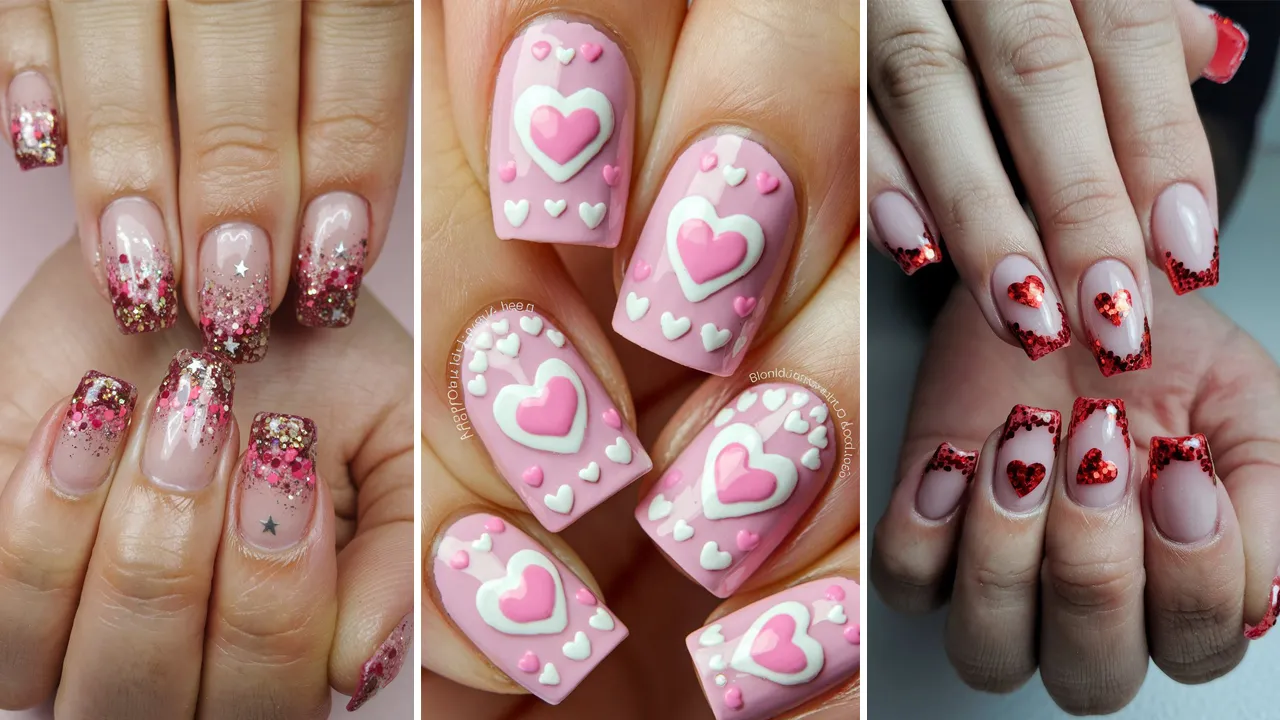
Valentine’s Day is the perfect opportunity to get creative with your nails and show off your love and style. Whether you’re spending the day with a partner, friends, or treating yourself, these easy and elegant Valentine’s nail designs can be recreated at home, no salon visit required. In this post, we’ll share 14 gorgeous ideas, each with simple steps and tips that will leave your nails looking flawless for the occasion.
Table of Contents
- 1. Classic Red Hearts
- 2. Pink Gradient Ombre
- 3. Simple Love Letter Nails
- 4. Polka Dots and Hearts
- 5. Gold and Nude Love Nails
- 6. Red Glitter French Tips
- 7. Soft Pink Floral Design
- 8. Red and White Stripes
- 9. Romantic Dotted Hearts
- 10. Red Marble Nails
- 11. White and Pink Love Hearts
- 12. Simple Red Base with Tiny Gold Hearts
- 13. Glitter Gradient Tips
- 14. Delicate Silver Lines with Pink Accents
1. Classic Red Hearts
You can’t go wrong with the timeless classic—red hearts on a pink or nude base. It’s romantic, simple, and always in style.
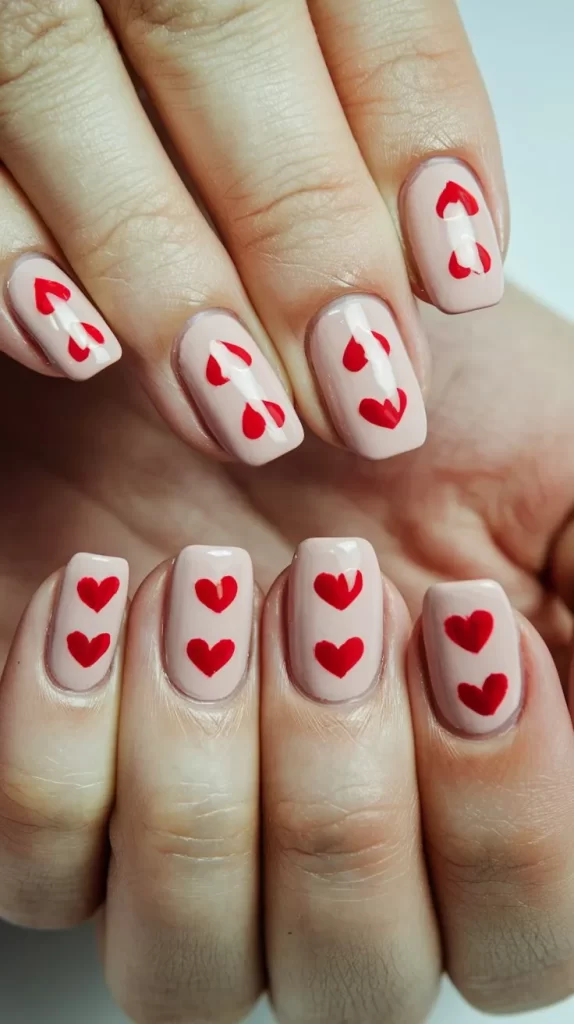
Steps & Tips:
- Apply a nude or soft pink base coat.
- Once dry, use a fine brush or dotting tool to draw small red hearts on your nails.
- Finish with a clear topcoat for extra shine and protection.
Tips:
- If freehanding hearts seems challenging, try heart-shaped stickers or stencils for an easy and precise design.
- For a cute twist, add tiny white dots around the hearts.
2. Pink Gradient Ombre
A soft pink ombre gradient gives a delicate and romantic feel to your nails, perfect for Valentine’s Day.
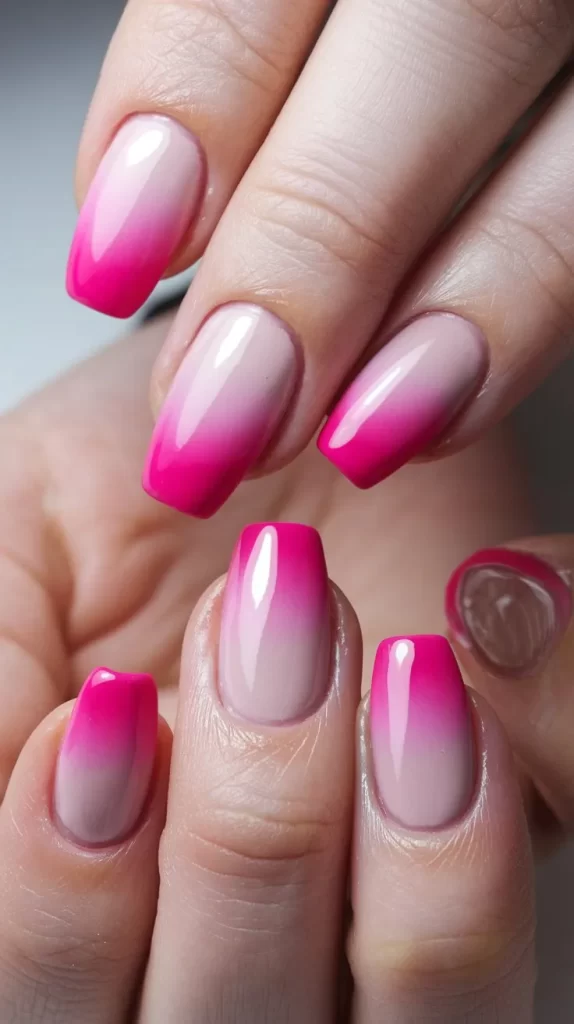
Steps & Tips:
- Apply a pale pink base coat.
- Use a makeup sponge to create a gradient effect, blending a darker pink from the tips down toward the base.
- Seal with a glossy topcoat to smooth out the gradient.
Tips:
- If you want a smoother gradient, apply thin layers of polish and build up gradually.
- Use a sponge with a little acetone to clean up any mistakes around the cuticle area.
3. Simple Love Letter Nails
A minimalist design with tiny love letters written across your nails adds a cute and personalized touch to your manicure.
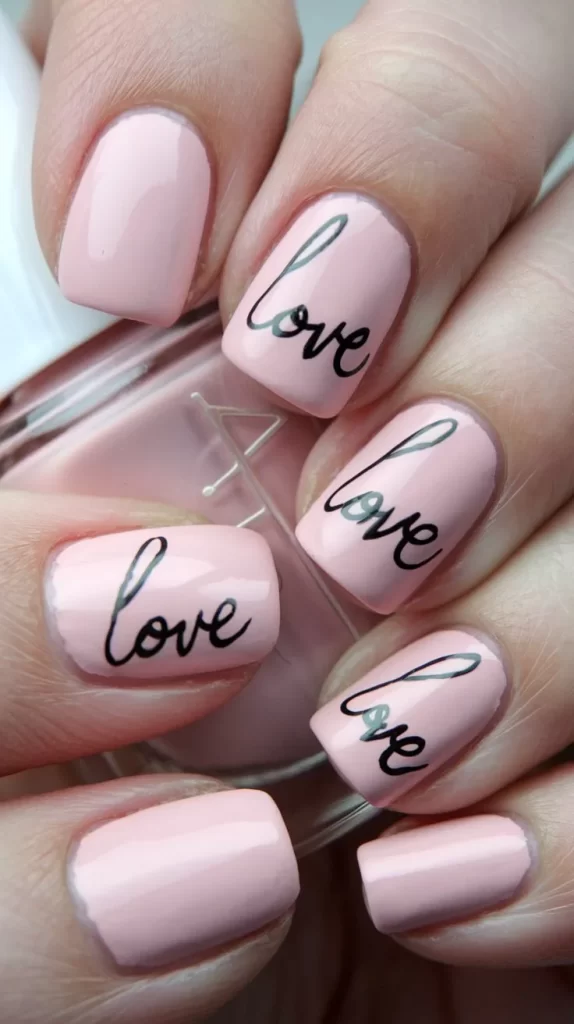
Steps & Tips:
- Paint your nails with a neutral base (light pink, nude, or white).
- Use a fine nail art brush or pen to write small “LOVE” or other love-related words on a few nails.
- Seal with a topcoat for durability.
Tips:
- Choose simple words or short phrases that fit the nail bed size.
- If you’re not confident in your handwriting, try using letter stamps or stickers.
4. Polka Dots and Hearts
A playful combination of polka dots and hearts gives your nails a fun yet elegant look for Valentine’s Day.
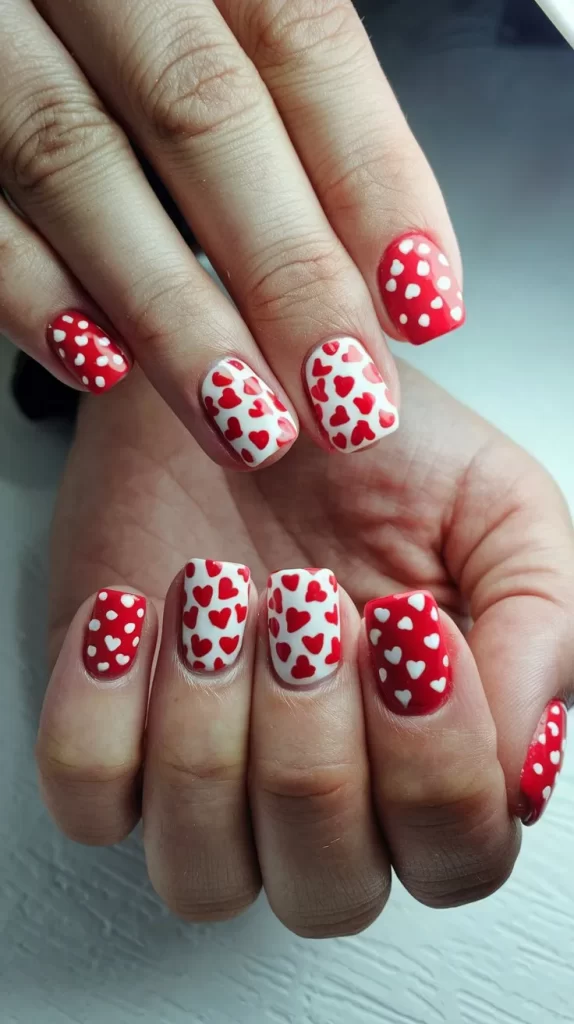
Steps & Tips:
- Apply a pink or red base coat on all nails.
- Once dry, use a dotting tool to create white polka dots on one or two nails.
- Draw small hearts on the remaining nails using a fine nail art brush.
- Finish with a glossy topcoat.
Tips:
- You can mix and match different sizes of polka dots for variety.
- Experiment with other colors for the hearts, like gold or silver, to make it more festive.
5. Gold and Nude Love Nails
Nude nails with a gold accent provide a chic and sophisticated Valentine’s Day look, perfect for a more understated design.
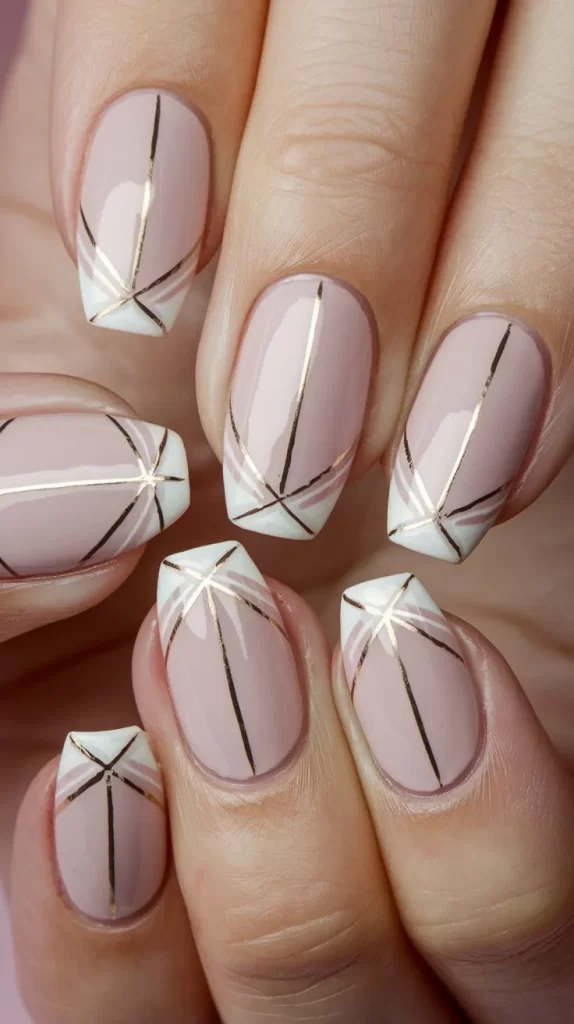
Steps & Tips:
- Apply a nude base coat.
- Use gold nail tape or a gold nail art pen to create thin lines or geometric shapes across your nails.
- Add a touch of gold to the cuticle area for a subtle and elegant accent.
Tips:
- Keep the gold details simple for a more refined look.
- Use a fine-tipped brush for precise gold accents.
6. Red Glitter French Tips
For a sparkly Valentine’s manicure, red glitter French tips are a festive yet elegant option.
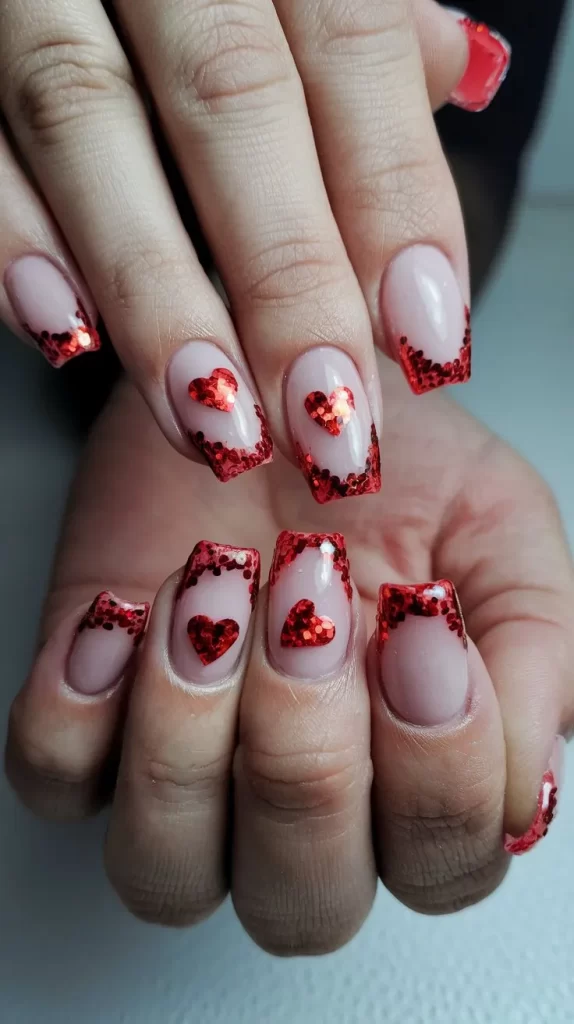
Steps & Tips:
- Start with a nude or pale pink base coat.
- Once dry, use a red glitter polish to apply the French tips, covering just the tips of your nails.
- Seal the design with a glossy topcoat for a smooth finish.
Tips:
- For extra sparkle, apply a second coat of glitter polish.
- If you prefer a more subtle look, use a fine red glitter instead of chunky glitter.
7. Soft Pink Floral Design
Delicate pink flowers are always a romantic and feminine choice for Valentine’s Day.
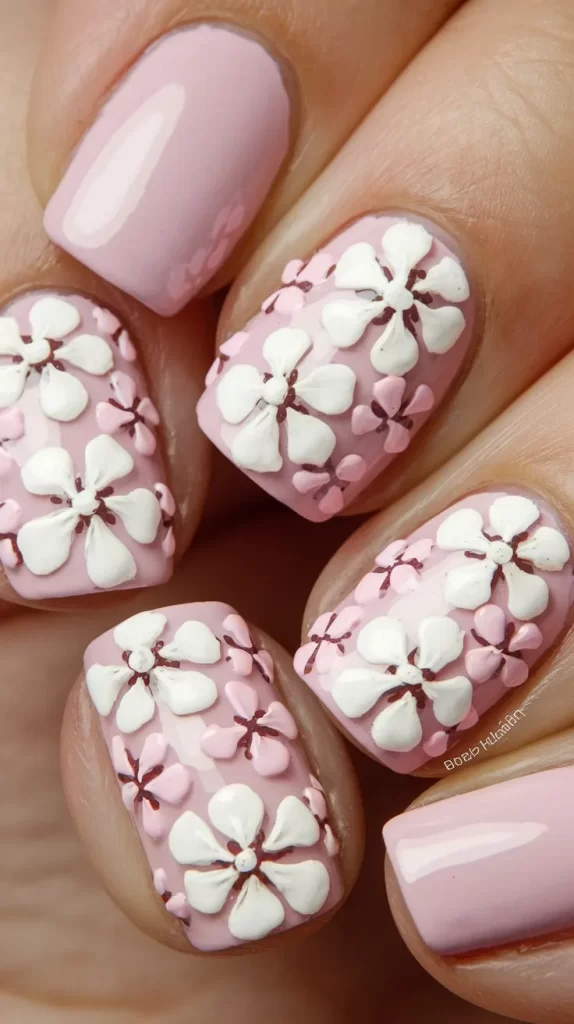
Steps & Tips:
- Apply a soft pink or nude base coat.
- Once dry, use a small dotting tool to create flower petals using white or darker pink polish.
- Add a tiny dot in the center of each flower using a contrasting color.
- Finish with a topcoat for a smooth finish.
Tips:
- Try different flower shapes or designs, such as roses or daisies, for variety.
- You can also add a few tiny hearts in between the flowers for a more Valentine’s theme.
8. Red and White Stripes
A fun and easy way to add a bold look to your nails is with red and white striped accents, perfect for Valentine’s Day.
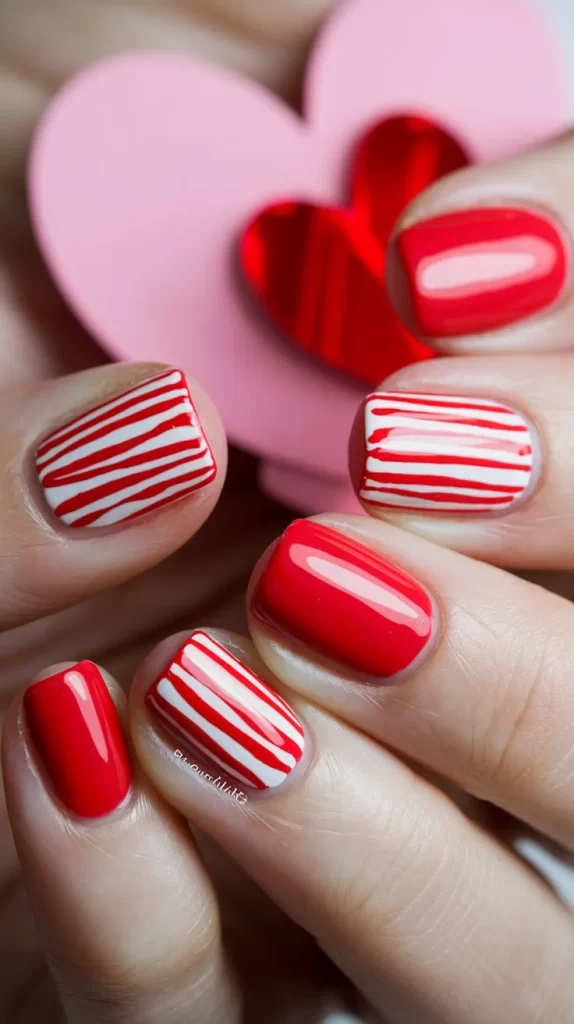
Steps & Tips:
- Apply a red base coat.
- Use a fine nail art brush to paint white stripes across your nails, either horizontally or diagonally.
- Finish with a topcoat to seal the design.
Tips:
- Ensure your stripes are even by using nail tape as a guide.
- Experiment with different stripe widths for variety.
9. Romantic Dotted Hearts
A simple yet elegant design that uses tiny dots to form heart shapes, adding a subtle but romantic touch to your nails.

Steps & Tips:
- Start with a soft pink or nude base coat.
- Using a dotting tool, create a heart shape on each nail using tiny dots in red or white.
- Add a glossy topcoat to seal and protect the design.
Tips:
- Make sure the dots are evenly spaced for a neat look.
- You can also add small white dots around the hearts for added detail.
10. Red Marble Nails
Red marble nails combine sophistication with a pop of color, perfect for a modern Valentine’s Day look.
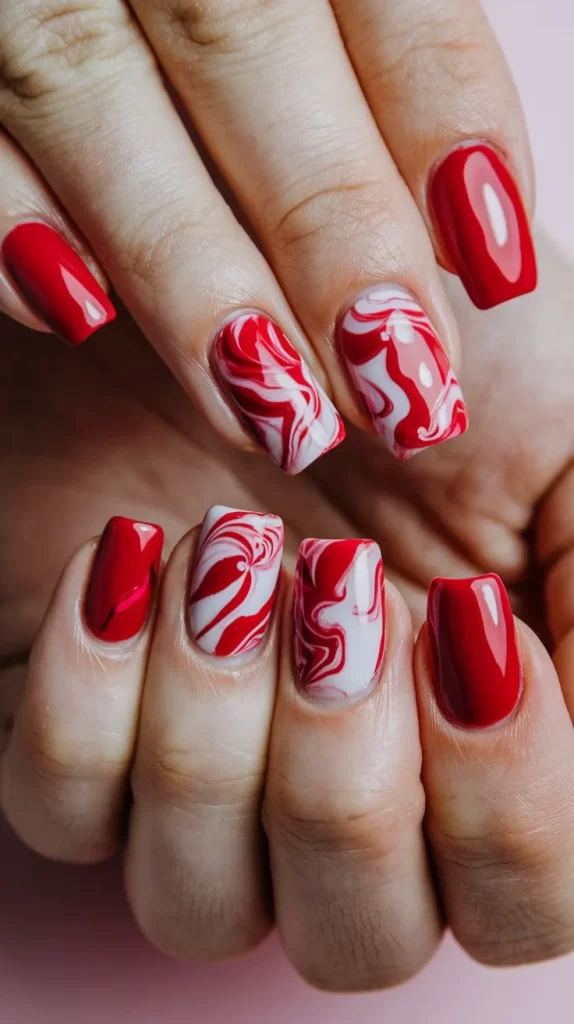
Steps & Tips:
- Apply a nude base coat and let it dry.
- Drop red polish and swirl it into a marble effect using a dotting tool or a toothpick.
- Use acetone to clean around the nails, and then finish with a glossy topcoat.
Tips:
- Use a mixture of red, pink, and white for a more multi-dimensional marble effect.
- Take your time to create smooth swirls, and don’t worry if they’re not perfect – marble nails look best with a natural flow.
11. White and Pink Love Hearts
A combination of white and pink hearts is perfect for a cute, classic Valentine’s look that’s easy to create.
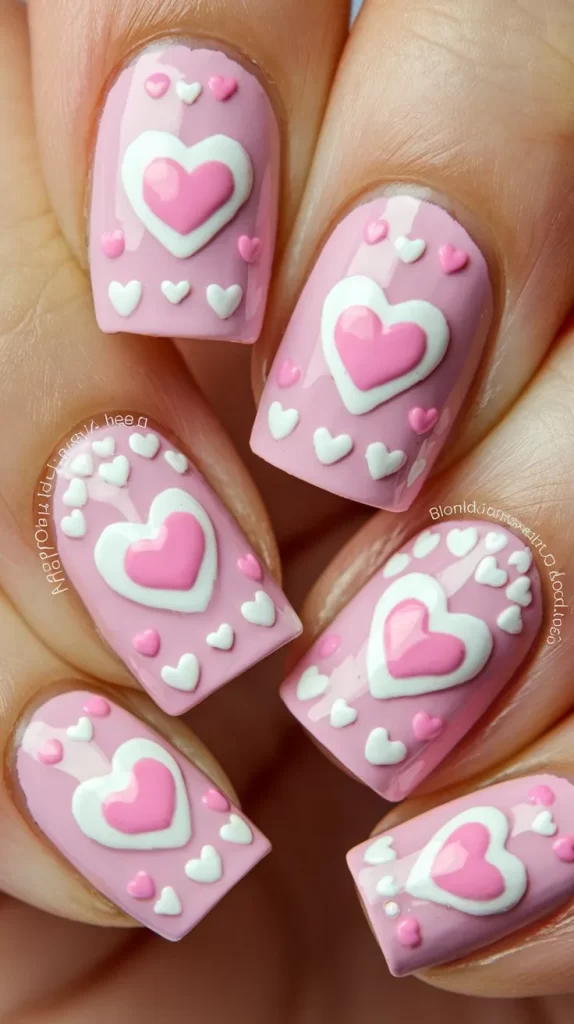
Steps & Tips:
- Apply a white base coat.
- Once dry, use a pink polish and a dotting tool to create hearts on your nails.
- Add a tiny white dot in the center of each heart for added contrast.
- Finish with a topcoat.
Tips:
- To make the hearts pop, choose a bold pink polish.
- Consider adding tiny gold or silver glitter around the hearts for extra sparkle.
12. Simple Red Base with Tiny Gold Hearts
A simple red base with tiny gold heart accents gives your nails an elegant and romantic touch for Valentine’s Day.
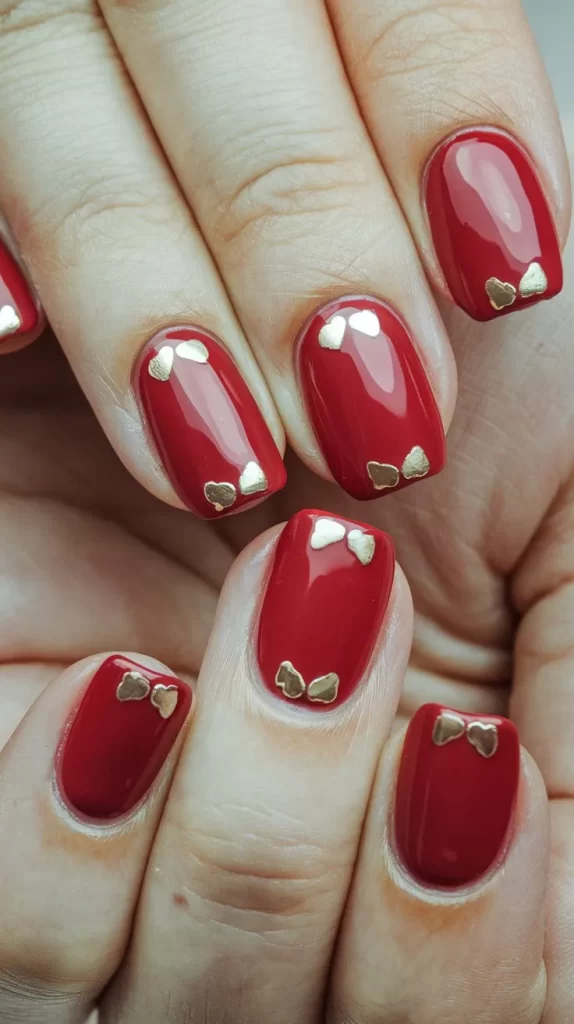
Steps & Tips:
- Apply a bold red base coat.
- Once dry, use a gold nail art pen or a dotting tool to create small gold hearts on each nail.
- Seal the design with a glossy topcoat.
Tips:
- Ensure the gold hearts are tiny for a subtle, refined look.
- If you prefer a softer red, opt for a pastel red or a deeper maroon shade.
13. Glitter Gradient Tips
Glitter gradient tips offer a chic, sparkling effect for a romantic look that’s easy to create at home.
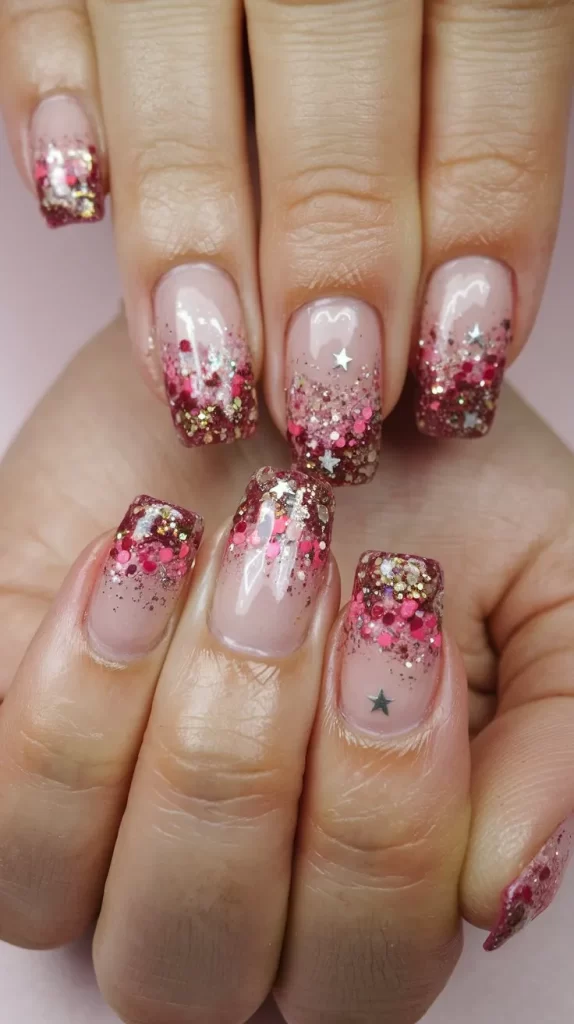
Steps & Tips:
- Start with a nude or soft pink base coat.
- Apply a glitter polish starting from the tips of your nails, and gradually fade it toward the cuticles.
- Seal the design with a clear topcoat for extra shine.
Tips:
- Use a sponge to create a smoother gradient effect with the glitter.
- Apply several layers of glitter for a more dramatic effect.
14. Delicate Silver Lines with Pink Accents
Add a touch of elegance with delicate silver lines combined with subtle pink accents for a refined Valentine’s Day look.
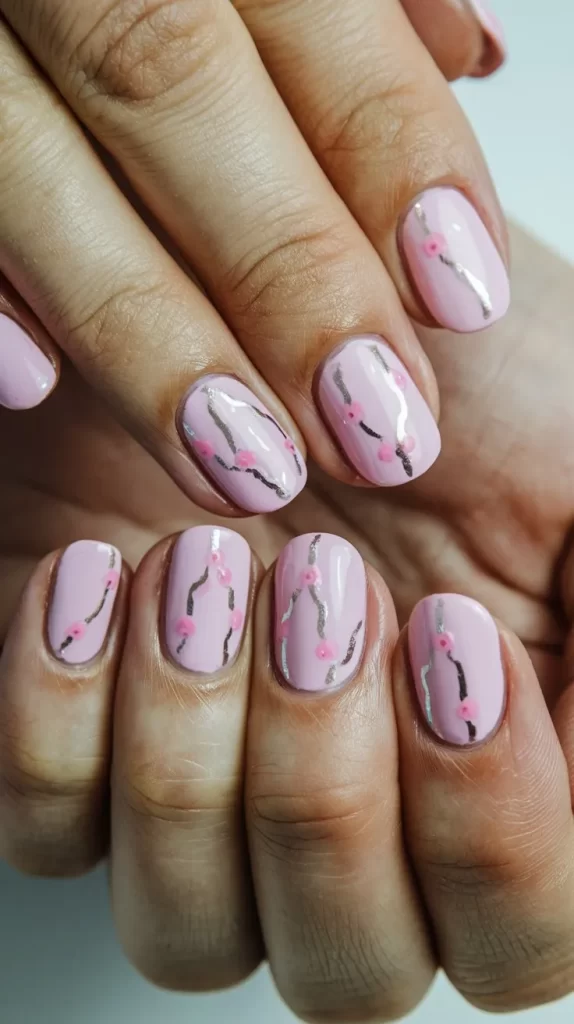
Steps & Tips:
- Apply a soft pink base coat.
- Once dry, use a thin nail art brush to draw delicate silver lines across your nails.
- Add small pink dots or hearts for a little extra flair.
- Finish with a topcoat.
Tips:
- Choose a fine-tipped brush for precise lines and dots.
- You can also use metallic rose gold instead of silver for a different look.
These 14 easy and elegant Valentine’s nail designs prove that you don’t need a salon appointment to create stunning nails. From classic hearts to chic minimalist designs, these ideas are perfect for any style and skill level. With a little creativity and some practice, you’ll be ready to rock your Valentine’s Day manicure with confidence!
