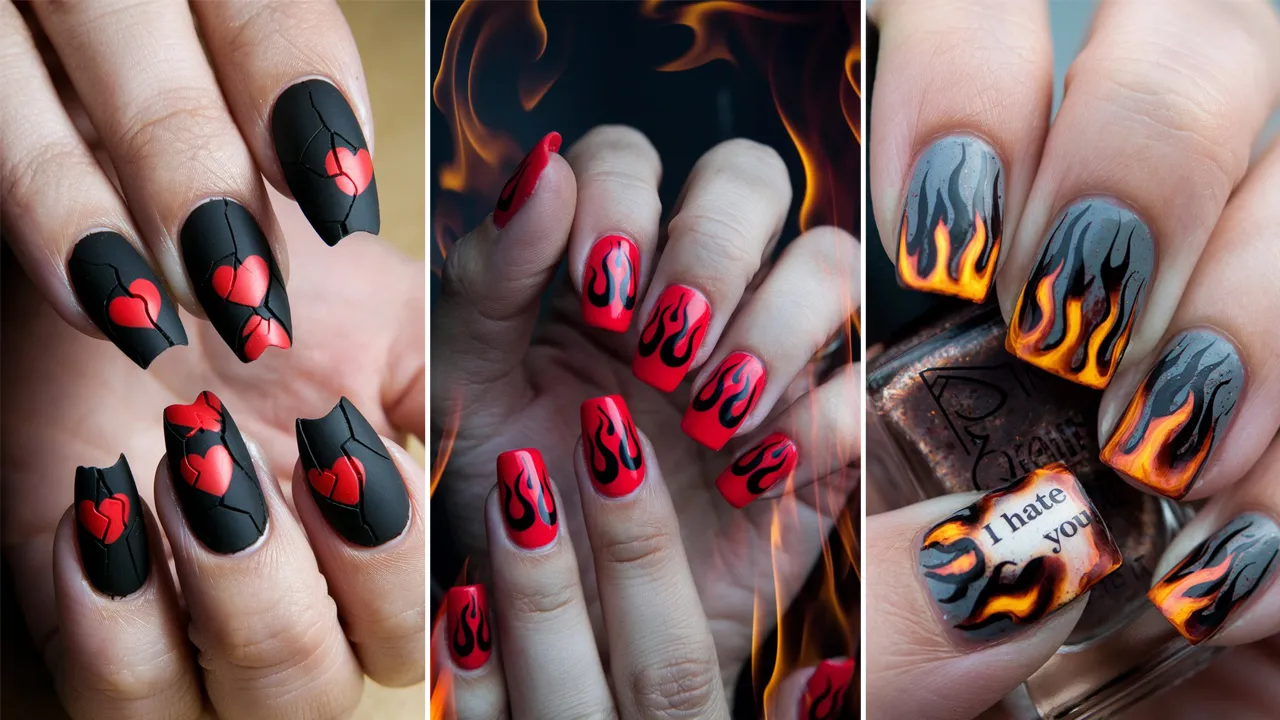
Valentine’s Day is a time for love and romance, but not everyone is into hearts and roses. If you’re feeling rebellious or just want to skip the clichés, bold anti-Valentine’s Day nails are a perfect way to make a fierce statement. This post showcases 14 daring nail ideas that celebrate independence, individuality, and edgy style. Each design includes detailed steps and tips to inspire your next fierce manicure.
Table of Contents
1. Broken Heart Nails
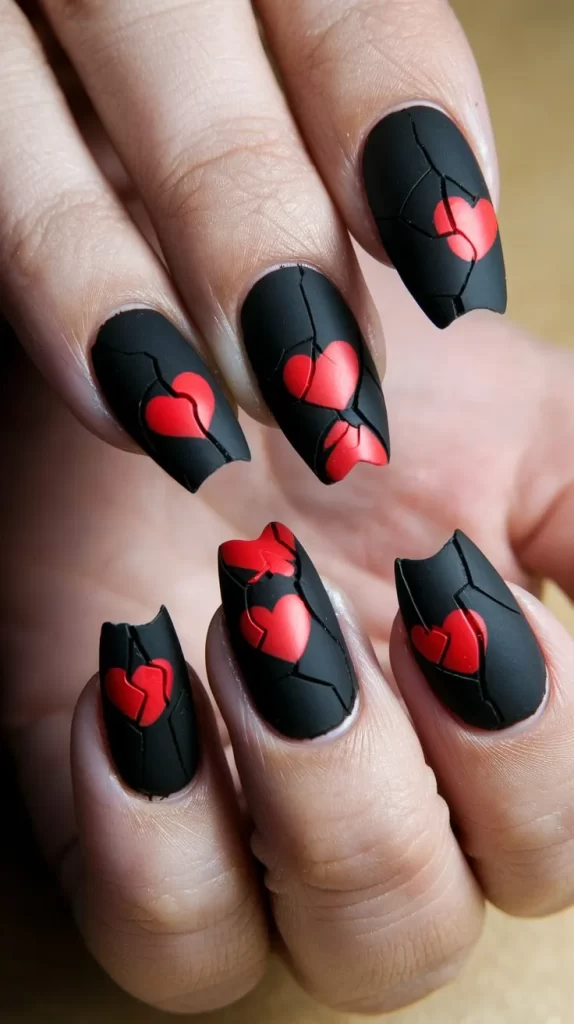
Showcase your edgy side with broken heart nail art. This design uses sharp lines and bold colors to create the look of shattered hearts.
Steps & Tips:
- Apply a matte black base coat.
- Use a fine nail art brush to draw red or white heart shapes, splitting them with a zigzag or jagged line in the center.
- Add small cracks around the hearts for a shattered effect.
- Seal with a matte or glossy topcoat.
Tips:
- Opt for contrasting colors like red and white or black and neon for a bold statement.
- Practice your zigzag lines on paper before applying them to your nails.
2. Barbed Wire Accents
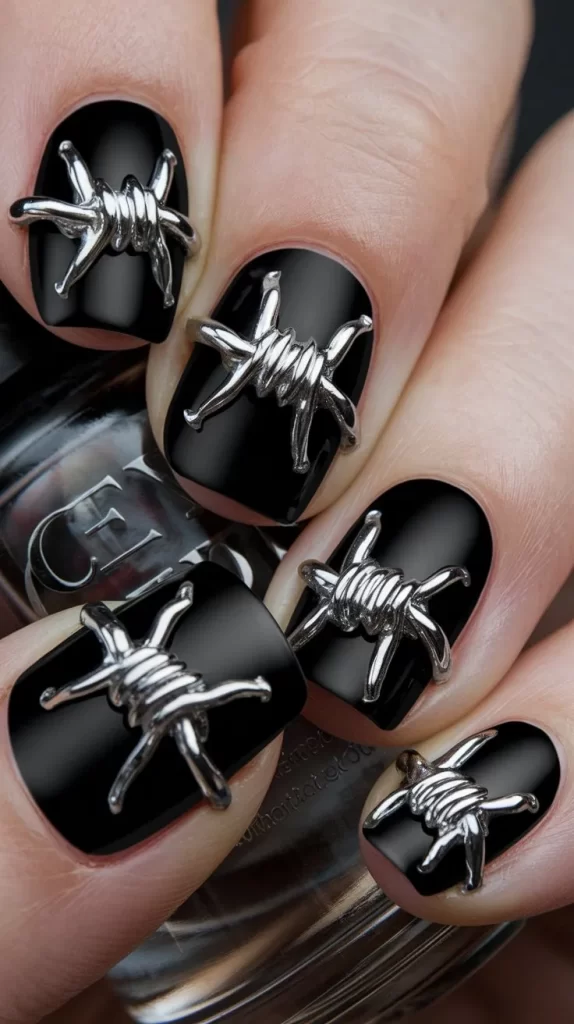
Barbed wire nails are the perfect anti-romantic statement. Combine sleek metallics with a dark base for a fierce and striking look.
Steps & Tips:
- Apply a dark base color, like black or deep gray.
- Use silver or metallic polish to draw barbed wire lines across one or two accent nails.
- Add small “knots” along the wire for a realistic effect.
- Seal with a clear topcoat.
Tips:
- Use nail art stencils or stickers if you find freehand drawing too challenging.
- Pair barbed wire accents with a matte finish for extra drama.
3. XOXO Cross-Outs
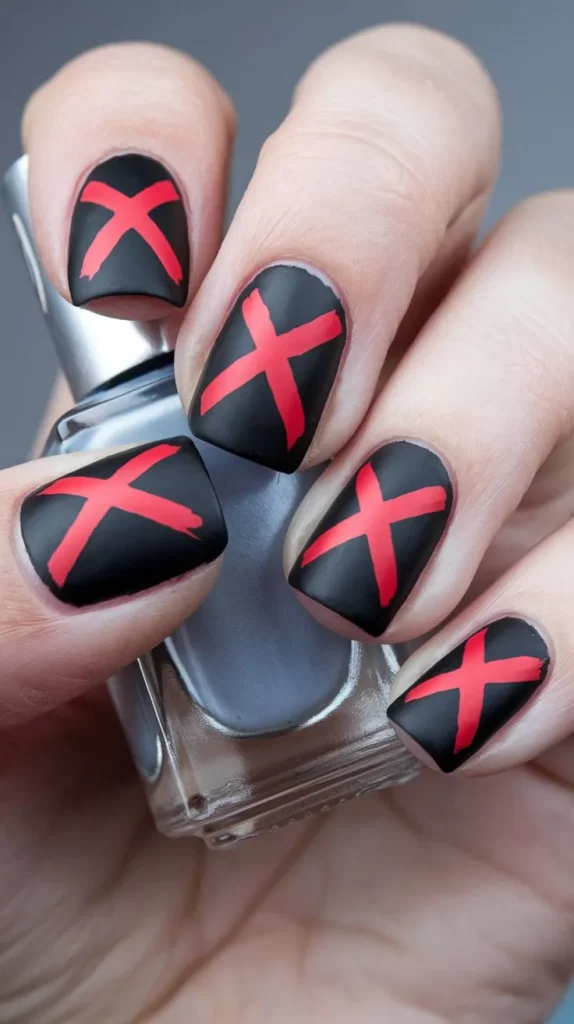
Say “no thanks” to love with a playful yet bold design featuring crossed-out XOXO symbols.
Steps & Tips:
- Apply a black or white base coat.
- Use a nail art pen or fine brush to paint XOXO patterns in bold colors like red, pink, or metallics.
- Cross out the symbols with a diagonal line using a contrasting color.
- Finish with a glossy topcoat.
Tips:
- Experiment with different base colors, like a metallic silver base with black cross-outs.
- Add small hearts or dots for additional flair, keeping the crossed-out theme intact.
4. Love is Dead Nails
Showcase your dark humor with “Love is Dead” typography on bold black or gray nails.
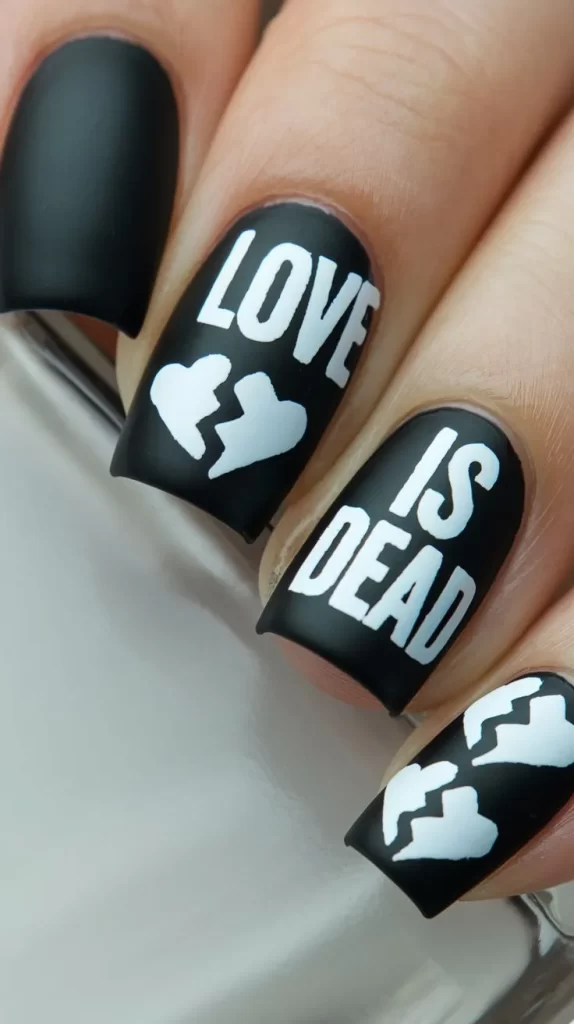
Steps & Tips:
- Apply a matte black or dark gray base coat.
- Use a nail art pen or tiny brush to write “LOVE” on one nail and “IS DEAD” on another.
- Add small details like broken hearts or tombstones for extra flair.
- Seal with a matte topcoat for a sleek finish.
Tips:
- Use a white or metallic pen for bold contrast against the dark base.
- Keep the font simple for readability, or go for a Gothic style for extra drama.
5. Flaming Hearts
Turn traditional hearts into bold flaming designs that radiate power and rebellion.
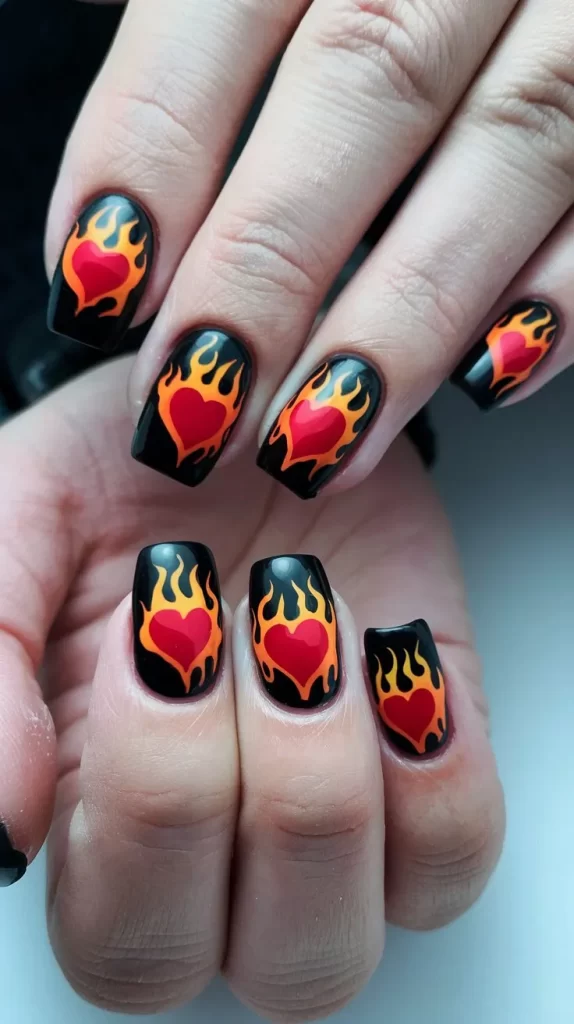
Steps & Tips:
- Apply a black or dark red base coat.
- Use a fine brush to draw red or orange heart shapes with flames coming out of the top.
- Add yellow highlights to the flames for a realistic effect.
- Seal with a glossy topcoat.
Tips:
- Use metallic colors for the flames to make them pop against the base.
- Pair flaming hearts with glitter accents for an extra bold look.
6. Skulls and Roses
Combine edgy skulls with dark, moody roses for an anti-romantic Gothic vibe.
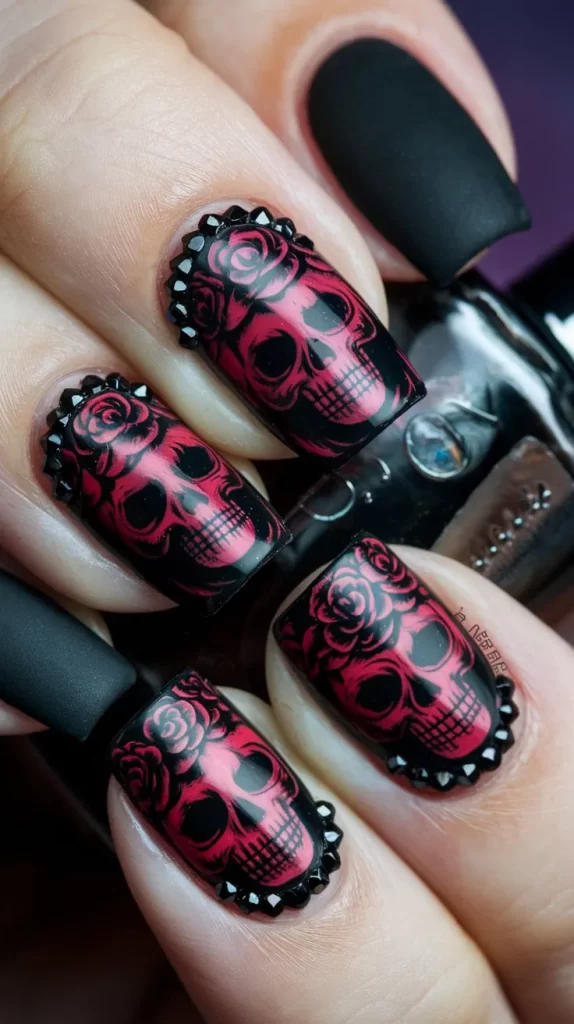
Steps & Tips:
- Apply a black or deep burgundy base coat.
- Use a fine brush or stickers to add skull designs on one or two nails.
- Add dark roses in red or purple around the skulls for contrast.
- Seal with a glossy or matte topcoat.
Tips:
- Use nail art decals if you prefer a quick and easy method.
- Pair with metallic or glitter accents for a more dramatic effect.
7. Burning Love Nails
Express your disdain for clichés with nails that look like burning love letters, charred and fierce.
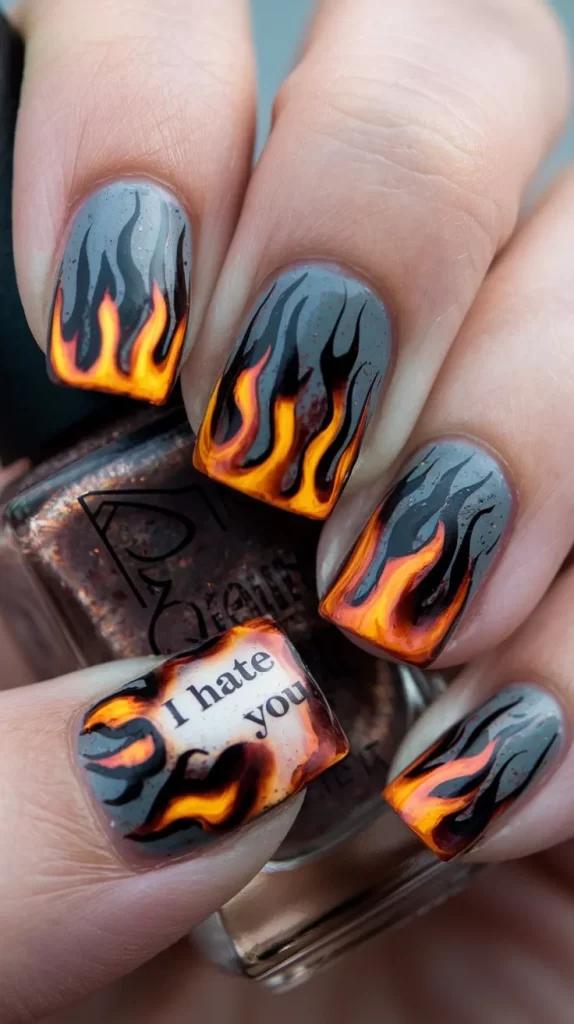
Steps & Tips:
- Start with a light gray or white base coat.
- Use black polish or a sponge dipped in dark gray to create a smoky, burnt effect at the edges.
- Add small flame designs in red, orange, and yellow on one or two accent nails.
- Use a nail art pen to write phrases like “NO LOVE” or “BURNED” on the nails.
- Seal with a glossy topcoat.
Tips:
- Blend the smoky effect using a sponge for a natural gradient.
- Pair the flames with matte finishes for extra drama.
8. Shattered Glass Effect
Shattered glass nails symbolize broken illusions, offering a reflective and edgy anti-Valentine’s vibe.
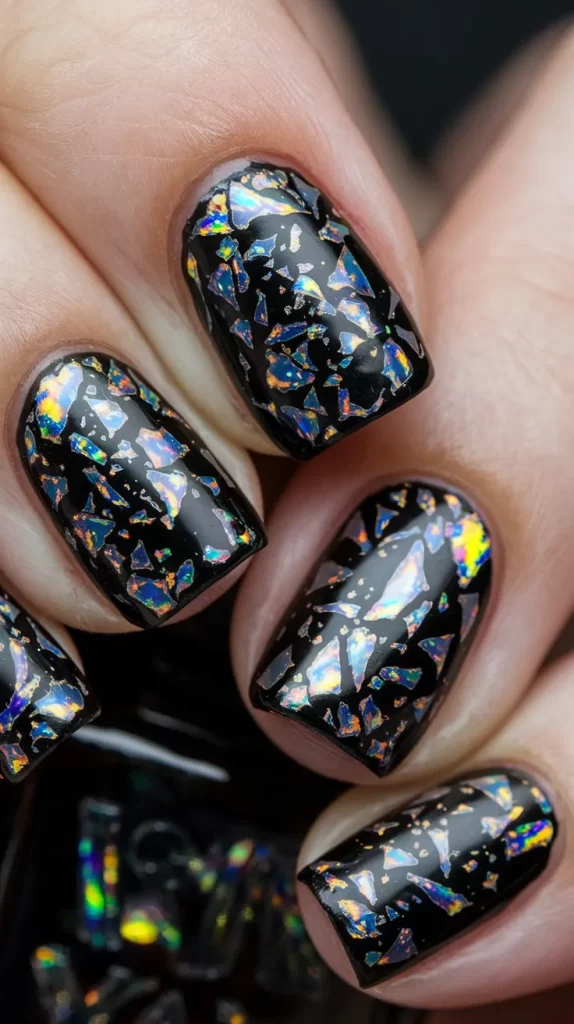
Steps & Tips:
- Apply a black or dark base coat.
- Use small pieces of iridescent nail foil or cellophane to create the shattered glass effect.
- Apply them to your nails while the polish is still tacky, then seal with a topcoat.
Tips:
- Arrange the foil pieces randomly for a natural shattered look.
- Experiment with holographic or metallic foils for extra shine.
9. Chains and Studs
Add real or painted chains and studs to your nails for a punk-inspired anti-Valentine’s look.
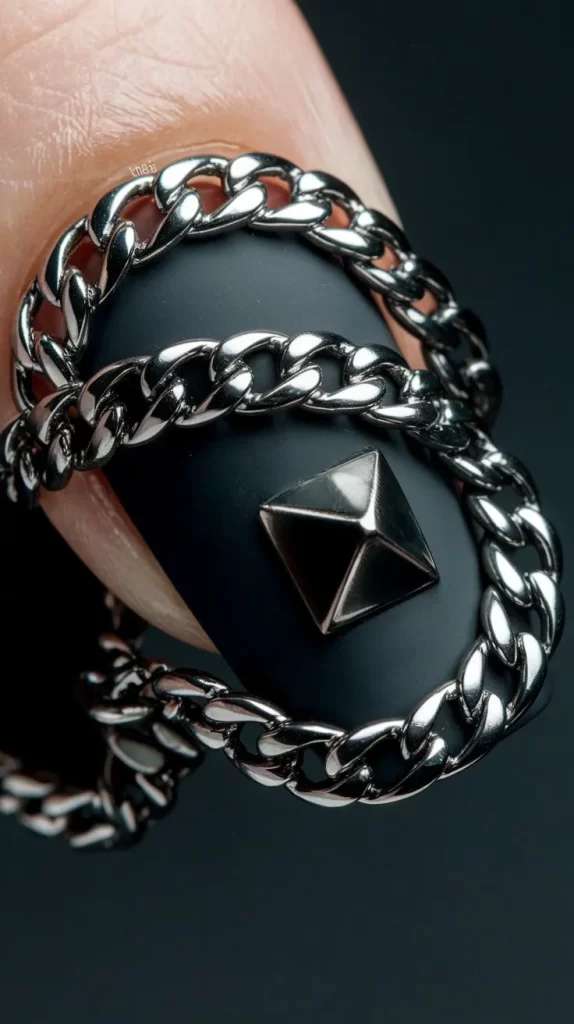
Steps & Tips:
- Apply a matte black base coat.
- Attach small chain pieces or studs to your nails using nail glue.
- Alternatively, use metallic nail polish to paint chain-like patterns.
- Seal with a strong topcoat to secure the embellishments.
Tips:
- Use tweezers to precisely place studs and chains.
- Keep the embellishments on a couple of nails for a balanced look.
10. Spiderwebs and Thorns
Combine spiderweb designs with thorny accents for a dark and moody anti-Valentine’s vibe.
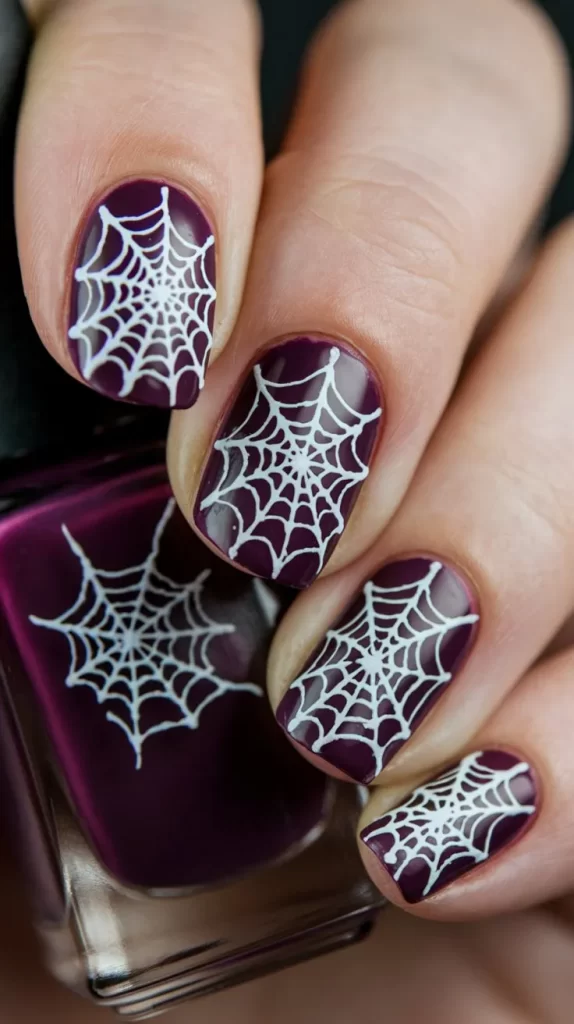
Steps & Tips:
- Apply a black or deep purple base coat.
- Use white or silver polish and a fine brush to paint spiderwebs on a few nails.
- Add thorn-like designs in metallic silver or red on others.
- Seal with a topcoat for durability.
Tips:
- Keep your lines thin and sharp for a polished look.
- Mix matte and glossy finishes for texture contrast.
11. Bloody Drips
Bloody drip nails add a dramatic and fierce twist to anti-Valentine’s Day designs.
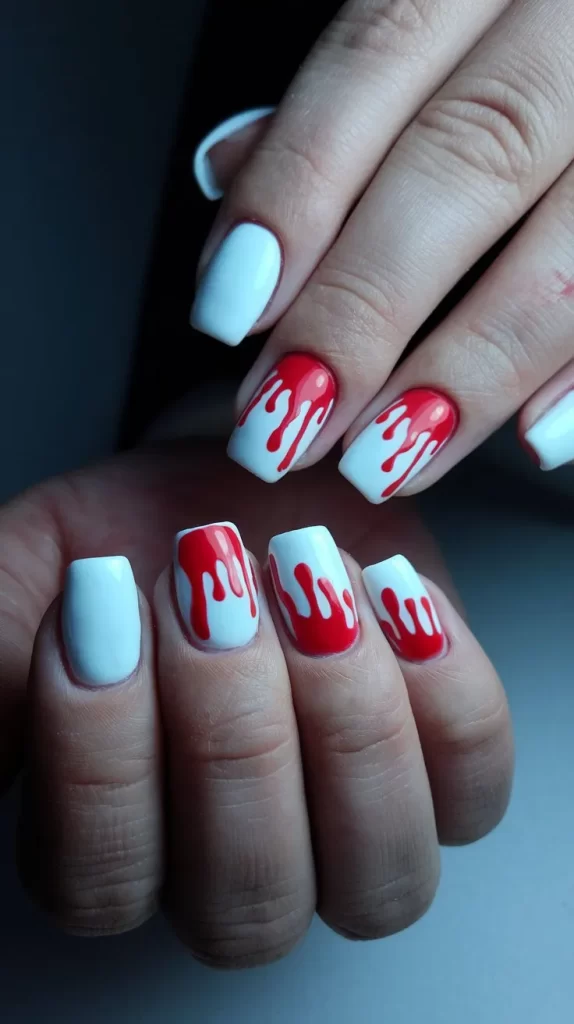
Steps & Tips:
- Apply a nude, black, or white base coat.
- Use red polish and a dotting tool to create drip shapes starting at the tip of the nail.
- Drag the polish downward to mimic blood drips.
- Seal with a glossy topcoat for a wet look.
Tips:
- Add glitter to the drips for a glam twist.
- Use black drips on a red base for a unique take on the design.
12. Anti-Cupid’s Arrows
Instead of Cupid’s love-filled arrows, these nails feature broken or sharp arrows for a rebellious twist.
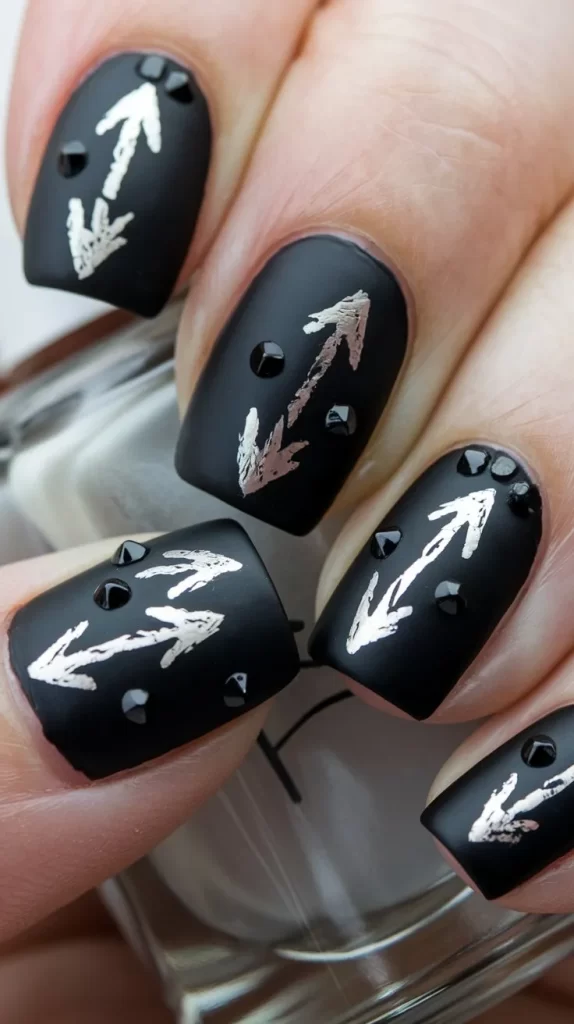
Steps & Tips:
- Apply a black or deep red base coat.
- Use a fine nail art brush to draw arrow shapes in metallic or contrasting colors.
- Add broken or fragmented details to the arrows for a fierce look.
- Finish with a glossy or matte topcoat.
Tips:
- Use silver or gold for the arrowheads to make them stand out.
- Add small heart outlines with arrows piercing through for added symbolism.
13. Gothic Lace
Lace-inspired designs in dark colors add a sophisticated, Gothic touch to your anti-Valentine’s look.
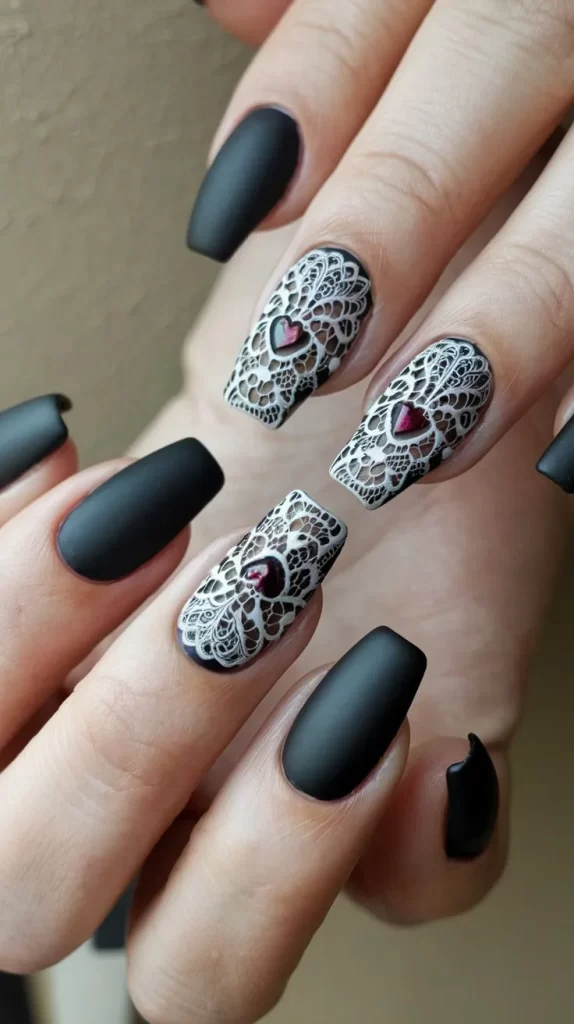
Steps & Tips:
- Apply a matte black or deep burgundy base coat.
- Use white or metallic polish to paint intricate lace patterns across the nails.
- Add rhinestones or studs for extra flair.
- Seal with a glossy or matte topcoat.
Tips:
- Use lace nail stencils for a quick and precise design.
- Pair lace accents with other designs, like roses or thorns, for added complexity.
14. Black Flames
Embrace fiery rebellion with bold black flame designs on dark or bright bases.
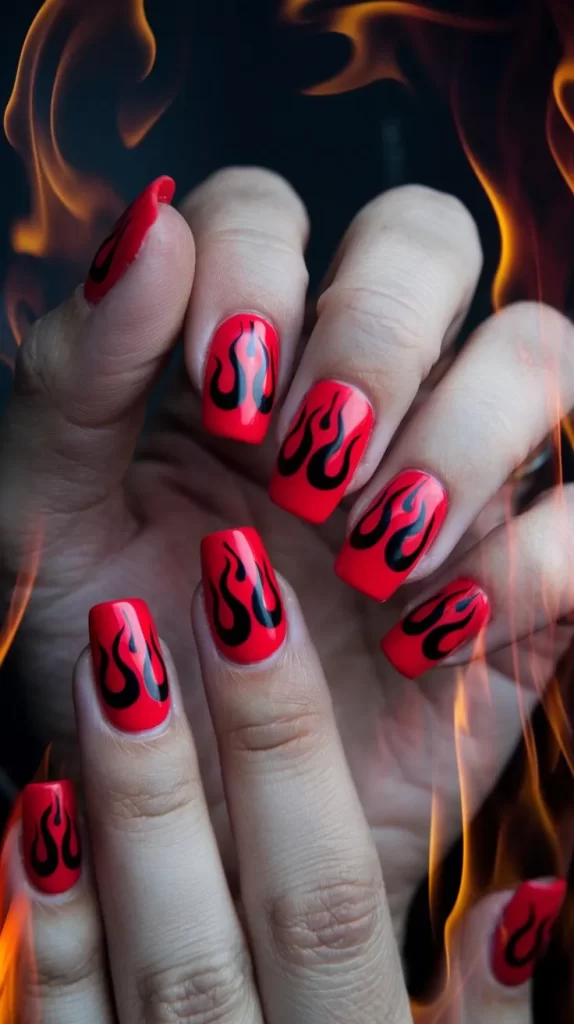
Steps & Tips:
- Apply a bright red, white, or neon base coat.
- Use black polish to paint flame designs rising from the tips.
- Add metallic accents or glitter for extra flair.
- Finish with a glossy topcoat.
Tips:
- Use flame nail stencils if freehanding feels too complex.
- Pair black flames with other symbols like skulls or hearts for an edgier look.
This collection of bold anti-Valentine’s Day nail designs offers fierce, edgy alternatives to the typical pink and red Valentine’s themes. Whether you’re making a statement or just love dramatic nail art, these ideas will inspire your next rebellious manicure.
