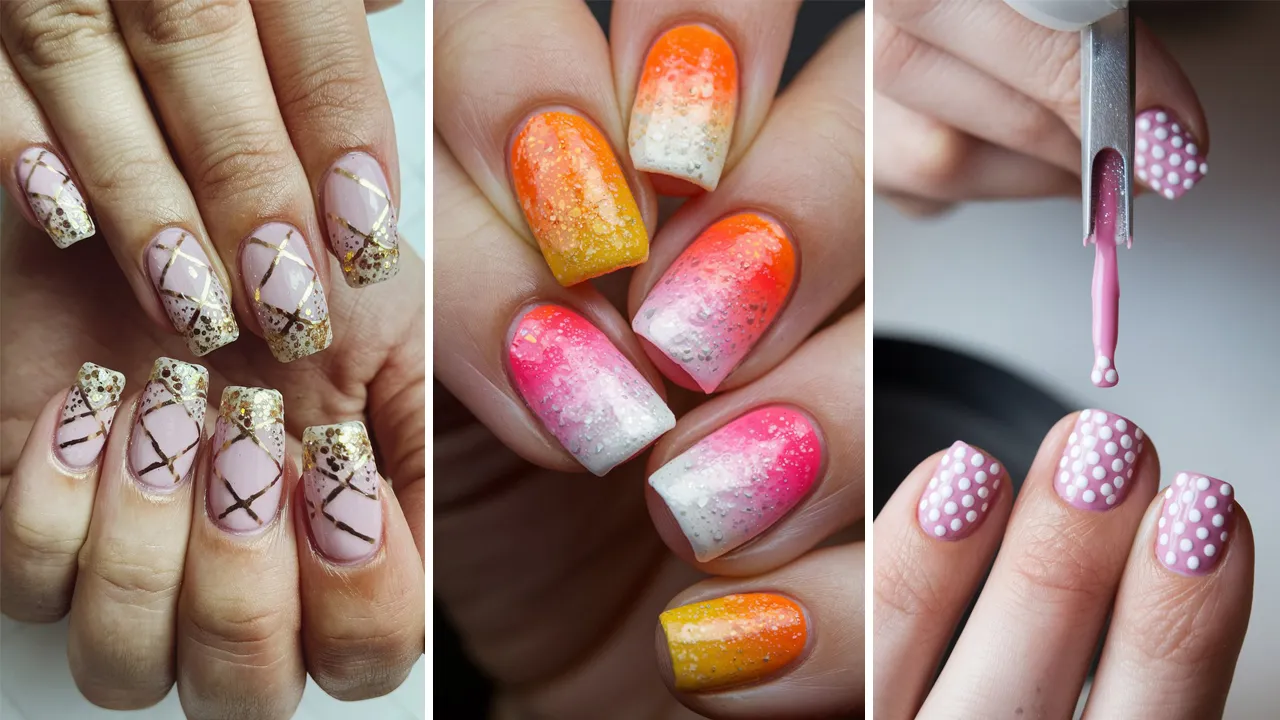
Valentine’s Day is the perfect excuse to treat yourself to a gorgeous manicure that reflects the love and romance of the season. Square-shaped nails offer a chic and versatile canvas for stunning designs. Whether you’re looking for something bold and daring or soft and subtle, these 14 ideas for Valentine’s Day square nails will inspire you. Each design comes with detailed steps, tips for perfection to help you visualize the magic!
Table of Contents
- 1. Classic Red Hearts
- 2. Glitter Gradient Glam
- 3. Love Letter Nails
- 4. Candy Heart Messages
- 5. French Tips with a Twist
- 6. Lace Overlay Design
- 7. XO Patterns
- 8. Ombre Valentine’s Nails
- 9. Rhinestone Elegance
- 10. Minimalist Dots
- 11. Love-Themed Stencils
- 12. Matte Finish Love
- 13. Polka Dot Love
- 14. Abstract Love Art
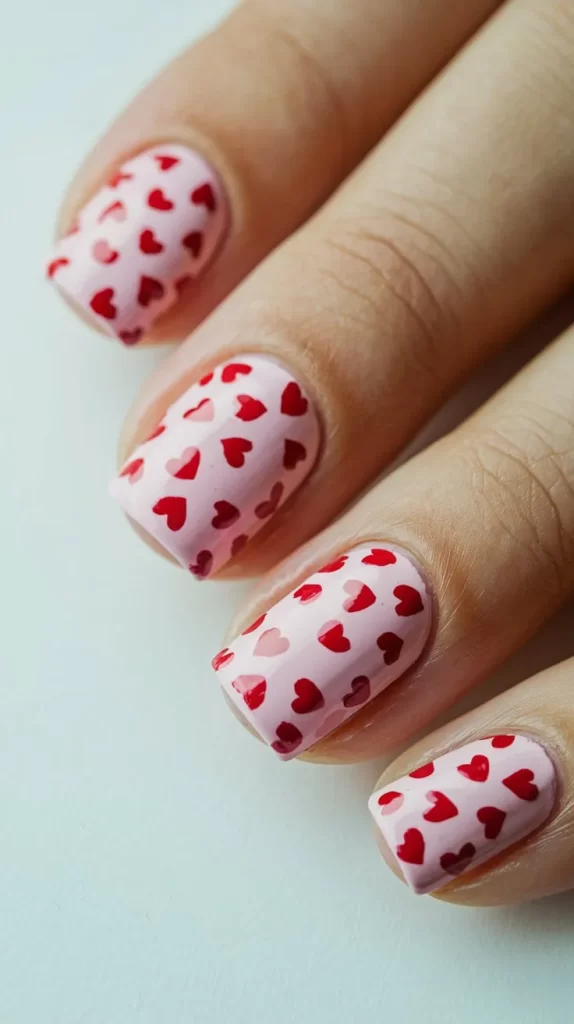
1. Classic Red Hearts
Nothing says Valentine’s Day like red hearts on a soft pink background. This timeless design is perfect for any occasion.
Steps
- Apply a base coat to your square nails.
- Paint all nails with a soft pink polish and let them dry completely.
- Use a nail art brush or dotting tool to create red heart shapes on each nail.
- Seal the design with a clear topcoat for shine and durability.
Tips
- Practice drawing hearts on a paper first if you’re new to nail art.
- Use a toothpick for more precise detailing.
2. Glitter Gradient Glam
Combine sparkles and romance with a glitter gradient that fades from the tips to the base.

Steps
- Paint your nails with a base color like light pink or nude.
- Apply a glitter polish starting at the tips, gently brushing downward for a gradient effect.
- Add multiple layers for more intensity, letting each layer dry in between.
- Finish with a clear topcoat.
Tips
- Use a sponge to dab glitter polish for a smoother gradient.
- Match glitter colors with your outfit for a cohesive look.
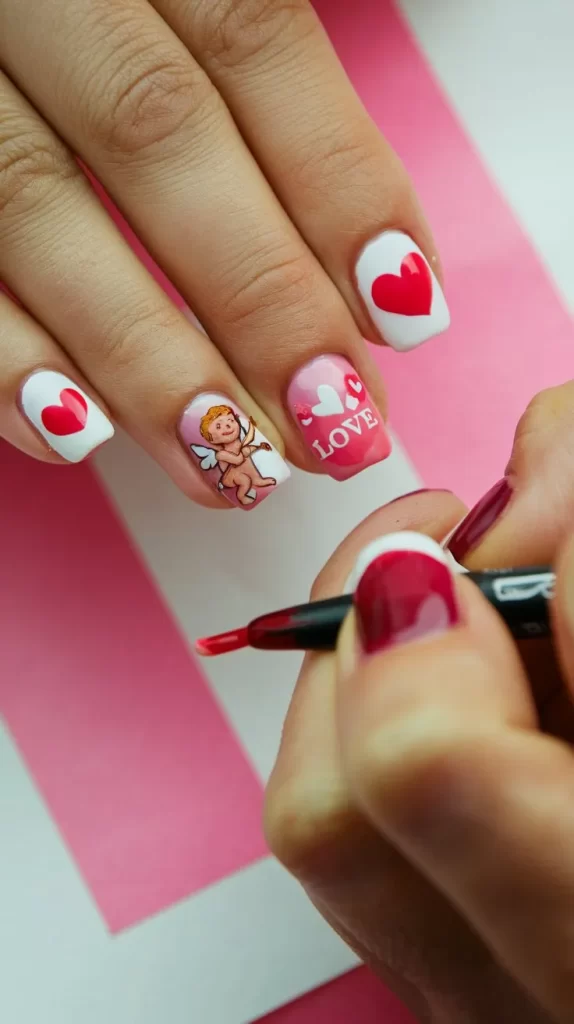
3. Love Letter Nails
Recreate the charm of love letters with handwritten text and envelope accents on your nails.
Steps
- Start with a white or nude base color.
- Use a fine nail art brush to paint tiny envelope designs or cursive love notes.
- Highlight the designs with red or black polish for a romantic look.
- Seal with a topcoat to protect the artwork.
Tips
- Use nail stickers or decals if freehand painting feels intimidating.
- Keep designs minimal for a sophisticated look.
4. Candy Heart Messages
Turn your nails into sweet candy hearts with fun messages like “Be Mine” or “Love You.”

Steps
- Paint each nail in pastel colors like pink, yellow, or lavender.
- Use a thin brush or nail art pen to write short messages on each nail.
- Outline the letters with a darker color for contrast.
- Top it off with a clear coat.
Tips
- Plan your messages in advance to avoid spacing issues.
- Use quick-drying pens to prevent smudging.
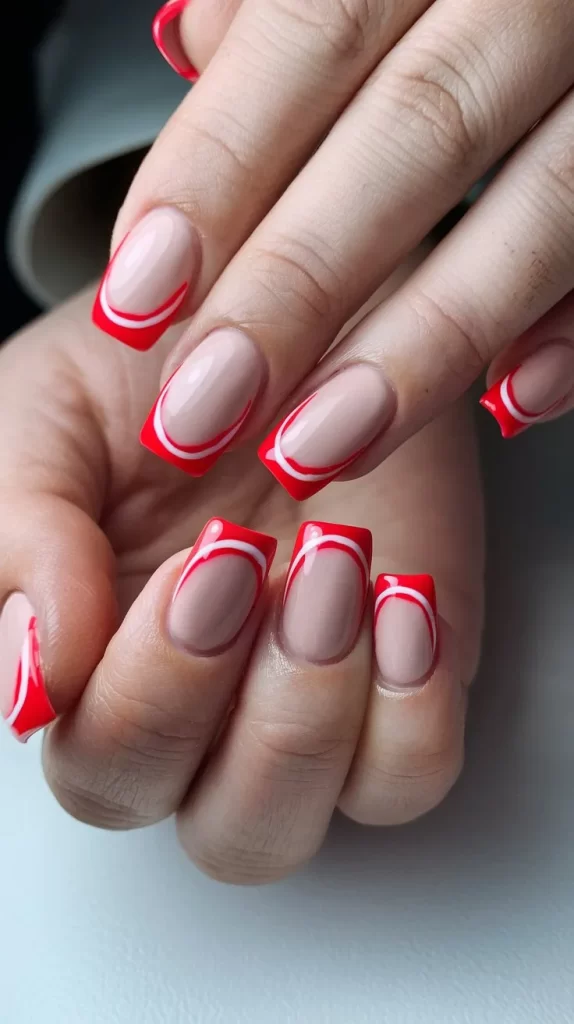
5. French Tips with a Twist
Elevate the classic French tip with a Valentine’s Day twist using red or pink hues.
Steps
- Paint nails with a sheer pink or nude base.
- Use red or hot pink polish to create French tips.
- Add a thin metallic line below the tip for extra flair.
- Apply a clear topcoat to seal the design.
Tips
- Use French tip guides for even lines.
- Experiment with ombre tips for a modern look.
6. Lace Overlay Design
Create a delicate and romantic lace pattern for an elegant Valentine’s Day look.
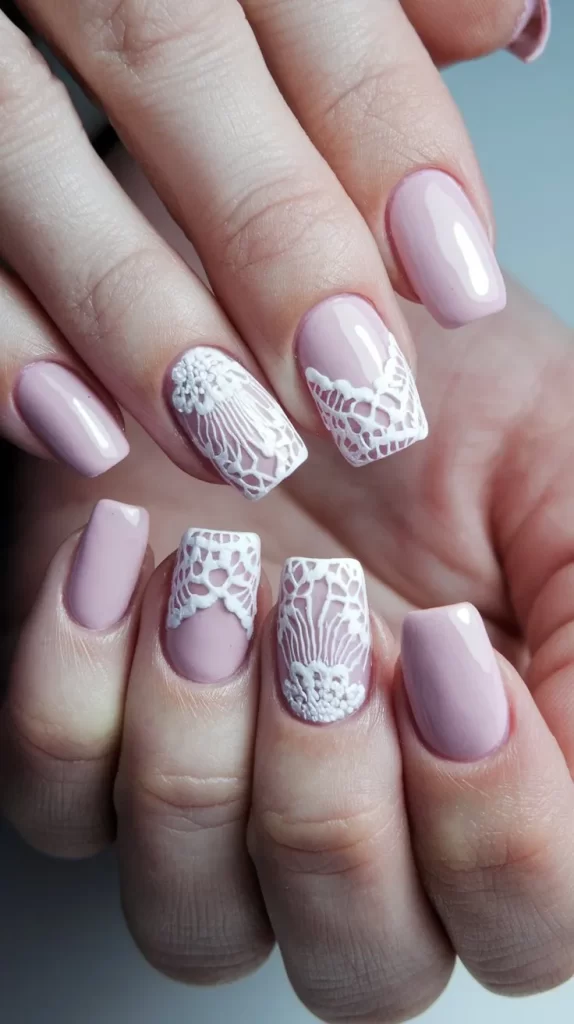
Steps
- Apply a soft pink or nude polish as your base.
- Use a fine brush to paint white lace-like patterns on each nail.
- Add tiny rhinestones for a glamorous touch.
- Seal with a topcoat.
Tips
- Use lace nail stickers for a quicker application.
- Practice patterns on a piece of plastic to perfect your technique.
7. XO Patterns
Celebrate love with playful “XO” patterns scattered across your nails.
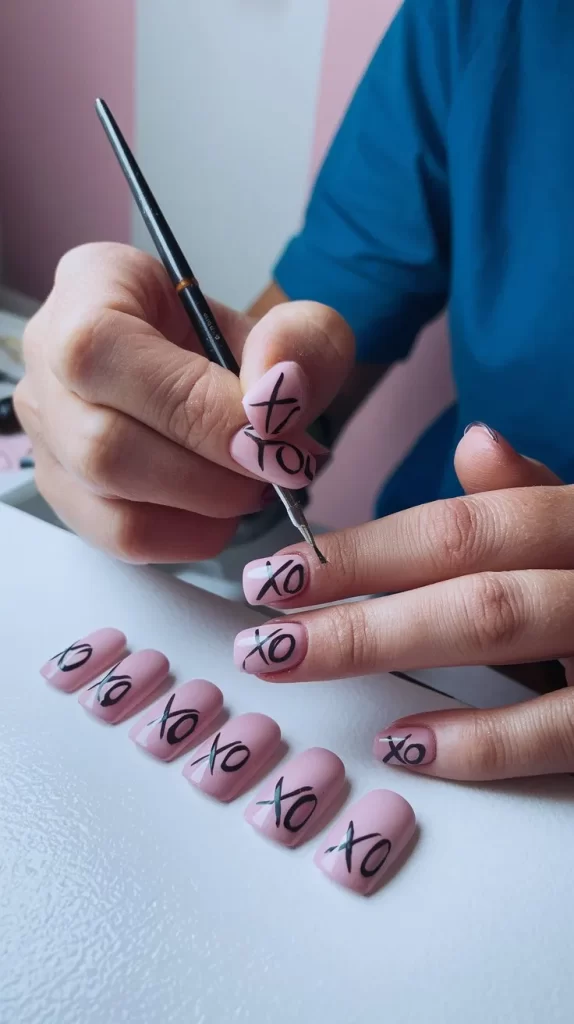
Steps
- Paint your nails with a light base color like white or pale pink.
- Use a thin brush to draw alternating “X” and “O” shapes in red or black.
- Add tiny hearts or dots for extra detail.
- Top it off with a clear coat.
Tips
- Keep the design on a few accent nails for a chic look.
- Use nail art pens for more precision.
8. Ombre Valentine’s Nails
Blend romantic shades like pink, red, and white for a stunning ombre effect.
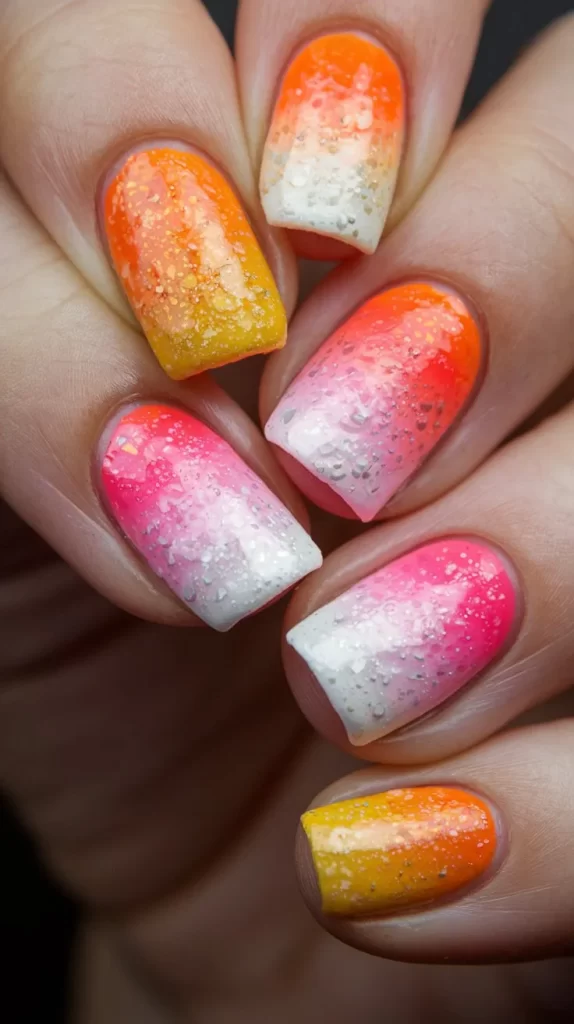
Steps
- Paint nails with a white base coat.
- Use a sponge to blend pink and red polishes in a gradient.
- Let the polish dry and apply a glitter topcoat for extra sparkle.
Tips
- Use liquid latex around your nails to make cleanup easier.
- Practice blending colors on a sponge before applying them to your nails.
9. Rhinestone Elegance
Add sparkle to your nails with rhinestones for a glamorous Valentine’s look.
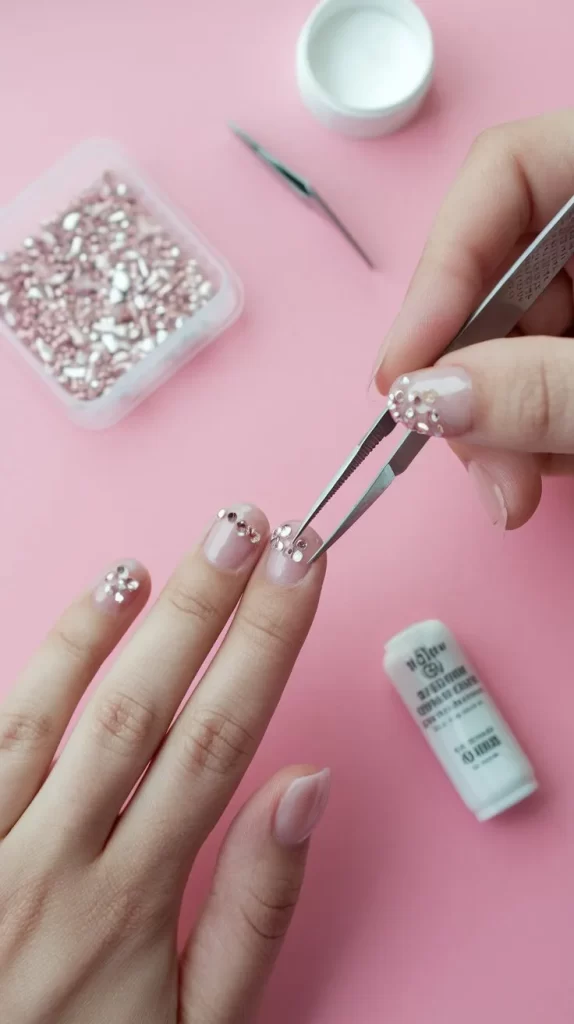
Steps
- Paint your nails with a base color like red or pink.
- Apply a small dot of nail glue where you want to place the rhinestones.
- Use a tweezer to place the rhinestones carefully.
- Seal the design with a clear topcoat for longevity.
Tips
- Arrange rhinestones in heart shapes for a romantic touch.
- Use flat-back rhinestones for a smoother application.
10. Minimalist Dots
Keep it simple and chic with minimalist dot patterns on your nails.
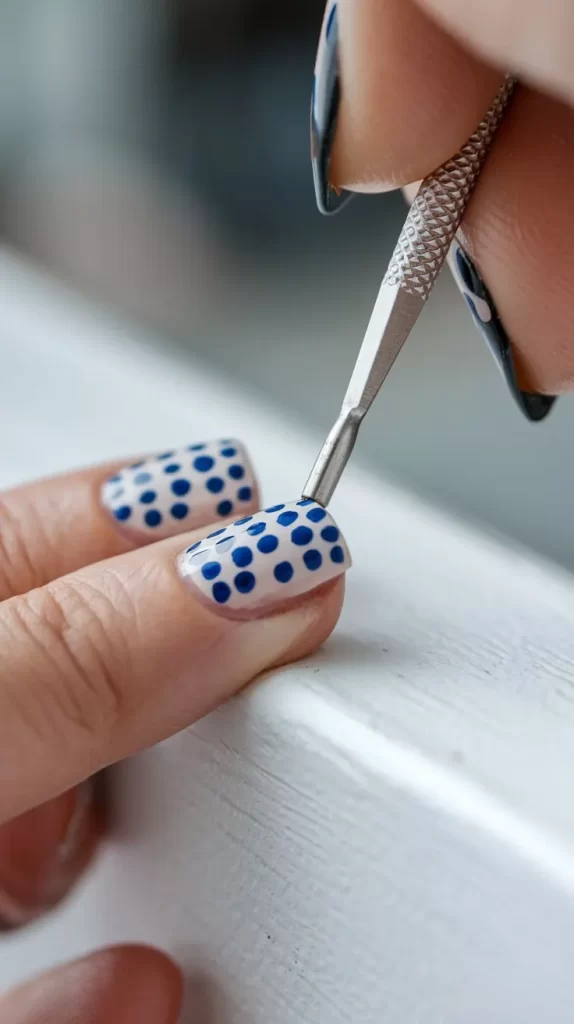
Steps
- Paint your nails with a nude or light pink base coat.
- Use a dotting tool to create small dots in red, pink, or white along the nail edges or diagonally.
- Let the dots dry and finish with a topcoat.
Tips
- Vary the size of the dots for added interest.
- Use a toothpick if you don’t have a dotting tool.
11. Love-Themed Stencils
Use stencils to create perfect heart or Cupid designs for Valentine’s Day.

Steps
- Place a stencil on your nail and secure it with tape.
- Paint over the stencil with red or pink polish.
- Remove the stencil carefully before the polish dries.
- Finish with a topcoat to seal the design.
Tips
- Ensure the stencil is flat against your nail to prevent smudging.
- Experiment with metallic or glitter polishes for extra flair.
12. Matte Finish Love
Opt for a matte finish with simple heart accents for a sophisticated look.
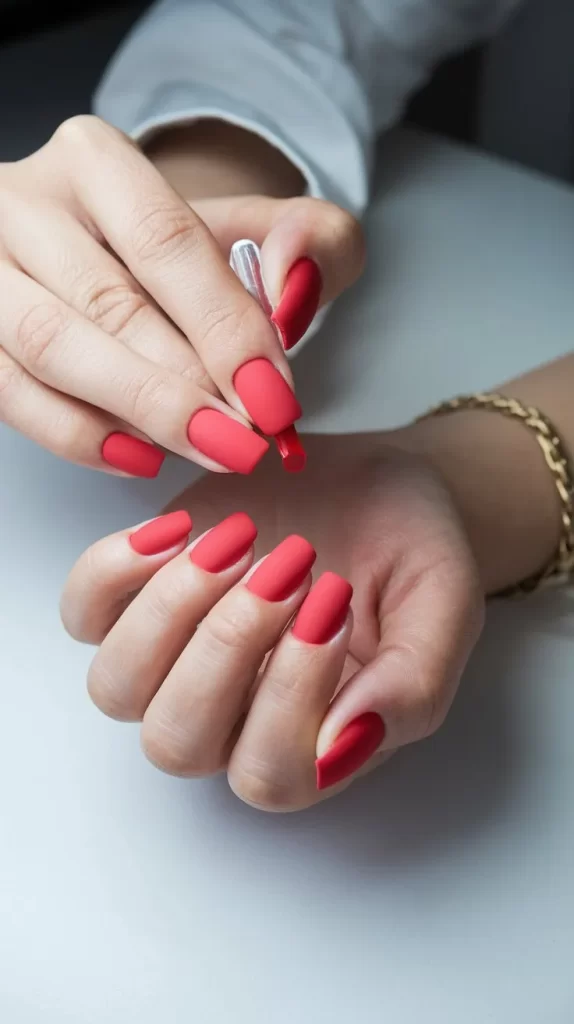
Steps
- Paint your nails with a matte red or pink polish.
- Use a glossy topcoat to draw small hearts or patterns on each nail.
- Let it dry completely for a dual-texture effect.
Tips
- Use a matte topcoat over any polish to achieve the look.
- Keep the heart accents minimal for a modern aesthetic.
13. Polka Dot Love
Combine classic polka dots with Valentine’s Day colors for a playful design.
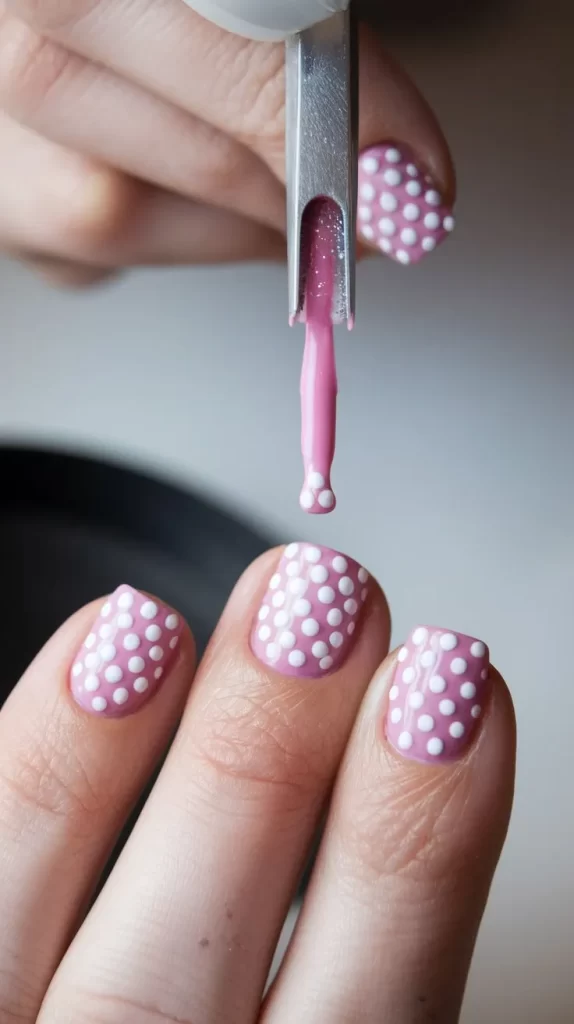
Steps
- Paint your nails with a white or light pink base coat.
- Use a dotting tool to create dots in red, pink, and gold across each nail.
- Let the dots dry and seal with a topcoat.
Tips
- Arrange dots in heart shapes for a unique twist.
- Use contrasting colors for a bold look.
14. Abstract Love Art
Go modern with abstract designs using bold lines, shapes, and hearts.
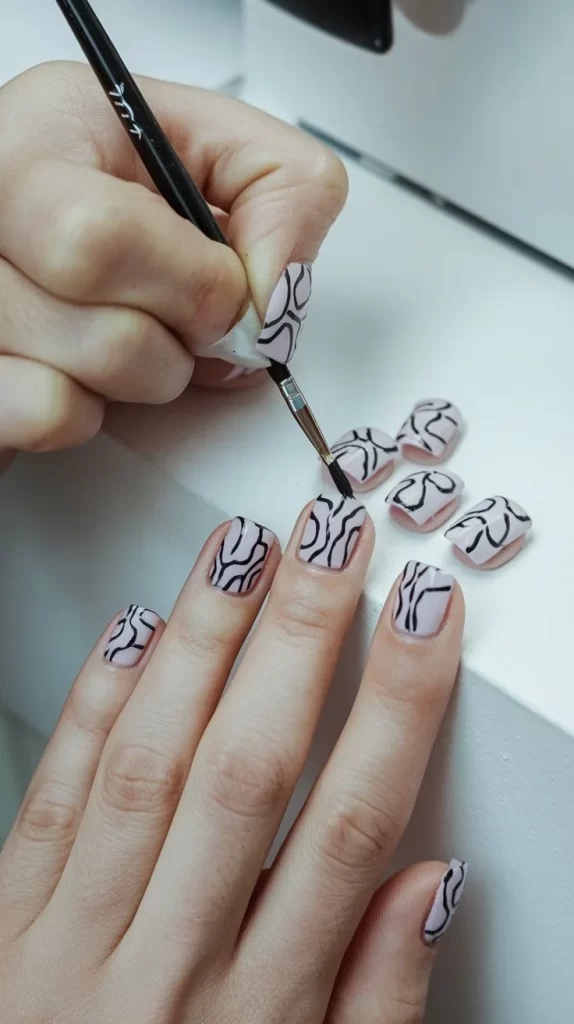
Steps
- Paint your nails with a neutral base like white or nude.
- Use a thin nail art brush to draw abstract lines and shapes in red, black, or pink.
- Add small heart accents within the abstract patterns.
- Finish with a clear topcoat to seal the design.
Tips
- Use tape to create sharp lines in your abstract designs.
- Mix matte and glossy finishes for added depth.
