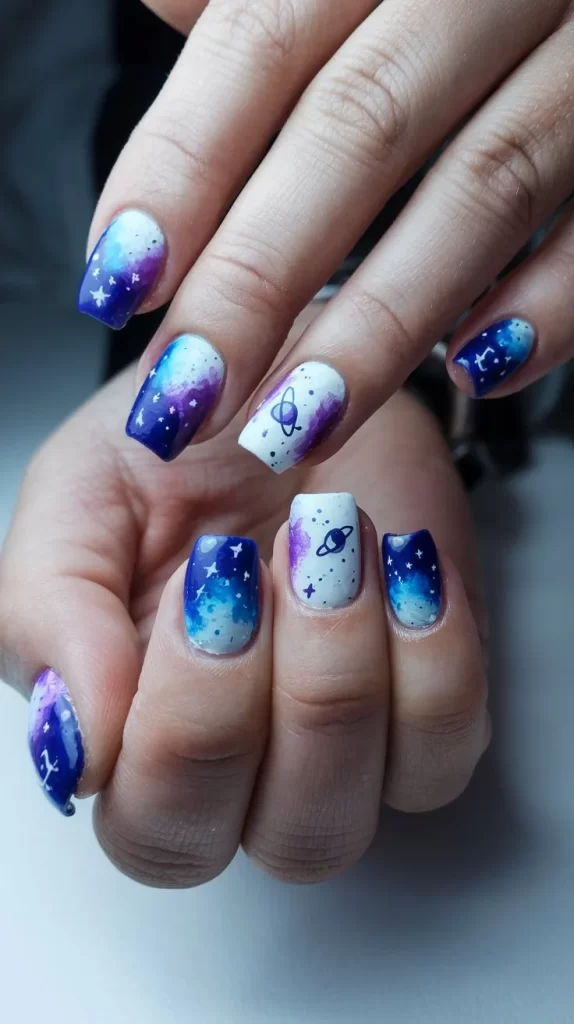
Valentine’s Day is the ultimate occasion to flaunt a chic, romantic manicure. Acrylic nails provide the perfect canvas for creative designs that range from elegant to playful. Whether you’re going on a romantic date or celebrating Galentine’s Day, here are 14 stunning acrylic nail ideas to help you express your Valentine’s Day vibe. Each idea includes detailed steps and tips to help you the perfect design.
Table of Contents
- 1. Classic Red Acrylic Nails
- 2. Pink and White Ombré Hearts
- 3. Red Glitter French Tips
- 4. Lace-Inspired Acrylic Nails
- 5. Matte Red and Gold Foil Nails
- 6. Pearl-Embellished Nails
- 7. Heart-Shaped Acrylic Tips
- 8. Red Chrome Nails with Hearts
- 9. Candy Swirl Acrylic Nails
- 10. Rose Garden Nails
- 11. Glittery Heart Accent Nails
- 12. Love Letter Nails
- 13. Red and Gold Stripes
- 14. Galaxy Love Nails
1. Classic Red Acrylic Nails
Timeless and vibrant, glossy red acrylic nails are the epitome of Valentine’s Day romance.
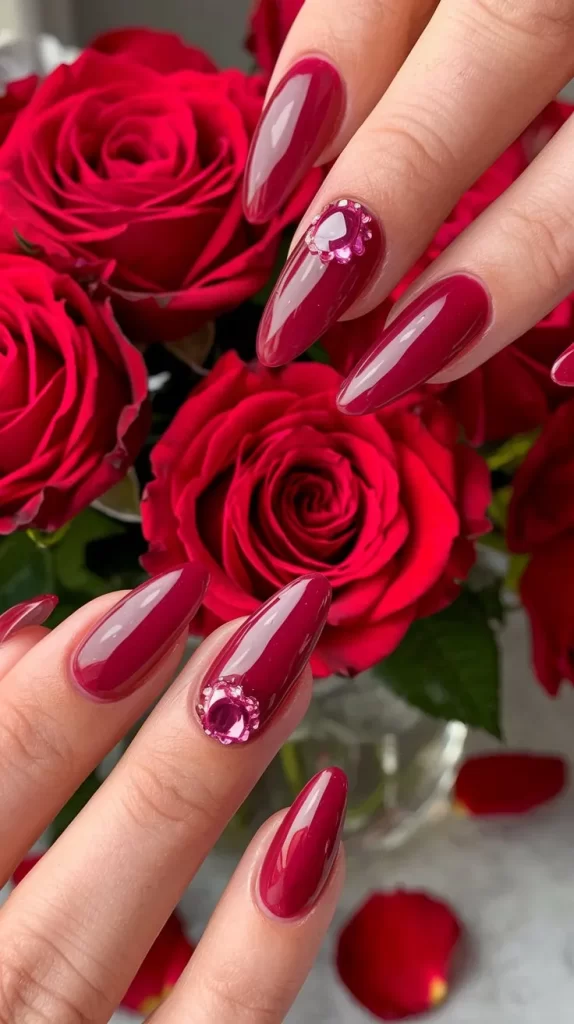
Steps:
- Shape your acrylic extensions to your desired length.
- Apply a clear base coat.
- Paint two even coats of glossy red nail polish.
- Finish with a shiny top coat for extra brilliance.
Tip: Choose a high-quality red polish to avoid streaks and ensure long-lasting color.
2. Pink and White Ombré Hearts
A soft gradient with pink and white hues adorned with tiny heart details for a romantic look.
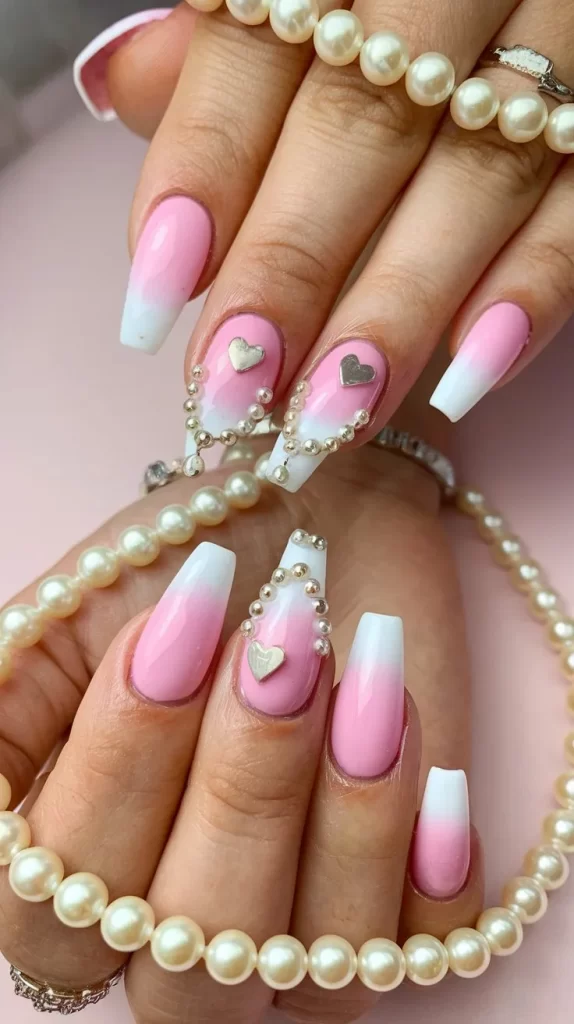
Steps:
- Paint a nude or light pink base coat.
- Use a sponge to blend pink and white polishes for an ombré effect.
- Add small hearts using a nail art brush or stickers.
- Seal with a glossy top coat.
Tip: Use a latex barrier around the nails for easy clean-up while sponging.
3. Red Glitter French Tips
A modern twist on the classic French manicure featuring dazzling red glitter tips.
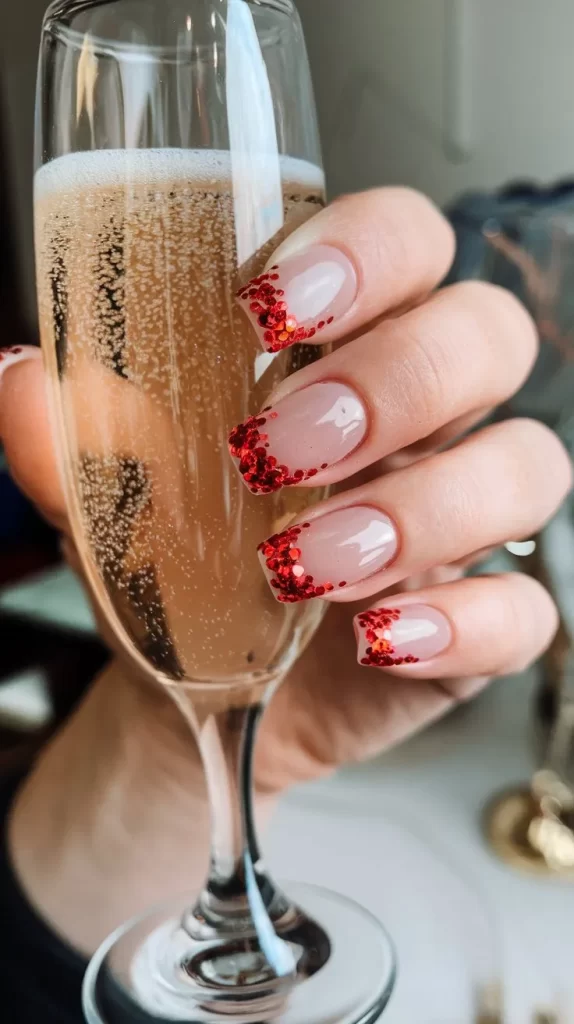
Steps:
- Apply a nude or light pink base coat.
- Use a nail art brush to apply red glitter polish to the tips.
- Correct uneven edges with nail tape or a clean-up brush.
- Finish with a high-shine top coat.
Tip: Use fine glitter polish for a more sophisticated look.
4. Lace-Inspired Acrylic Nails
Elegant and feminine, lace designs add a touch of sophistication to your Valentine’s look.
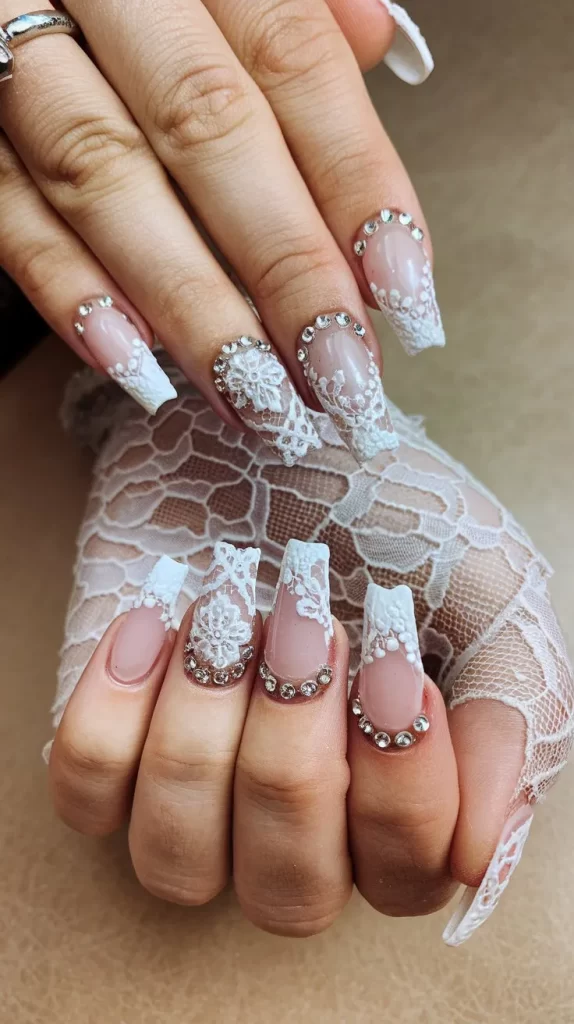
Steps:
- Apply a sheer nude base coat.
- Use a stamping plate or freehand white lace patterns on your nails.
- Add rhinestones for extra elegance.
- Finish with a clear top coat.
Tip: Practice lace patterns on paper before applying them to your nails for precision.
5. Matte Red and Gold Foil Nails
Combine the boldness of matte red with the luxury of gold foil for a stunning Valentine’s design.
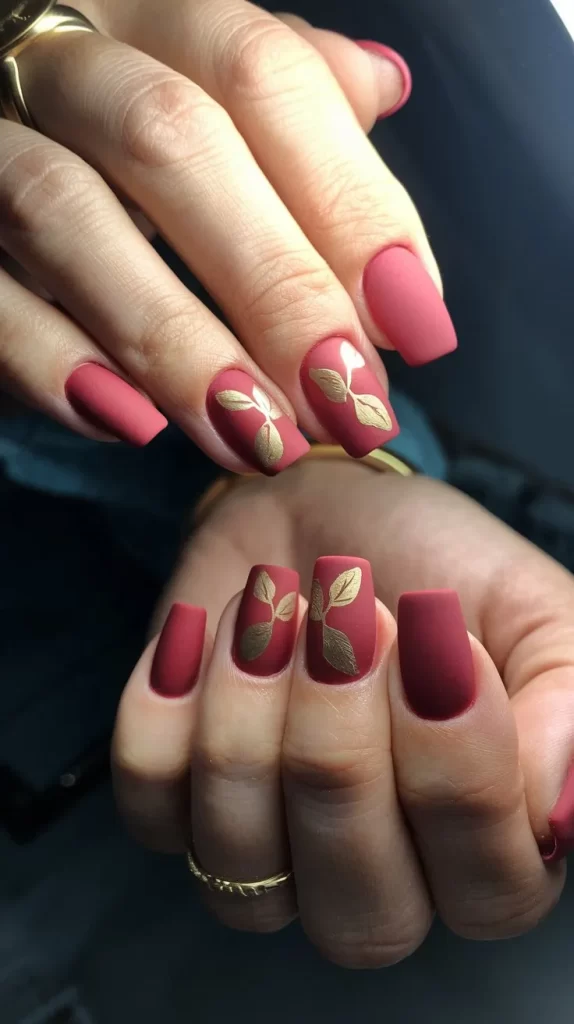
Steps:
- Paint your acrylic nails with matte red polish.
- Use tweezers to apply gold foil accents in random patterns.
- Seal with a matte top coat to keep the velvety texture.
Tip: Use foil glue for easier application and longer-lasting designs.
6. Pearl-Embellished Nails
For a touch of elegance, add pearl embellishments to soft pink or nude acrylic nails.
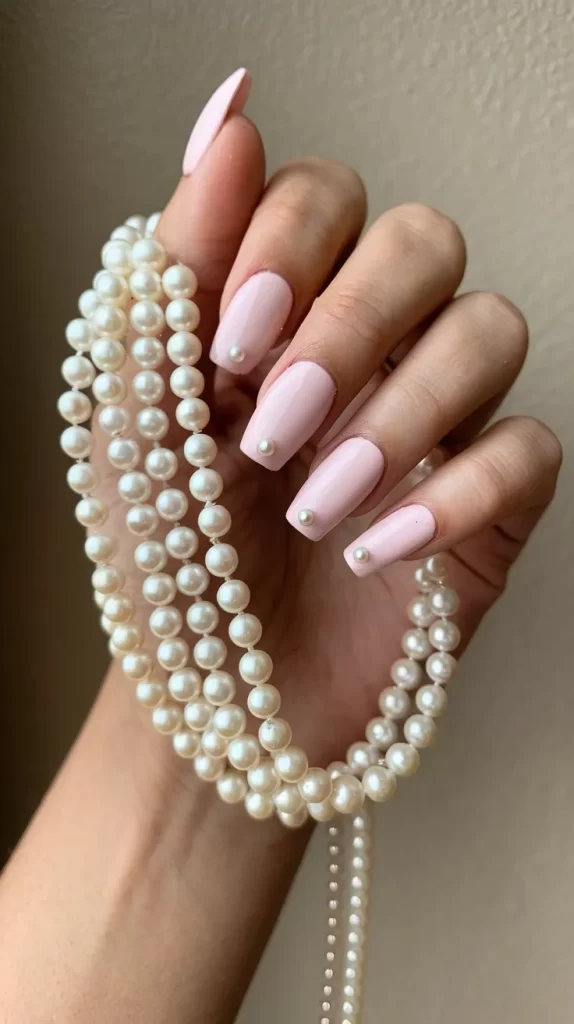
Steps:
- Paint a soft pink or nude base coat.
- Attach small pearls using nail glue along the nail bed or as accents.
- Seal with a thick top coat.
Tip: Use a wax pencil for precise placement of pearls.
7. Heart-Shaped Acrylic Tips
Playful and unique, heart-shaped acrylic tips are a creative way to celebrate Valentine’s Day.
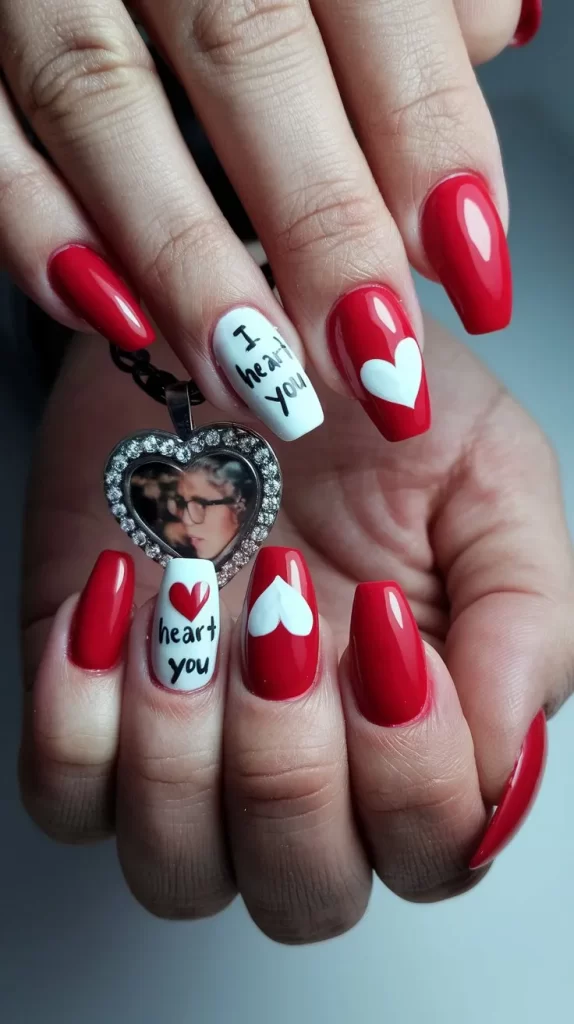
Steps:
- Shape acrylic extensions into heart tips using a nail file.
- Paint the nails with a bright red polish.
- Add glitter or rhinestones for extra sparkle.
- Finish with a glossy top coat.
Tip: Keep the heart shapes symmetrical by marking the center before filing.
8. Red Chrome Nails with Hearts
Reflective red chrome nails featuring subtle heart designs create a bold and glamorous look.
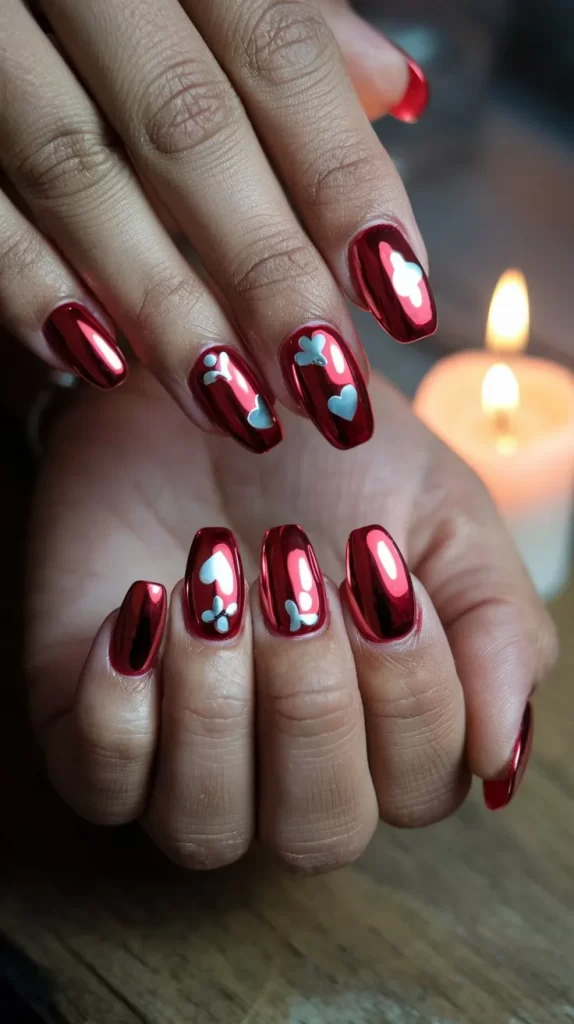
Steps:
- Apply a black base coat.
- Rub red chrome powder onto the nails.
- Use a fine brush to paint small hearts in a contrasting color.
- Seal with a glossy top coat.
Tip: Use stencils for evenly shaped hearts.
9. Candy Swirl Acrylic Nails
Fun and sweet, candy swirl designs in pink and red are perfect for a playful Valentine’s look.
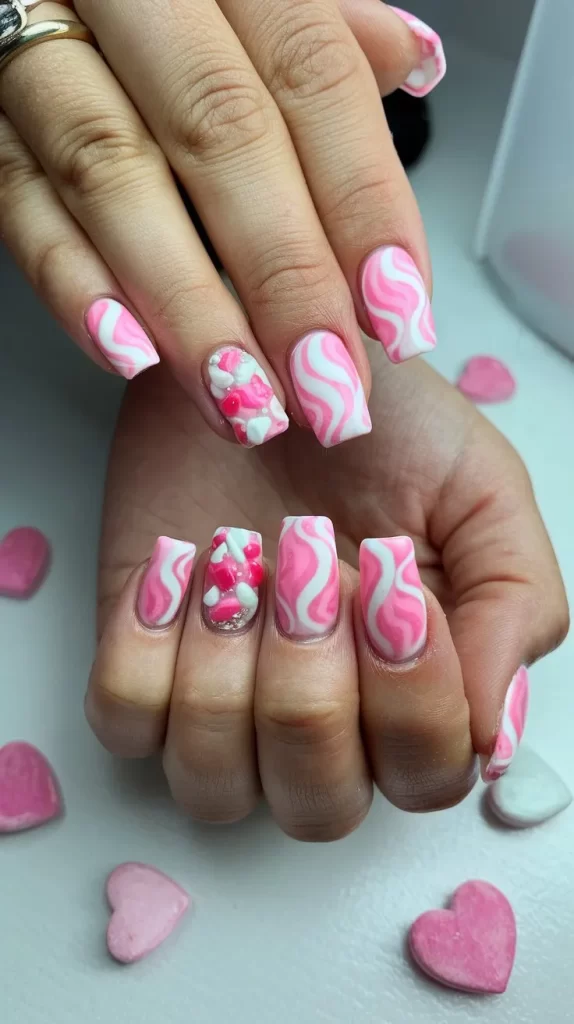
Steps:
- Paint your nails with a white base coat.
- Use a thin brush to create pink and red swirl patterns.
- Add a glossy top coat for a candy-like shine.
Tip: Keep your brush steady for smooth and clean swirls.
10. Rose Garden Nails
Bring the beauty of roses to your fingertips with intricate floral designs.
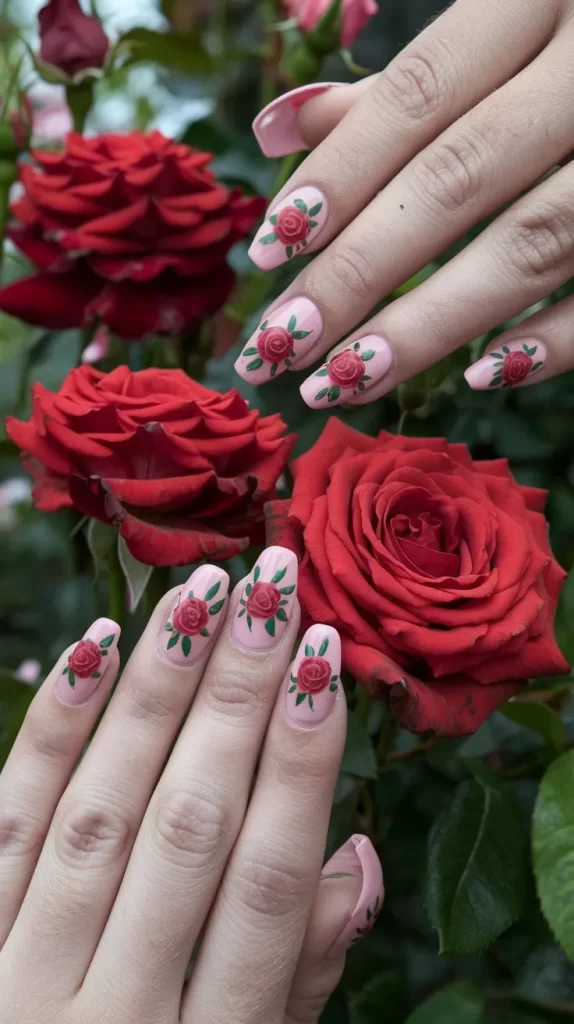
Steps:
- Paint a nude or pale pink base coat.
- Use a fine brush to paint red and green rose designs.
- Add gold accents for a luxurious touch.
- Seal with a glossy top coat.
Tip: Use stamping tools for intricate rose patterns if freehand isn’t your forte.
11. Glittery Heart Accent Nails
Add a touch of sparkle with glittery heart designs on select nails.
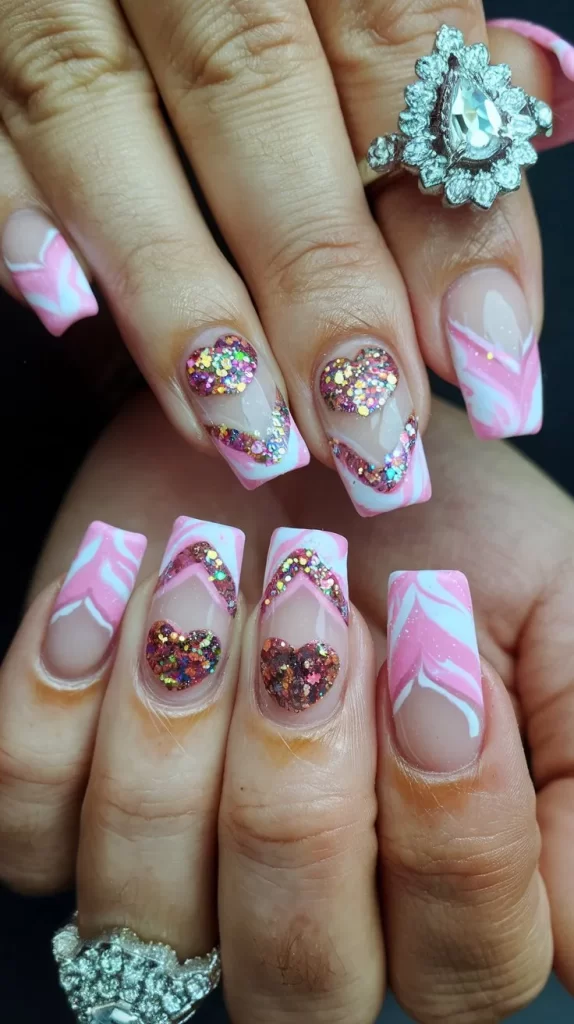
Steps:
- Paint all nails with a soft pink base coat.
- Use a fine brush to draw heart shapes with glitter polish on accent nails.
- Finish with a glossy top coat.
Tip: Apply glitter sparingly for a clean and elegant look.
12. Love Letter Nails
Create a romantic theme with designs inspired by handwritten love letters.
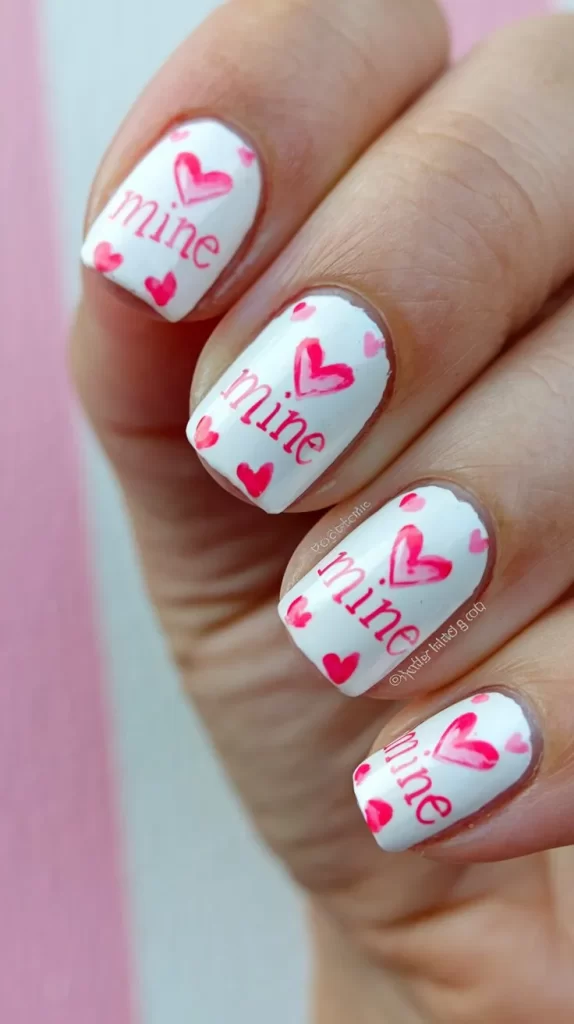
Steps:
- Paint a white or nude base coat.
- Use a thin brush to draw tiny hearts, envelopes, and love notes.
- Add metallic accents for extra flair.
- Finish with a glossy top coat.
Tip: Practice your lettering designs on paper before applying to nails.
13. Red and Gold Stripes
Bold red nails with gold stripe accents create a regal Valentine’s vibe.

Steps:
- Paint your nails with a red base coat.
- Use gold nail tape or a fine brush to create straight stripes.
- Finish with a glossy top coat.
Tip: Ensure stripes are evenly spaced for a polished look.
14. Galaxy Love Nails
