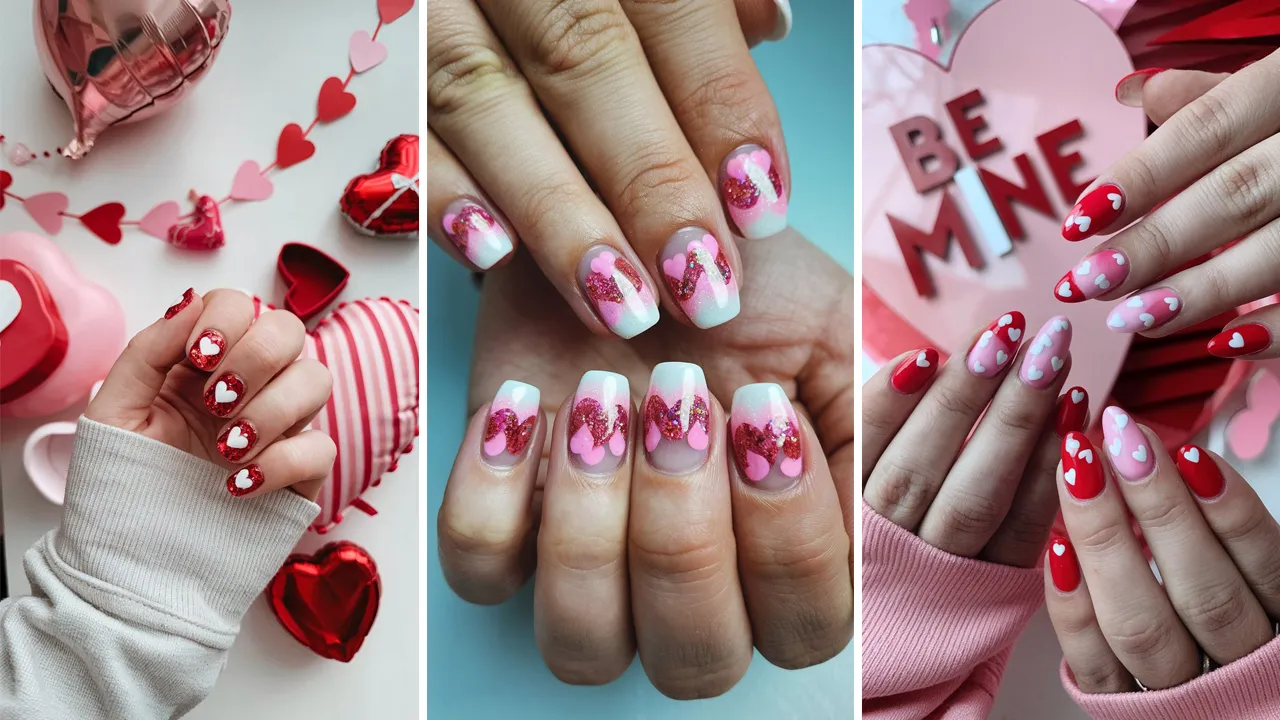
Valentine’s Day is all about love, sweetness, and fun, and what better way to express those feelings than with conversation heart nails? Inspired by the iconic candy hearts that feature sweet, loving messages, these adorable nail designs will give you the perfect Valentine’s Day look. Whether you prefer a bold, colorful design or a more subtle, elegant twist, conversation heart nails are a fun and creative way to celebrate the season of love.
In this post, we’ll explore 14 different conversation heart nail designs, each with detailed steps and tips to help you recreate them at home. Let’s dive into these super cute and sweet nail art ideas for the perfect Valentine’s Day!
Table of Contents
- 1. Classic Conversation Hearts with Cute Messages
- 2. Pastel Rainbow Hearts
- 3. Glittery Conversation Hearts
- 4. Neon Conversation Hearts
- 5. Black and White Conversation Hearts
- 6. Gold Foil Conversation Hearts
- 7. Gradient Conversation Hearts
- 8. Floral Conversation Hearts
- 9. Glitter Gradient Conversation Hearts
- 10. Metallic Conversation Hearts
- 11. Red Velvet Conversation Hearts
- 12. 3D Conversation Hearts
- 13. Half-and-Half Conversation Hearts
- 14. Clear Base with Floating Conversation Hearts
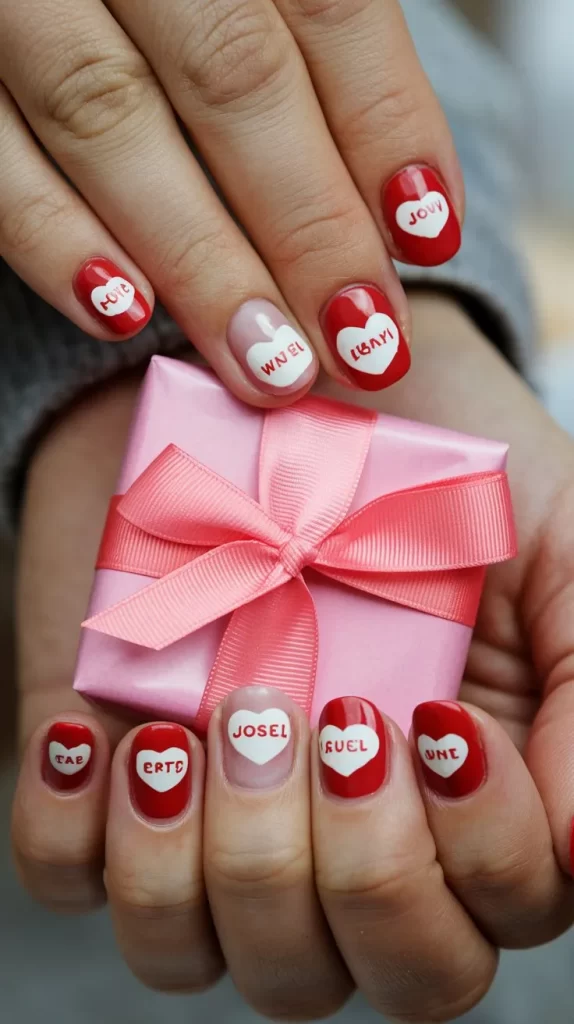
1. Classic Conversation Hearts with Cute Messages
The most iconic version of conversation heart nails, featuring colorful hearts and sweet messages like “LOVE,” “BE MINE,” and “XOXO.”
Steps:
- Start with a base coat of soft pink or nude.
- Use a dotting tool or fine brush to paint small heart shapes at the tips of each nail with different pastel colors (pink, yellow, purple, and blue).
- Once the hearts are dry, use a fine brush to paint tiny letters inside each heart to mimic the candy messages.
- Finish with a glossy top coat.
Tips:
- If you want clean, perfect heart shapes, use heart-shaped nail stickers as stencils.
- Use a steady hand for the tiny letters—this will take patience!
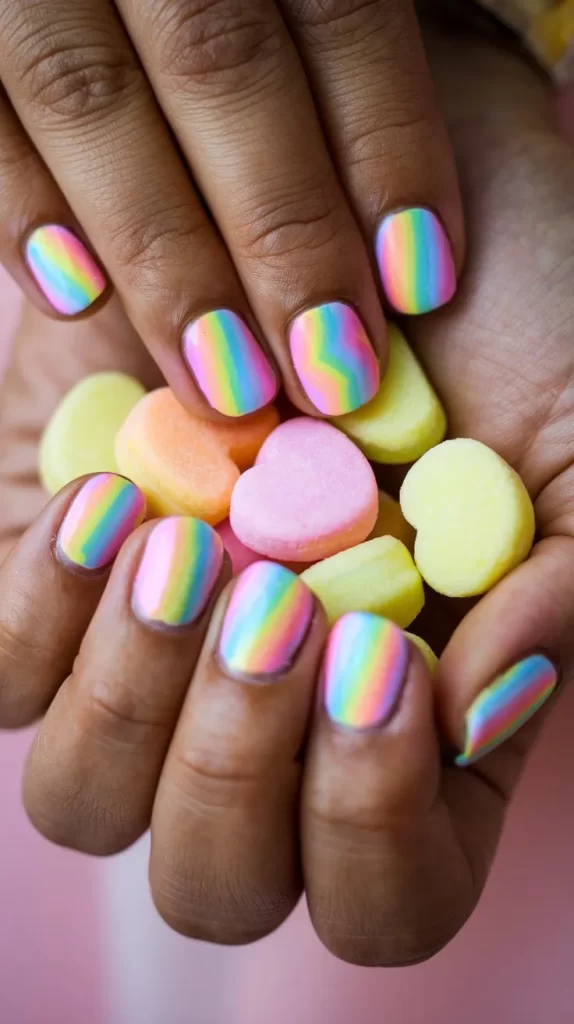
2. Pastel Rainbow Hearts
For a more playful and colorful twist, try creating a rainbow of pastel conversation hearts.
Steps:
- Paint each nail a different pastel shade—think soft pink, mint green, lavender, and baby blue.
- Use a fine brush to paint small heart shapes at the tips of each nail in a contrasting pastel color.
- Add tiny, cute phrases in the center of each heart.
- Seal everything with a top coat.
Tips:
- Stick to soft pastel shades for a cohesive and lighthearted look.
- For precision, use a nail art pen to write the messages inside the hearts.
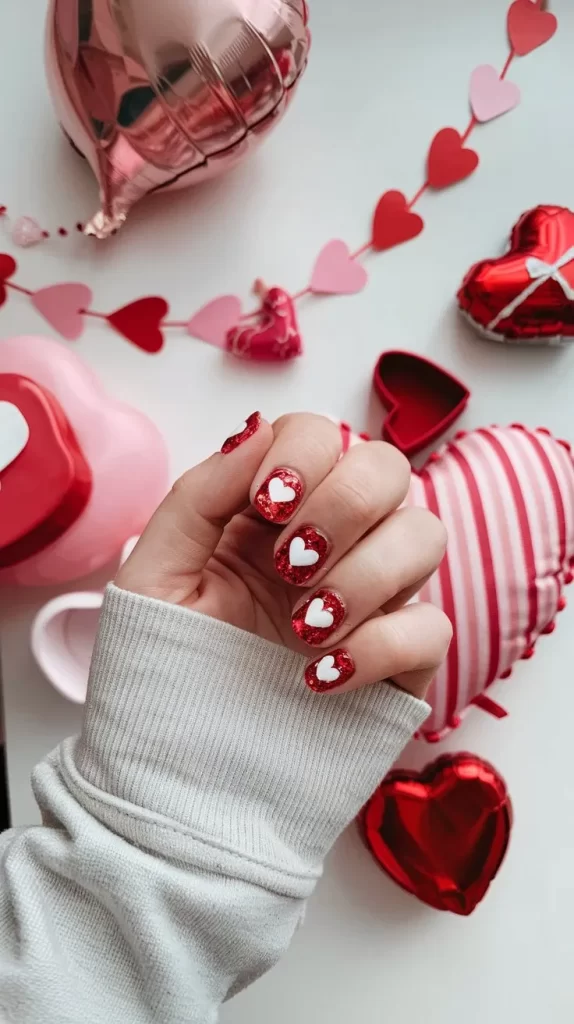
3. Glittery Conversation Hearts
For a sparkling, festive Valentine’s Day look, add some glitter to your conversation heart design!
Steps:
- Paint your nails with a soft pink or nude base coat.
- Using a fine brush, paint conversation heart shapes in bright, bold colors.
- Once the hearts are dry, apply a layer of glitter polish over each heart to make them shine.
- Finish with a top coat to keep everything in place.
Tips:
- Choose fine glitter for a more delicate sparkle that won’t overpower the hearts.
- Allow the glitter to dry thoroughly before adding a top coat to prevent smudging.
4. Neon Conversation Hearts
For a bold and modern take on the classic candy heart design, use neon colors to create vibrant conversation hearts.

Steps:
- Apply a white base coat to your nails for a bright background.
- Paint hearts in neon colors like bright pink, electric blue, and lime green on each nail.
- Add small black or white text in the center of each heart for the conversation message.
- Seal with a glossy top coat to finish the look.
Tips:
- Make sure to use neon colors that are opaque enough to show up clearly on a white base.
- Add multiple layers of neon polish to get the vibrant effect you want.
5. Black and White Conversation Hearts
If you prefer a more sophisticated and minimalist style, black and white conversation heart nails are a chic choice.
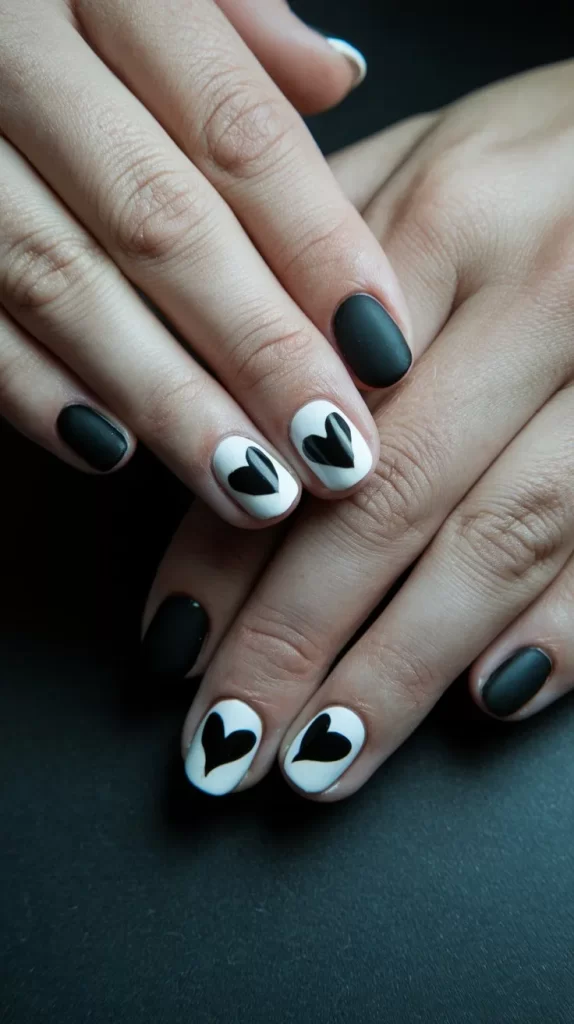
Steps:
- Start with a white base coat on your nails.
- Using a fine brush, paint black hearts on each nail.
- Inside each heart, write small white letters that look like candy messages.
- Finish with a matte top coat for an elegant touch.
Tips:
- The contrast of black and white is eye-catching, so make sure the hearts are evenly spaced for a clean look.
- For a smooth finish, allow each layer to dry completely before applying the next.
6. Gold Foil Conversation Hearts
For a luxurious twist, incorporate gold foil into your conversation heart design.
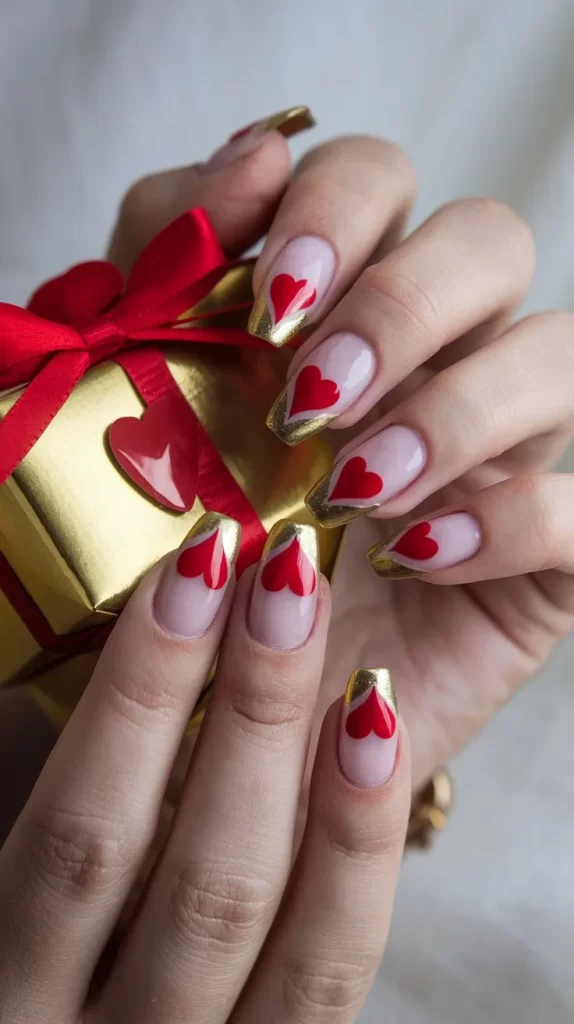
Steps:
- Paint your nails with a nude or soft pink base coat.
- Use a fine brush to create small hearts on the tips of your nails using vibrant colors.
- Once the hearts are dry, carefully apply small pieces of gold foil on top for a chic, luxurious effect.
- Seal with a glossy top coat to finish.
Tips:
- Use tweezers to place the gold foil pieces neatly on your nails.
- Be sure to press the foil gently to avoid tearing it.
7. Gradient Conversation Hearts
Create a beautiful ombre effect with conversation hearts by blending soft pastel colors.
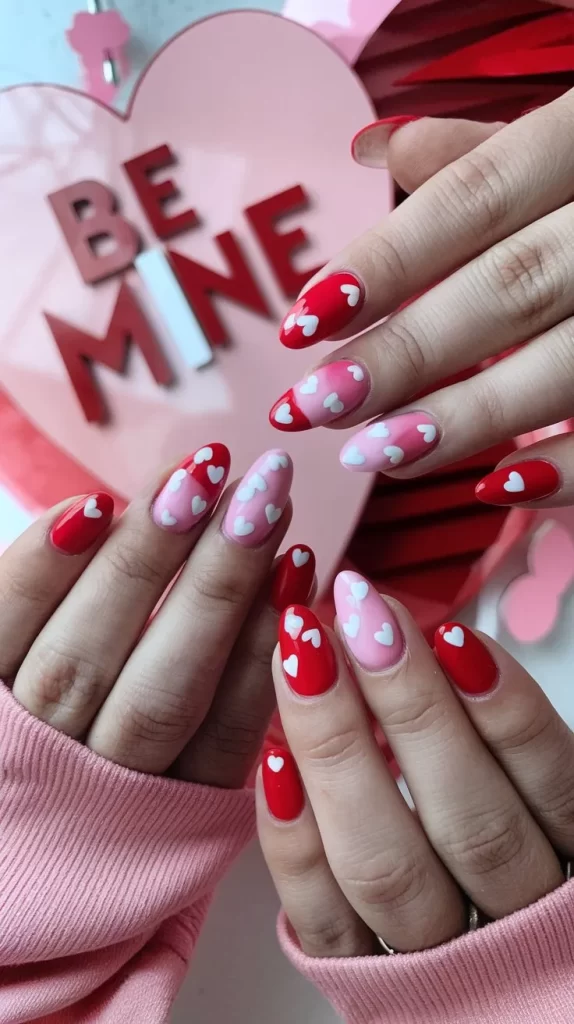
Steps:
- Apply a base coat of soft pink or nude.
- Create an ombré effect by blending pastel shades like lavender, mint green, and peach from tip to base.
- Once the gradient is dry, paint tiny hearts in contrasting pastel colors on the tips.
- Add cute, small phrases inside each heart.
- Seal everything with a top coat.
Tips:
- Use a makeup sponge to blend the colors together seamlessly.
- Be sure to allow the gradient to dry fully before applying the hearts.
8. Floral Conversation Hearts
Add a romantic floral touch to your conversation heart nails for a truly sweet look.
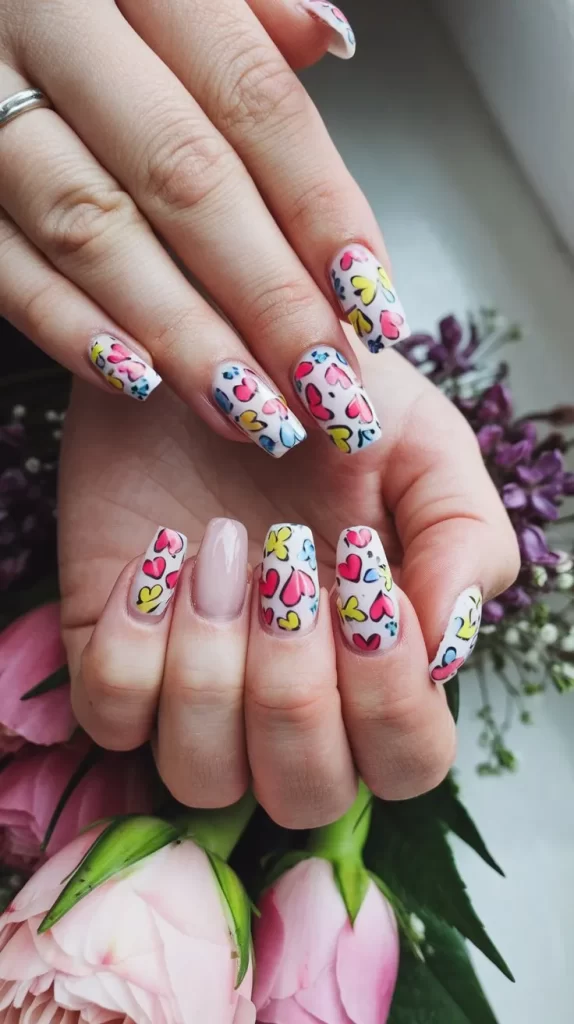
Steps:
- Paint your nails with a soft pink or nude base coat.
- Using a small brush, paint conversation hearts in pastel colors like light purple or peach.
- On one or two accent nails, paint small flowers (such as roses or daisies) around the hearts.
- Finish with a glossy top coat.
Tips:
- For a more delicate look, use pastel shades for the flowers instead of bold colors.
- Use a thin brush to paint the flowers to keep them small and detailed.
9. Glitter Gradient Conversation Hearts
Combine a glitter gradient with cute conversation hearts for extra sparkle!
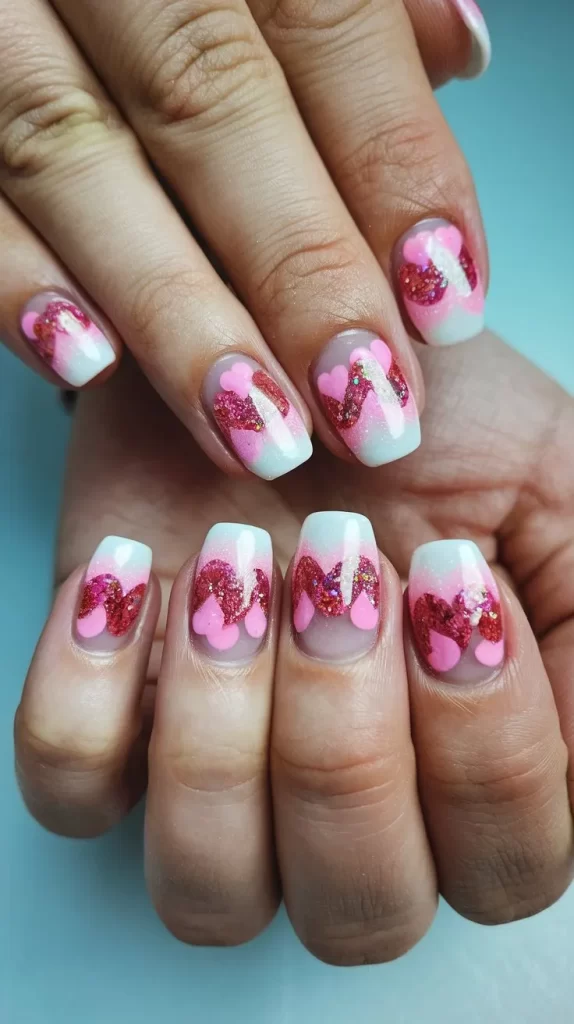
Steps:
- Start by painting your nails with a base coat in soft pink or white.
- Apply a glitter polish from the tips of your nails, blending it down for a glitter gradient.
- Once dry, use a fine brush to paint small hearts on each nail in different pastel colors.
- Add tiny phrases inside each heart and seal the design with a glossy top coat.
Tips:
- The glitter should start thin at the base and gradually build toward the tips for a seamless gradient.
- Allow each layer of glitter to dry before adding the hearts on top.
10. Metallic Conversation Hearts
For a more modern, bold twist, use metallic colors for your conversation heart nails.
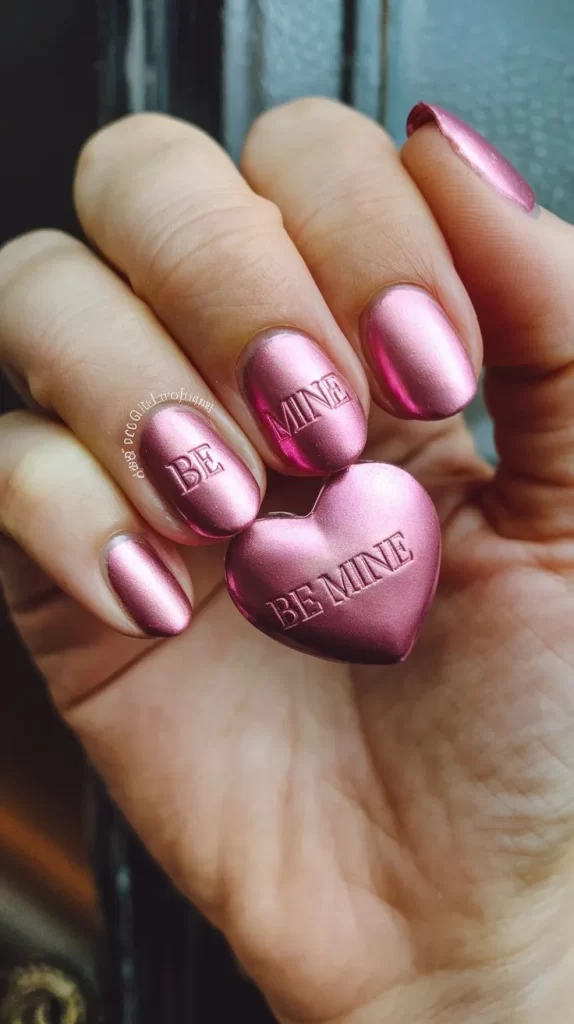
Steps:
- Start by painting your nails with a base coat in nude or soft pink.
- Apply metallic shades like gold, silver, and copper for the heart shapes.
- Add small, hand-painted phrases inside the metallic hearts.
- Finish with a glossy top coat.
Tips:
- Metallic colors can be streaky, so ensure you apply thin, even coats.
- Use a steady hand to paint the text inside the hearts for a clean, crisp look.
11. Red Velvet Conversation Hearts
For a rich, luxurious look, add a velvet-like texture to your conversation hearts with a red velvet effect.
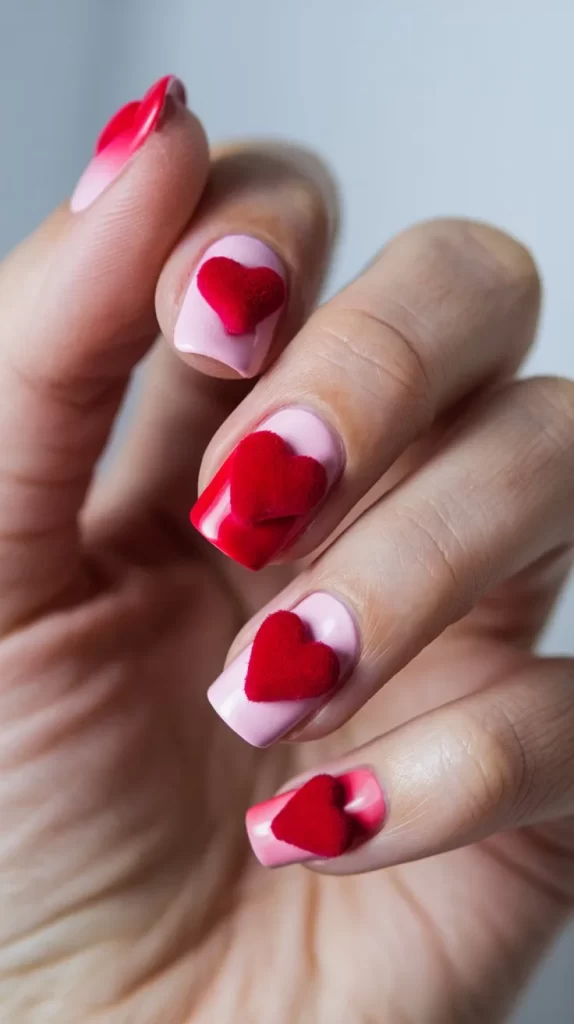
Steps:
- Apply a base coat in rich red or deep pink.
- Once the base is dry, use a velvet-texture powder (available in most nail art kits) to create a soft, velvety finish on each heart.
- Use a fine brush to paint cute messages inside the hearts.
- Seal the design with a top coat.
Tips:
- Velvet powder creates a textured finish, so be careful when applying the top coat to avoid smudging.
- Choose deeper, rich shades for the heart designs to create a luxurious effect.
12. 3D Conversation Hearts
For an eye-catching design, try creating 3D conversation hearts with raised detailing.
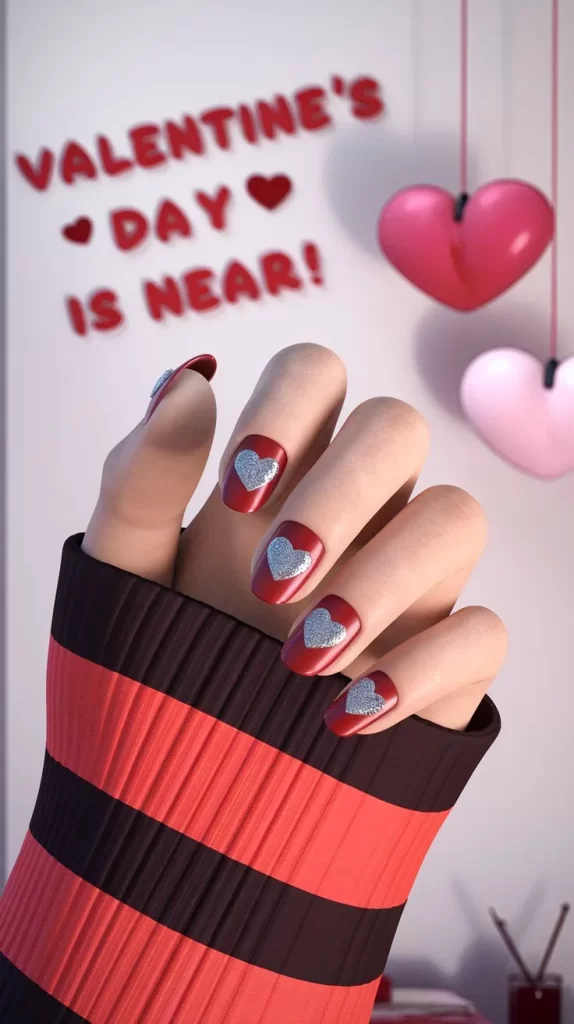
Steps:
- Start with a nude or soft pink base coat.
- Use small 3D acrylic hearts or nail stickers to create the conversation hearts on each nail.
- Add tiny phrases using a fine brush or nail art pen.
- Seal the design with a thick top coat to protect the 3D hearts.
Tips:
- 3D embellishments require a thicker top coat to ensure they stay in place.
- Use tweezers to position the acrylic hearts precisely.
13. Half-and-Half Conversation Hearts
For a cute and quirky twist, create half-and-half hearts with contrasting colors.
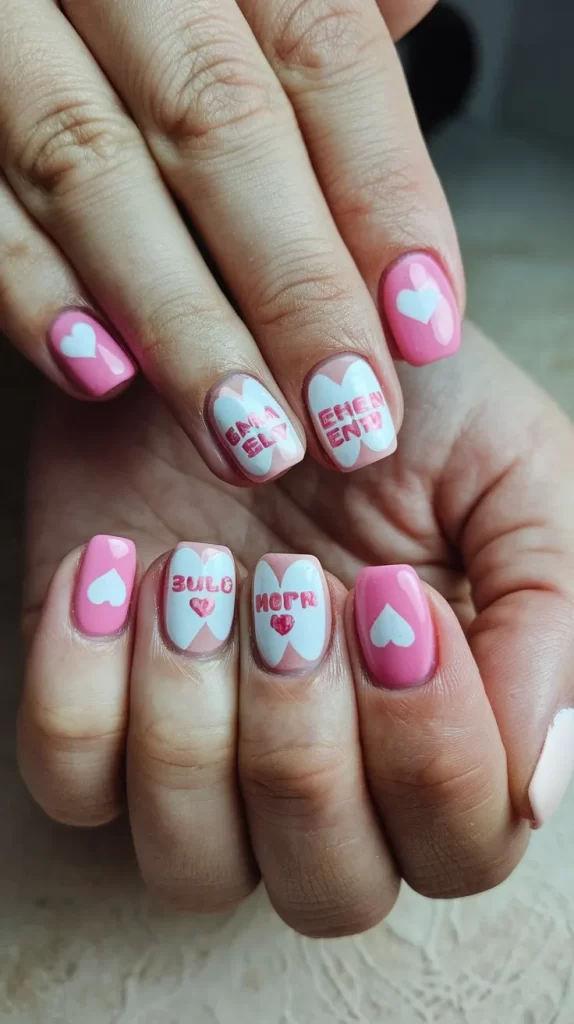
Steps:
- Paint your nails with a soft pink base.
- Using a fine brush, create conversation hearts on each nail with one half painted in one color (like yellow) and the other half in a contrasting color (like blue).
- Add the text in a matching or complementary color inside the hearts.
- Finish with a top coat to seal the design.
Tips:
- Make sure the hearts are evenly divided for a balanced look.
- Use a small brush for the letters to ensure they fit inside the tiny hearts.
14. Clear Base with Floating Conversation Hearts
For a minimalist approach, use a clear base and create floating hearts with cute text.
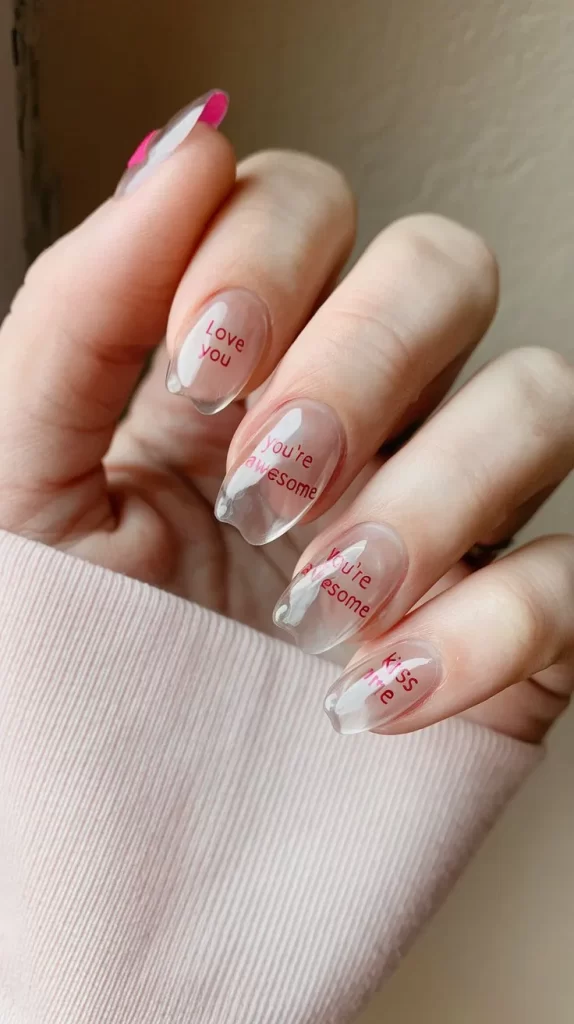
Steps:
- Apply a clear base coat on your nails.
- Using a fine brush, paint tiny hearts and phrases in different colors across the nail.
- Scatter the hearts across the nail without grouping them together for a floating effect.
- Seal with a top coat.
Tips:
- Keep the design light and airy to maintain the minimalist vibe.
- Use bright colors for the hearts to make them pop against the clear base.
Conclusion
These 14 adorable conversation heart nails will give you the sweetest Valentine’s Day look! From classic pastel hearts with cute messages to bold neon and glitter designs, there’s a conversation heart style for every personality. Have fun with your creativity and embrace the season of love with these sweet nail designs!
