Get ready for some seriously messy (in the best way possible!) outdoor fun! A mud kitchen is a fantastic way to encourage imaginative play, connect children with nature, and develop their creativity. Forget fancy toys – the earth itself provides endless possibilities. We’ve gathered over 15 exciting mud kitchen ideas to inspire you and your little ones. Let’s dig in!
Table of Contents
- 1. The Classic Single Sink Station
- 2. The Double Feature Sink
- 3. The Pallet Powerhouse
- 4. The Log Slice Countertop
- 5. The Tire Transformation
- 6. The Bucket Brigade Kitchen
- 7. The Mini Mud Pie Factory
- 8. The Muddy Potion Station
- 9. The Outdoor Bakery
- 10. The Muddy Construction Zone
- 11. The Nature Art Kitchen
- 12. The Herb Garden Mud Kitchen
- 13. The Water Play Combo Kitchen
- 14. The Upcycled Furniture Kitchen
- 15. The Seasonal Mud Kitchen
1. The Classic Single Sink Station
A simple yet effective starting point. This setup features a designated area for “washing” and mixing, fostering early imaginative play.
Steps:
- Find a sturdy, low table or a stable tree stump.
- Place a shallow container (like an old washing-up bowl or a plastic tub) on top to act as the sink.
- Gather some basic utensils like spoons, whisks, and old pots.
Tips: Offer different “water” sources like watering cans or buckets for added realism.
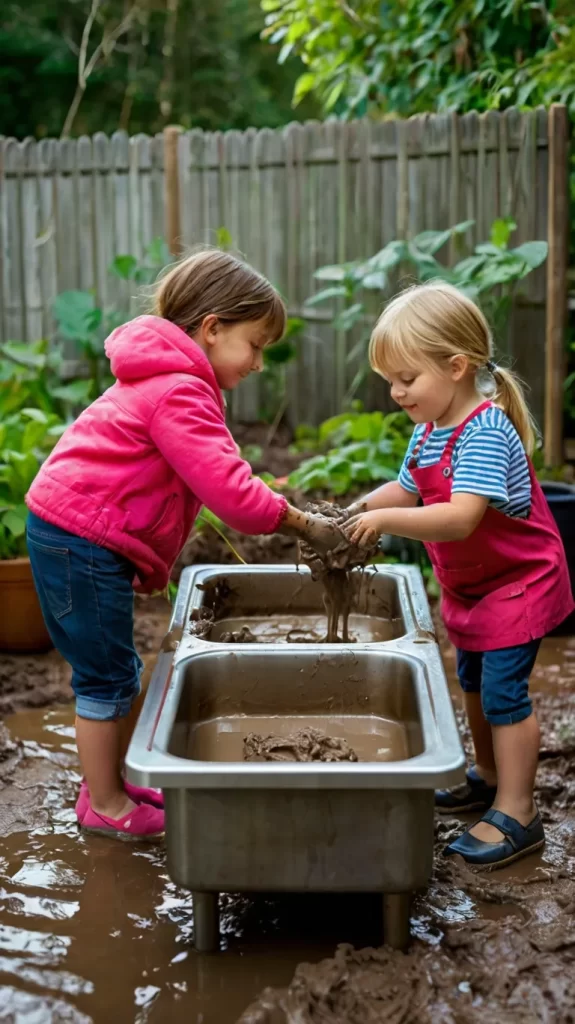
2. The Double Feature Sink
Double the washing, double the fun! Two separate sink areas allow for more collaborative play or dedicated “washing” and “cooking” zones.
Steps:
- Use a slightly longer low table or two smaller tables placed side-by-side.
- Position two shallow containers on the surface.
- Provide a variety of utensils and containers for each sink.
Tips: Encourage sharing and turn-taking if multiple children are playing.
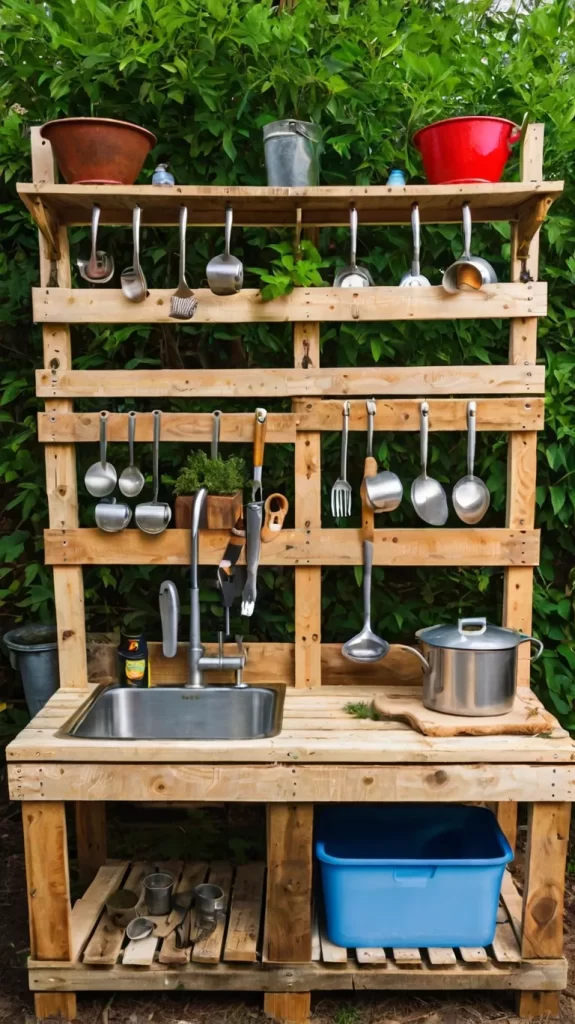
3. The Pallet Powerhouse
Upcycle a wooden pallet into a multi-tiered mud kitchen with built-in shelves and work surfaces.
Steps:
- Source a clean and sturdy wooden pallet.
- Secure it upright against a wall or fence.
- Add wooden planks or shelves to create different levels for working and storage.
- Attach hooks for hanging utensils.
Tips: Ensure the pallet is stable and sand down any rough edges.
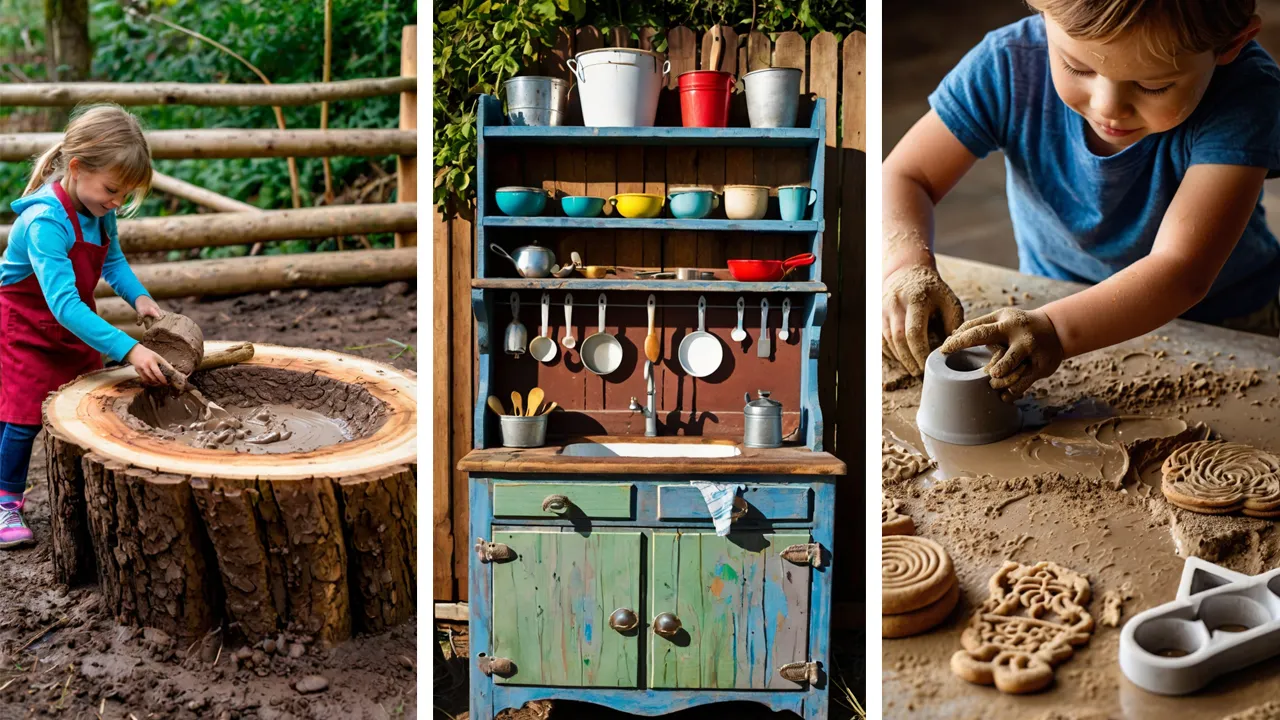
4. The Log Slice Countertop
Bring a rustic touch with thick slices of logs serving as unique countertops.
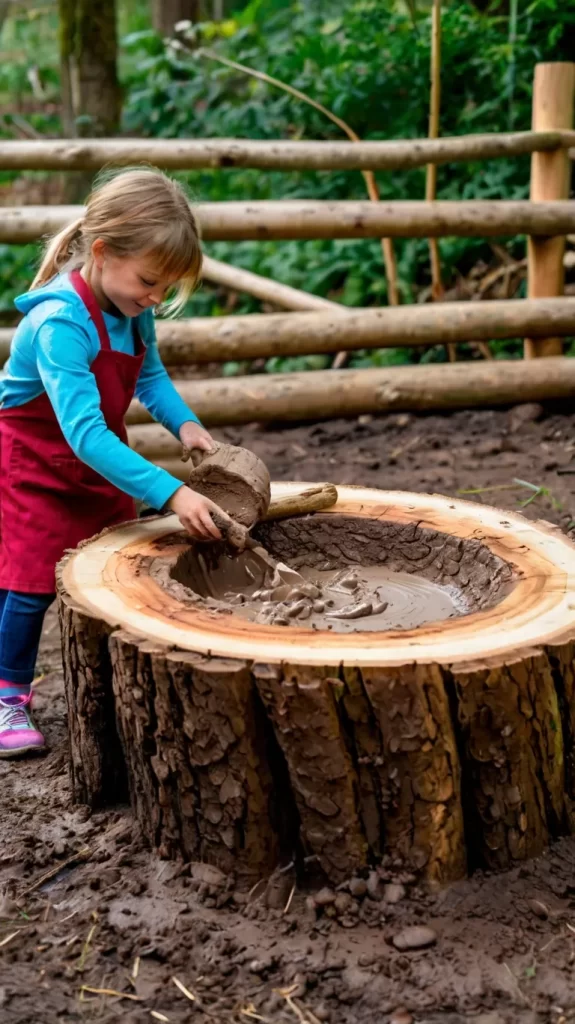
Steps:
- Find or create sturdy, flat log slices of varying heights.
- Arrange them securely to form a countertop or individual workstations.
- Add natural elements like smaller log rounds for “stovetops.”
Tips: Ensure the log slices are stable and won’t wobble during play.
5. The Tire Transformation
Repurpose old tires into a quirky and durable mud kitchen base or individual cooking stations.
Steps:
- Clean old tires thoroughly.
- Stack them securely or arrange them side-by-side.
- Place wooden planks or sturdy cardboard on top to create work surfaces.
Tips: Paint the tires in bright colors for a playful look.
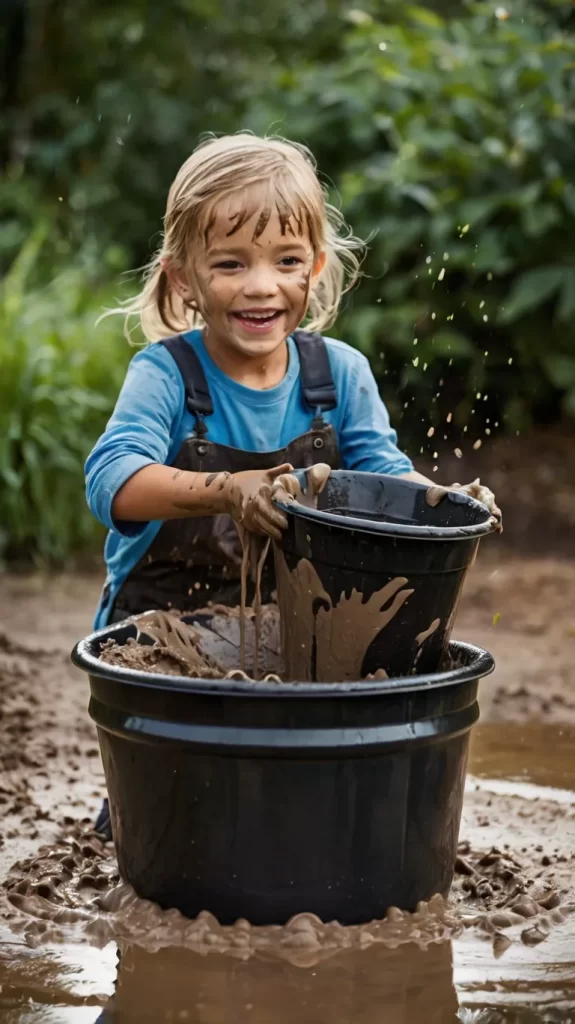
6. The Bucket Brigade Kitchen
A portable and easily customizable option using buckets as individual workstations or storage.
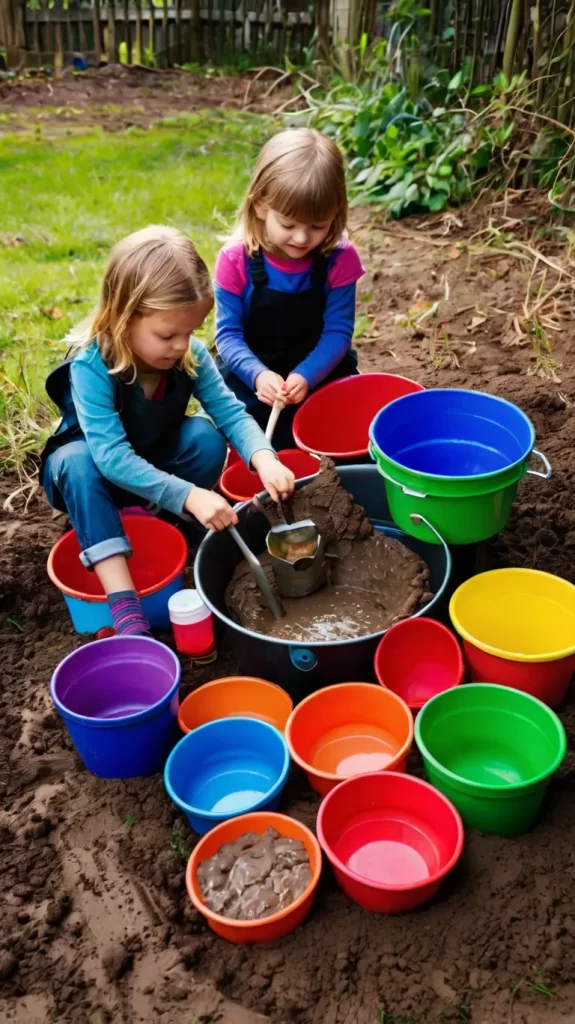
Steps:
- Gather several sturdy buckets of different sizes.
- Arrange them in a cluster or line them up.
- Use lids or small planks of wood as temporary work surfaces.
Tips: This is a great option for small spaces or for taking the mud kitchen fun on the go.
7. The Mini Mud Pie Factory
Focus on creating a dedicated area for making mud pies with molds and natural decorations.
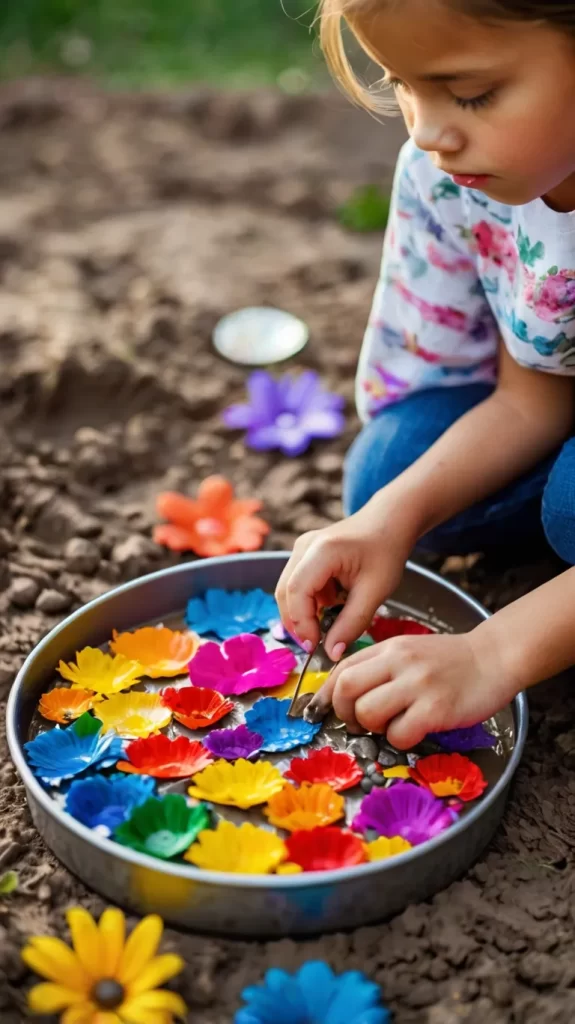
Steps:
- Designate a small area with a flat surface (a tray or a small table).
- Provide various molds (old baking tins, plastic containers).
- Collect natural decorating materials like pebbles, leaves, and flower petals.
Tips: Show children how to gently press the mud into the molds.
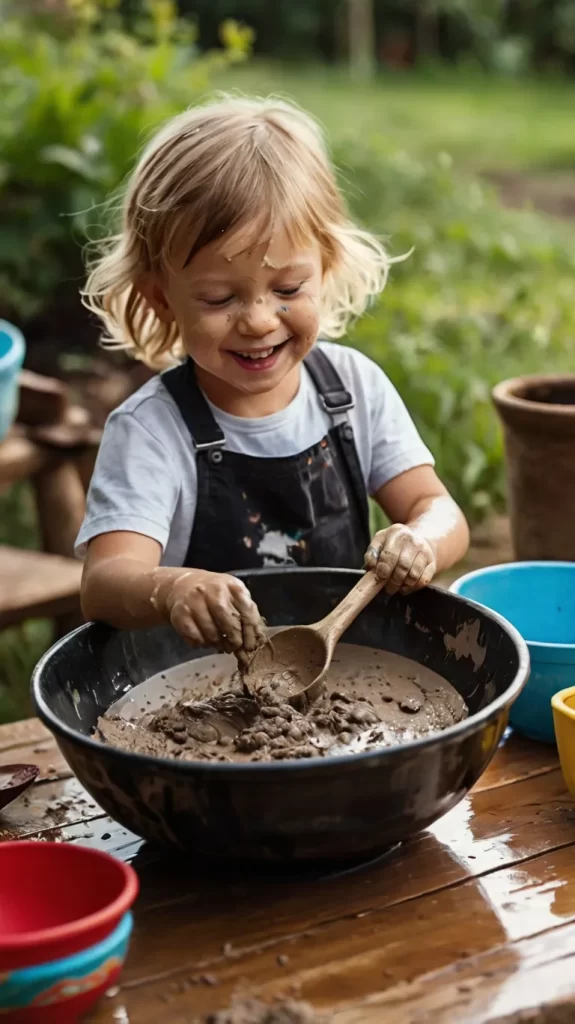
8. The Muddy Potion Station
Encourage imaginative concoctions with a setup focused on mixing and “brewing” muddy potions.

Steps:
- Gather various containers like jars, bottles, and bowls.
- Provide stirring tools like sticks and spoons.
- Offer natural “ingredients” like water, sand, soil, leaves, and berries.
Tips: Talk about different textures and colors as they mix their potions.
9. The Outdoor Bakery
Create a bakery theme with rolling pins, cookie cutters, and designated areas for “kneading” and “baking.”

Steps:
- Provide a smooth surface for “rolling” (a flat stone or wooden board).
- Offer rolling pins (small wooden dowels work well) and cookie cutters.
- Designate an area as the “oven” (a cardboard box or a marked-off space).
Tips: Encourage them to describe their “baked goods.”
10. The Muddy Construction Zone
Combine mud play with building by providing tools for shaping and molding the mud.
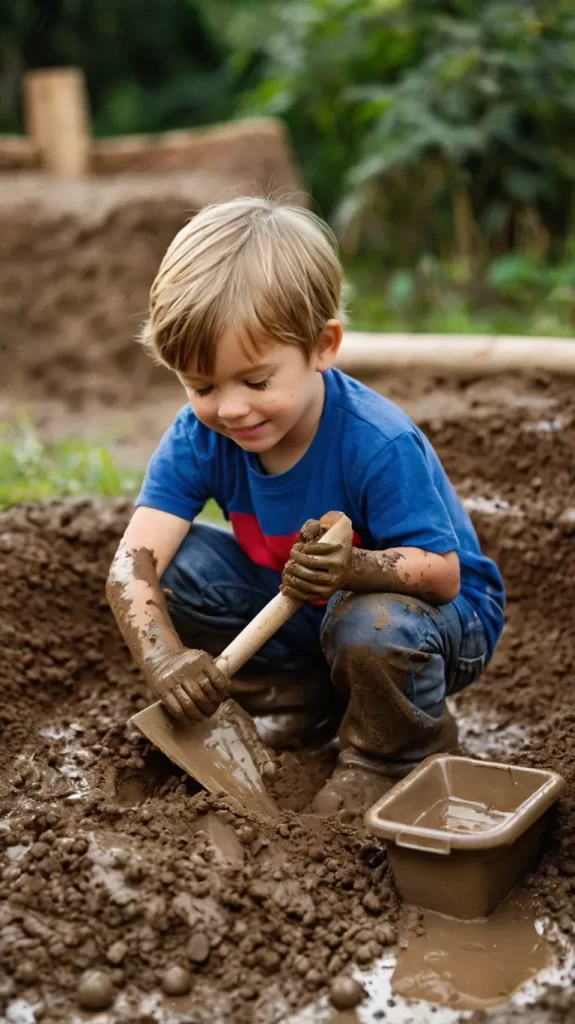
Steps:
- Offer small shovels, trowels, and molds (buckets, containers).
- Provide water for mixing different consistencies of mud.
- Encourage building structures like mud castles or roads.
Tips: Discuss different building techniques and the properties of wet and dry mud.
11. The Nature Art Kitchen
Integrate natural art into the mud kitchen experience by using mud as paint and natural items as brushes and canvases.
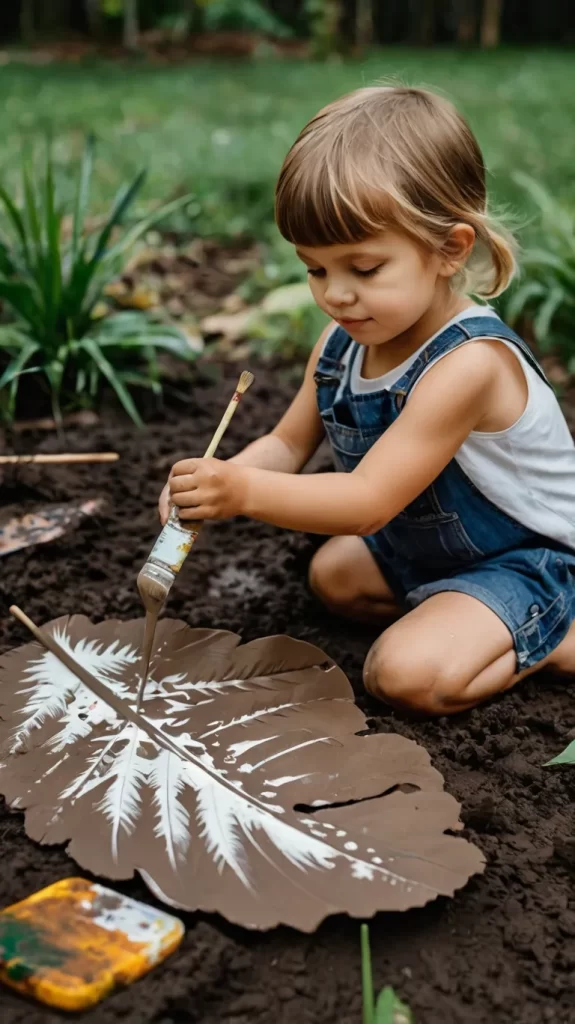
Steps:
- Prepare different consistencies of mud “paint.”
- Gather natural “brushes” like sticks, leaves, and feathers.
- Provide natural “canvases” like large leaves, stones, or cardboard.
Tips: Explore how different natural materials create different textures when used as brushes.
12. The Herb Garden Mud Kitchen
Incorporate real herbs into the mud kitchen for sensory exploration and imaginative cooking.
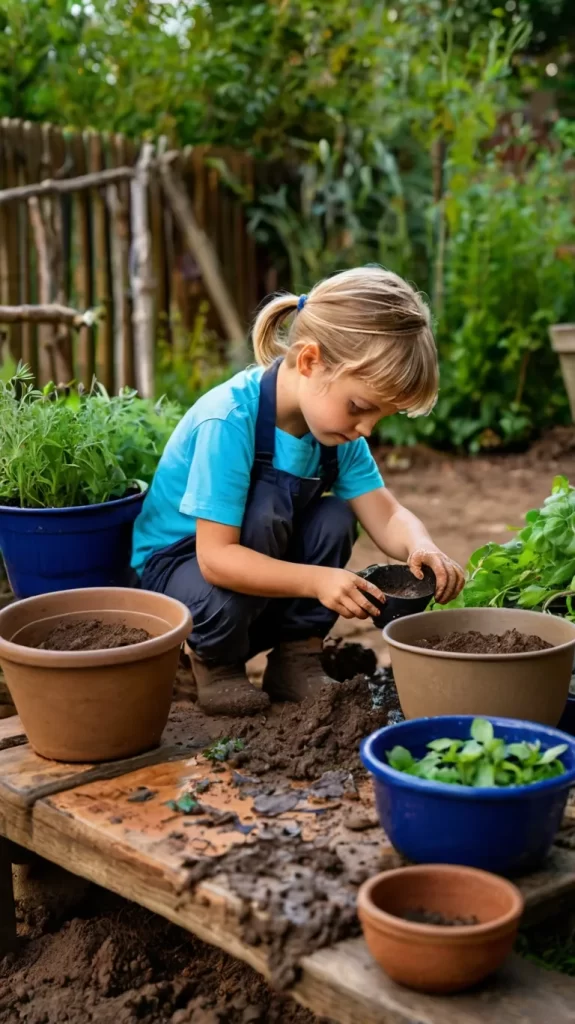
Steps:
- Plant a small selection of child-friendly, fragrant herbs like mint, rosemary, and lavender in pots near the mud kitchen.
- Encourage children to pick and “use” the herbs in their muddy creations.
Tips: Talk about the different smells and textures of the herbs.
13. The Water Play Combo Kitchen
Combine the fun of mud with water play for extra sensory exploration.
Steps:
- Include a water source nearby (a bucket of water, a hose on a gentle setting).
- Provide tools for transferring and pouring water (watering cans, jugs).
- Encourage experimentation with different mud and water consistencies.
Tips: Dress children in appropriate clothing for getting wet and muddy!
14. The Upcycled Furniture Kitchen
Give old, unwanted furniture a new lease of life as a unique mud kitchen.
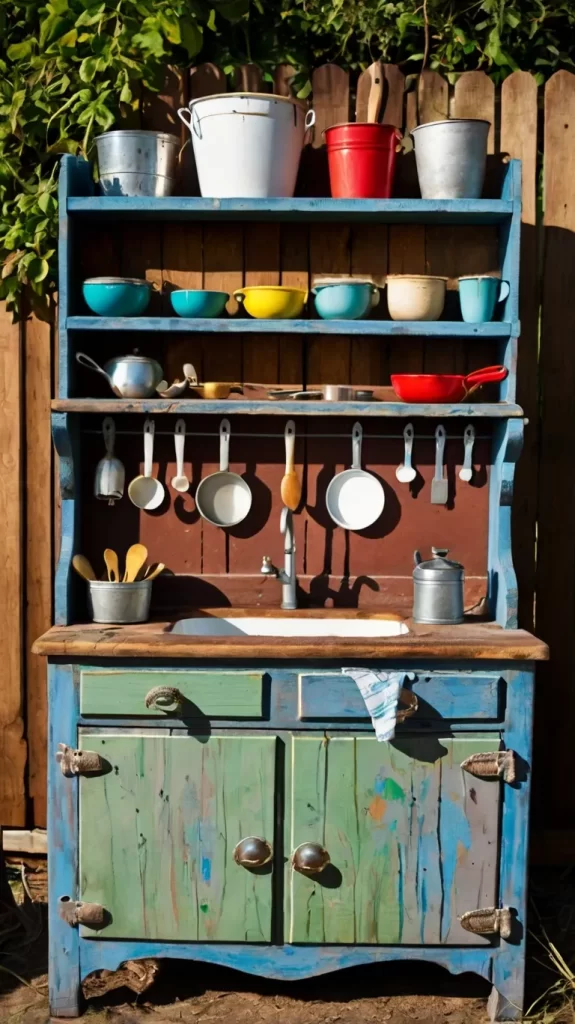
Steps:
- Source an old sturdy piece of furniture like a small dresser, a bedside table, or a bookshelf.
- Clean it thoroughly and secure any loose parts.
- Add a sink (a plastic bowl) and hooks for utensils.
Tips: Let children help choose the furniture and decorate it.
15. The Seasonal Mud Kitchen
Adapt the mud kitchen and its “ingredients” to reflect the changing seasons.

Steps:
- Encourage the use of seasonal natural materials like fallen leaves in autumn, snow and pinecones in winter, blossoms in spring, and sand and shells in summer.
- Adjust the activities to suit the weather (e.g., making “snow soup” or “sandcastles”).
Tips: This helps children connect with the natural cycles of the year.
These are just a few ideas to get you started. The most important ingredient in any mud kitchen is a child’s imagination! So, gather your materials, embrace the mess, and watch the outdoor adventures unfold. Happy mudding!