Transform your home with these affordable wood ceiling projects! Discover 15 budget-friendly DIY Wood Ceiling ideas designed for American homeowners seeking warmth, charm, and style. Each concept includes clear steps and expert tips to help you visualize your final look.
Table of Contents
- 1. Classic Pine Plank Ceiling
- 2. Reclaimed Wood Ceiling
- 3. Faux Wood Beam Accents
- 4. Whitewashed Plank Ceiling
- 5. Plywood Panel Ceiling
- 6. Herringbone Pattern Ceiling
- 7. Shiplap Wood Ceiling
- 8. Wood Slat Ceiling
- 9. Coffered Wood Ceiling
- 10. Beadboard Plank Ceiling
- 11. Stained Wood Ceiling
- 12. Pallet Wood Ceiling
- 13. Painted Wood Ceiling
- 14. Engineered Wood Ceiling Panels
- 15. Chevron Pattern Ceiling
- General Tips for DIY Wood Ceilings in the USA
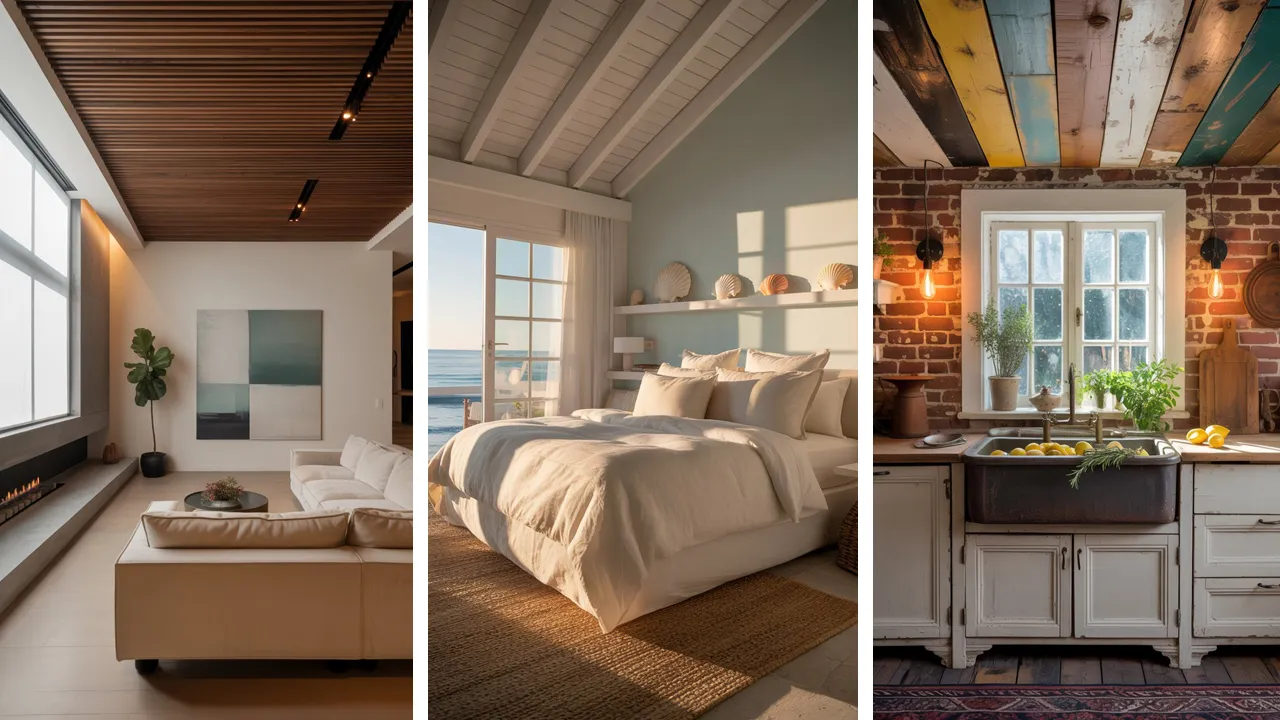
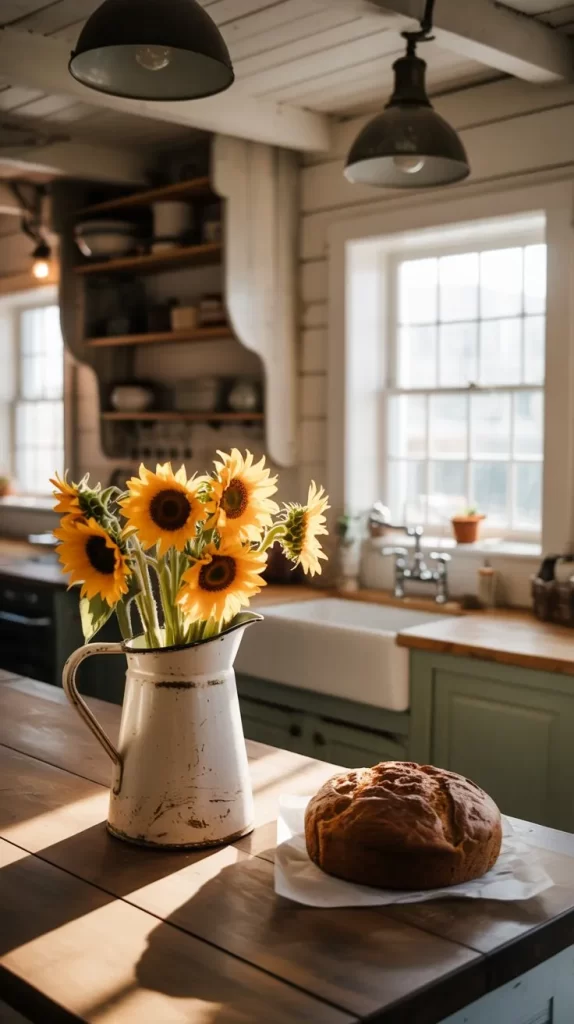
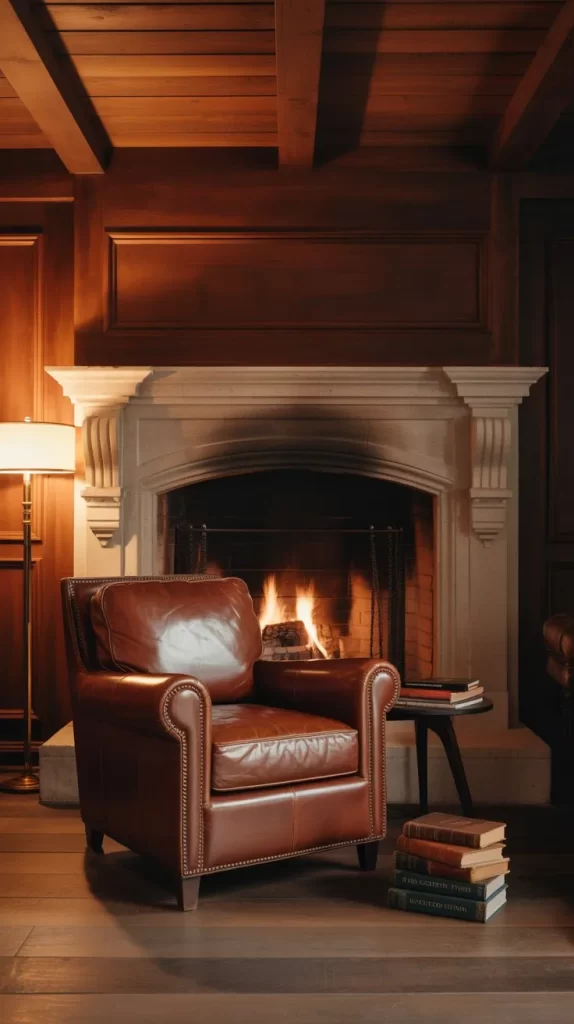
1. Classic Pine Plank Ceiling
Pine is affordable, easy to find at most US hardware stores, and looks fantastic painted or stained. It instantly warms up any room and suits rustic or farmhouse interiors.
Steps:
- Measure your ceiling and calculate needed plank square footage.
- Cut pine boards to fit room dimensions.
- Secure boards directly to joists or on furring strips using a nail gun.
- Stagger seams for a seamless look.
- Sand, stain or paint as desired, then finish with clear coat.
Tip: Let wood acclimate to your home for 48 hours before installation to prevent warping.
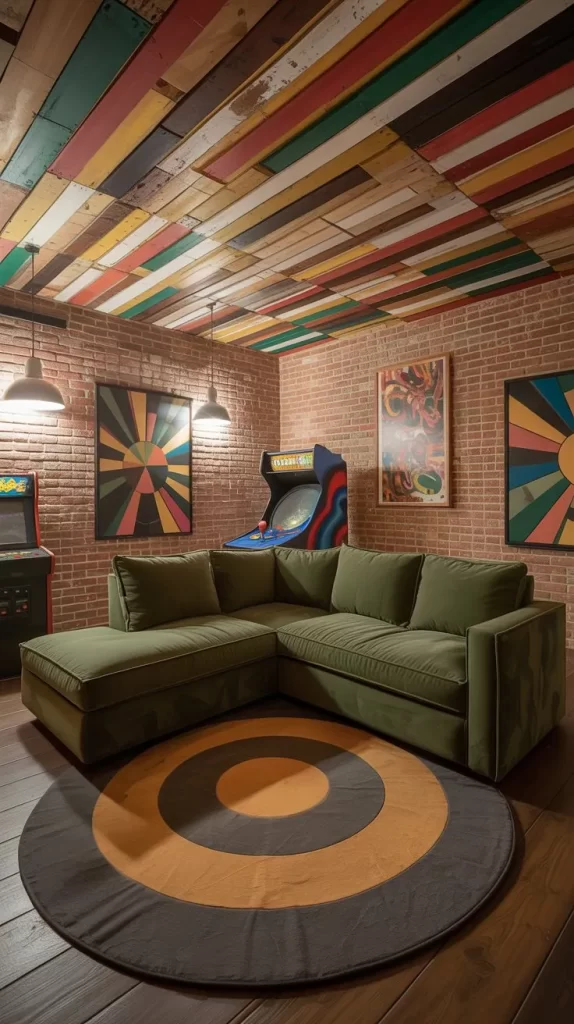
2. Reclaimed Wood Ceiling
Reclaimed wood is unique and often free or low-cost. Each piece brings its own character, giving your ceiling a story.

Steps:
- Source reclaimed wood from local yards, salvage shops, or Craigslist.
- Clean and sand boards to remove debris.
- Arrange planks on the floor for best layout.
- Attach boards to furring strips with screws or brad nails.
- Seal with a matte polyurethane.
Tip: Double-check for nails before cutting or installing reclaimed wood.
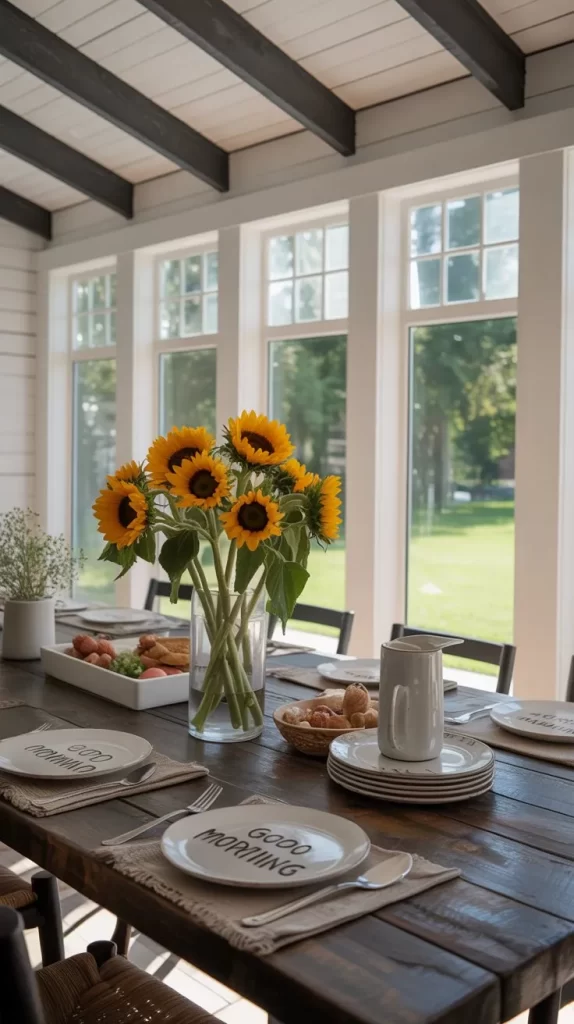
3. Faux Wood Beam Accents
Faux beams made from pine or MDF add visual interest, creating a farmhouse or craftsman vibe for less.
Steps:
- Build hollow “U” shaped beams from 1”x6” boards or purchase pre-made beams.
- Stain to match desired look.
- Stud-find and mark joists.
- Attach beams with long screws or angle brackets.
Tip: Space beams evenly for symmetry—use string lines for guidance.
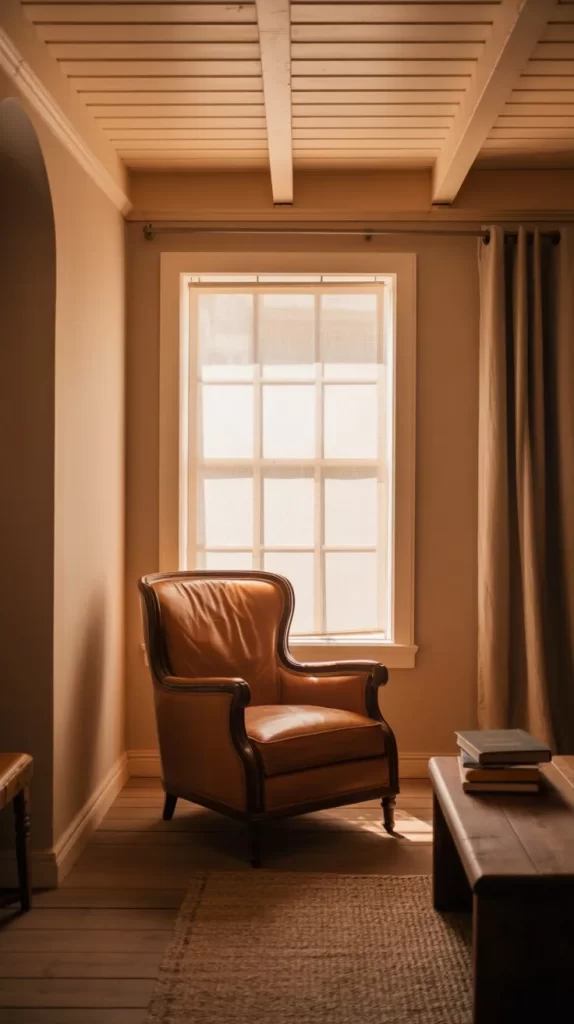
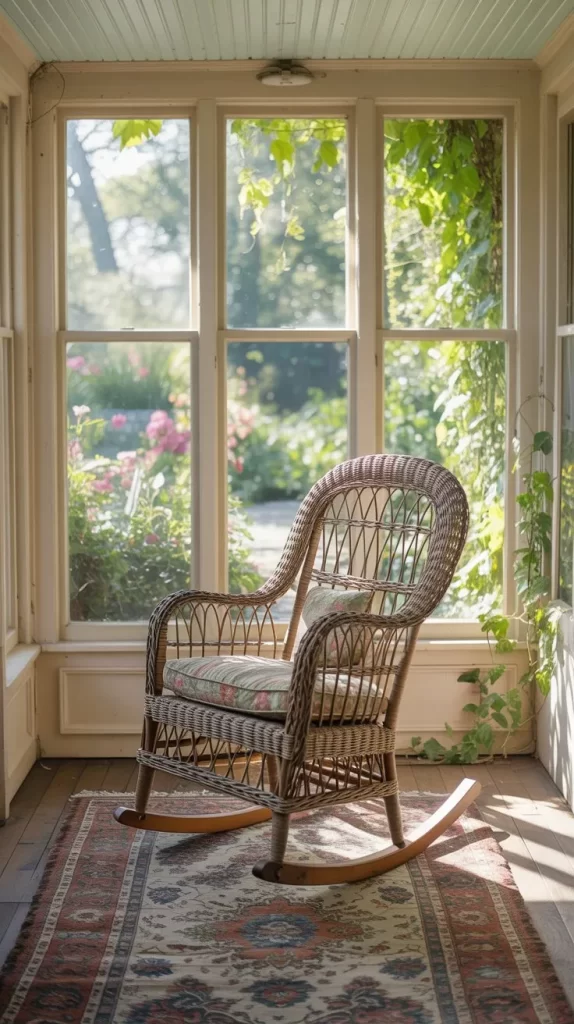
4. Whitewashed Plank Ceiling
Whitewashing inexpensive wood planks gives a coastal or cottage look, softening the room and amplifying natural light.

Steps:
- Install pine or poplar planks as normal.
- Mix white paint with water (1:1 ratio).
- Brush onto ceiling planks, wiping excess with cloth.
- Let dry and apply a second coat if needed.
Tip: Test whitewash on a scrap plank first to adjust opacity.
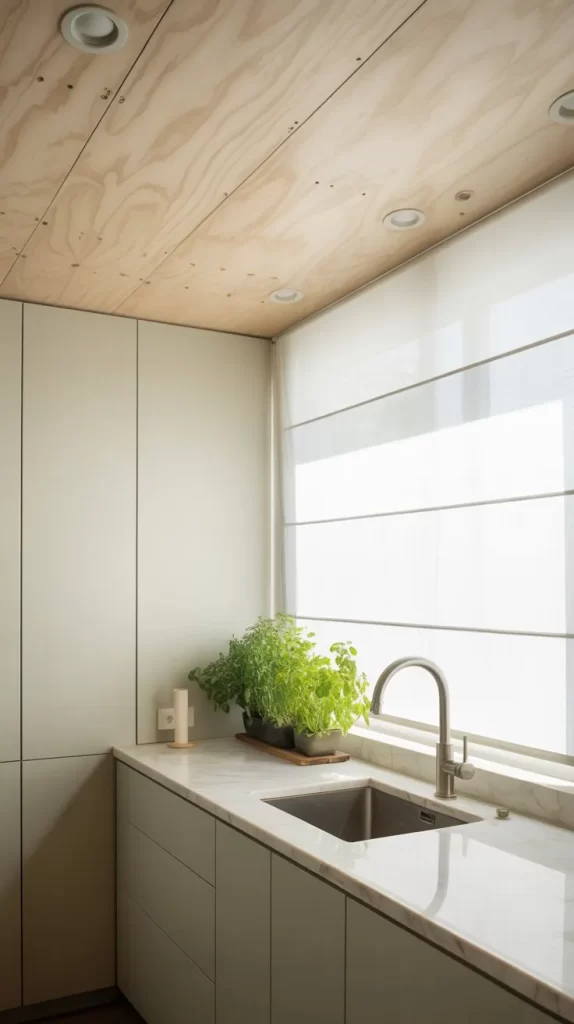
5. Plywood Panel Ceiling
Large plywood sheets are cost-effective and can create a seamless, contemporary ceiling when sanded and sealed.
Steps:
- Cut plywood into strips or leave as large sheets.
- Secure to ceiling joists with screws.
- Fill seams with wood filler.
- Sand, stain, or paint as preferred.
Tip: Choose quality plywood with minimal knots for a smooth finish.
6. Herringbone Pattern Ceiling
Arranging planks in a herringbone pattern creates a bold ceiling focal point, especially in entryways or home offices.
Steps:
- Cut planks to identical lengths.
- Mark centerline on ceiling.
- Begin pattern at center, working outward at 45-degree angles.
- Nail or glue boards in place.
- Finish with trim around edges.
Tip: Pre-lay your pattern on the ground to plan board cuts and placement.
7. Shiplap Wood Ceiling
Shiplap planks create a clean, uniform look and are easy for DIYers. Use MDF or pine for low cost.
Steps:
- Measure and plan layout.
- Install shiplap boards with the groove facing out.
- Stagger seams along ceiling.
- Secure with brad nails.
- Caulk edges for a finished look.
Tip: Paint shiplap boards before installing to save time.
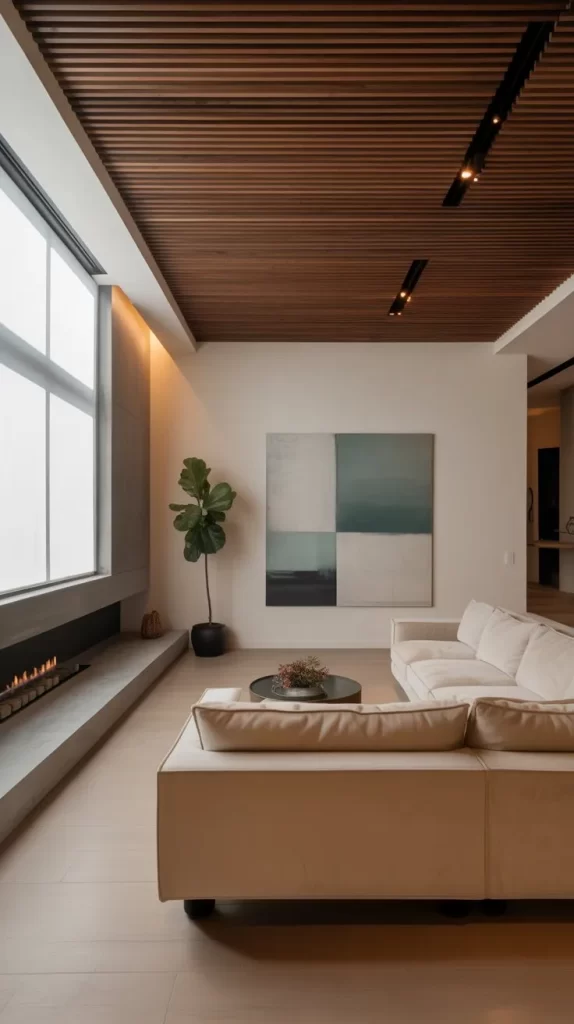
8. Wood Slat Ceiling
Thin wooden slats installed with small gaps create texture, reduce echo, and deliver a Scandinavian or mid-century vibe.
Steps:
- Paint ceiling dark for shadow effect.
- Attach furring strips perpendicular to intended slat direction.
- Cut and space 1×2 or 1×3 boards evenly.
- Nail or screw into furring strips.
Tip: Use a spare slat as a spacer for perfectly even gaps.
9. Coffered Wood Ceiling
Building shallow coffer grids with MDF or pine trim mimics high-end looks. Paint inside boxes for drama.

Steps:
- Mark beam and grid layout with chalk.
- Attach border molding around ceiling.
- Frame boxes with pine or MDF strips.
- Caulk and paint as desired.
Tip: Keep grids large to reduce material and cutting costs.
10. Beadboard Plank Ceiling
Beadboard planks are lightweight and budget-friendly, providing texture without overwhelming the space.
Steps:
- Cut panels or planks to ceiling length.
- Nail to joists or furring strips.
- Paint or stain as desired.
- Hide seams with trim.
Tip: Use full panels in large areas for faster installation.
11. Stained Wood Ceiling
Use inexpensive pine or poplar planks stained in rich tones to create a cozy, lodge-inspired look.
Steps:
- Install ceiling planks.
- Sand smooth.
- Apply wood conditioner, then stain.
- Seal with polyurethane.
Tip: Stagger color by using multiple stains for a reclaimed or farmhouse appearance.
12. Pallet Wood Ceiling
Free pallets (check local stores or Facebook Marketplace!) become a statement ceiling with no two planks alike.
Steps:
- Disassemble and sand pallets.
- Sort by color and length.
- Attach to ceiling in random pattern.
- Seal with clear polyurethane.
Tip: Heat-treat (HT) stamped pallets are safest for indoor use.
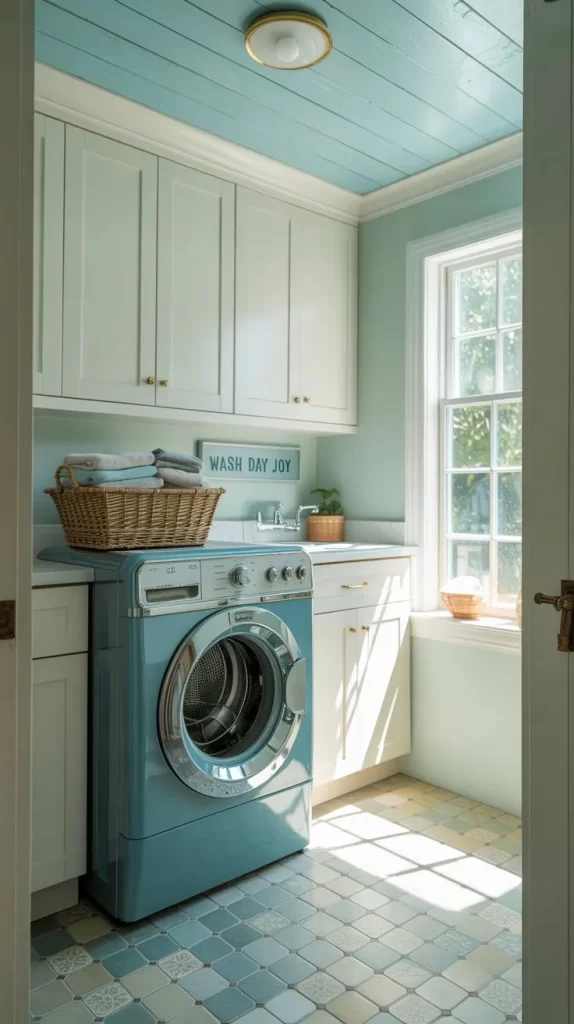
13. Painted Wood Ceiling
Painted wood ceilings can liven up a kid’s room, office, or laundry space. Use budget pine and primer.
Steps:
- Install wood planks or panels.
- Fill nail holes and joints.
- Prime then paint in your chosen color.
- Apply two coats for full coverage.
Tip: Satin paint sheen balances durability and touch-up ease.
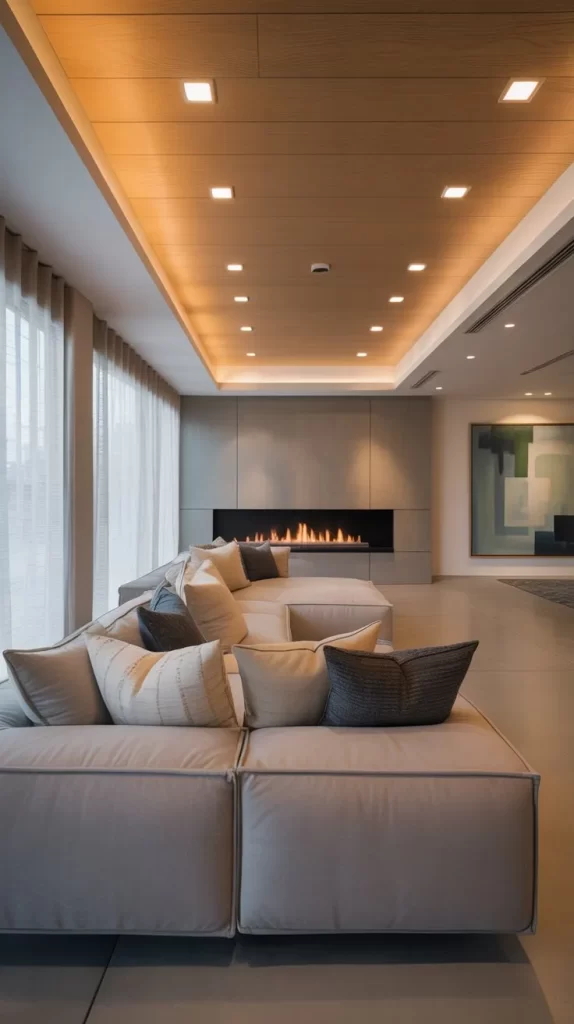
14. Engineered Wood Ceiling Panels
Engineered wood (e.g., laminate or veneer panel) ceilings come in various finishes, offering the look of expensive hardwood for less.
Steps:
- Cut panels to fit ceiling dimensions.
- Attach furring strips if needed.
- Secure panels with adhesive or finishing nails.
- Cover seams with matching trim.
Tip: Check manufacturer guidelines for moisture-prone rooms.
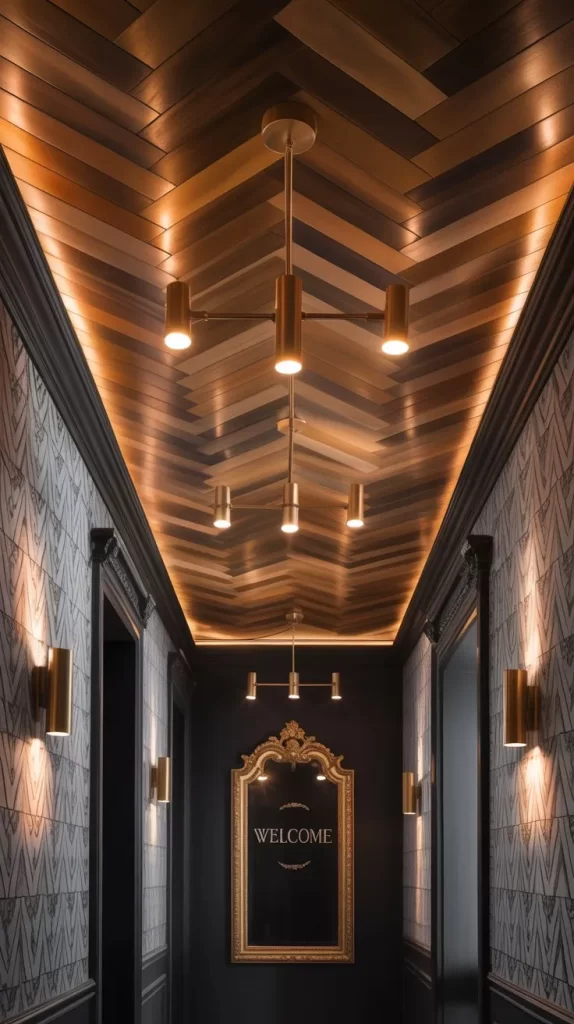
15. Chevron Pattern Ceiling
Chevron-patterned planks (all boards meet at center at an angle, forming a V) look incredible above foyers and accent ceilings.
Steps:
- Lay out central guideline.
- Cut planks at matching angles (typically 45°).
- Attach each side, meeting in middle.
- Add border trim for crisp finish.
Tip: Work from the center out for perfect alignment.
General Tips for DIY Wood Ceilings in the USA
- Always buy 10% more material to account for offcuts and mistakes.
- Many home improvement stores (Home Depot, Lowe’s) offer cutting services.
- Invest in a good stud finder—essential for safely anchoring heavy materials.
- Look for regional wood options to reduce costs.
- If you rent, consider temporary methods like furring strips or panel clips.
- Wear safety goggles and a mask when cutting or sanding wood.
- For maximum resale appeal, stick with wood tones or safe neutrals.
Give your home’s “fifth wall” the attention it deserves with these wallet-friendly DIY wood ceiling ideas. With the right planning and a little elbow grease, you’ll enjoy stunning overhead style that elevates every room—without stretching your budget!