While traditional Valentine’s Day nails often feature soft pinks, reds, and whites, there’s something incredibly chic and daring about incorporating black into your Valentine’s look. Black nails are not only bold and edgy but can also exude sophistication and mystery. Whether you’re looking to make a statement or create a unique twist on romantic designs, black Valentine’s Day nails can offer a striking contrast to the typical color palette, giving you a look that’s both bold and romantic. In this post, we’ll explore several stunning black Valentine’s Day nail ideas, each with detailed steps and tips to help you create the perfect manicure.
Table of Contents
- 1. Black & Red Heart Accent Nails
- 2. Black with Gold Foil Detail
- 3. Black Matte with Red Glitter Tips
- 4. Black and White Cupid’s Arrows
- 5. Black Lace Nail Art
- 6. Black and Pink Ombre
- 7. Black and Silver Heart-Stone Design
- 8. Black Roses Nail Art
- 9. Black Heart Cut-Outs
- 10. Black with White Floral Accents
- 11. Black with Metallic Heart Streaks
- 12. Black with Red Marble Design
- 13. Black Nails with Glitter Heart French Tips
- 14. Black Nails with a Rose Gold Accent
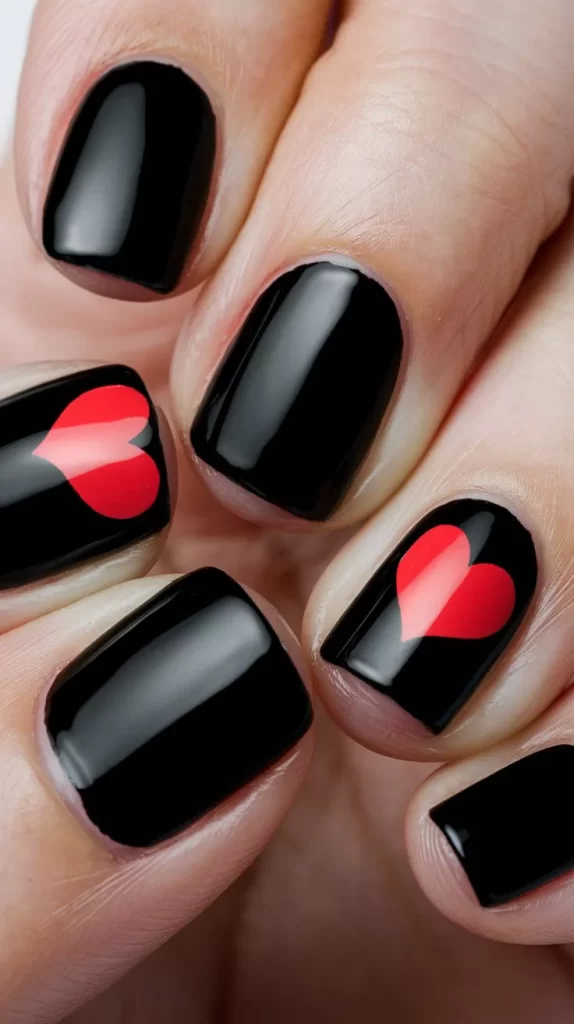
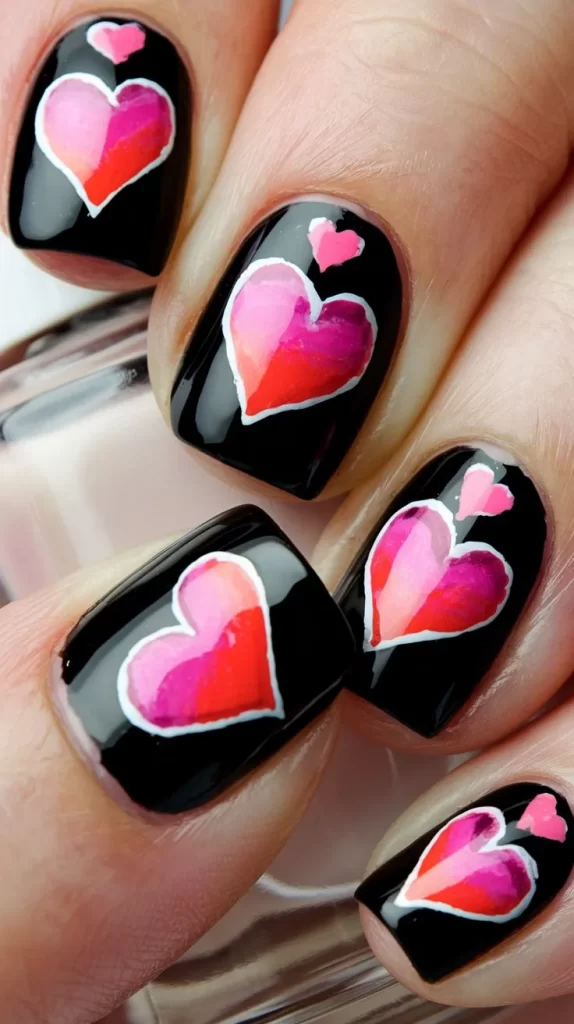
1. Black & Red Heart Accent Nails
Combining black with red is the ultimate bold romantic pairing. This design incorporates classic red hearts against a sleek black backdrop for an edgy yet festive look.
Steps & Tips:
- Start with a black base coat on all nails.
- Once dry, use a fine nail brush or heart-shaped stickers to paint small red hearts on one or two nails.
- Add a glossy topcoat for a smooth and shiny finish.
Tips:
- Use a steady hand to create the perfect heart shapes, or opt for heart-shaped nail decals if you want a more precise design.
- For added drama, add a rhinestone or two on the heart to make the design sparkle.
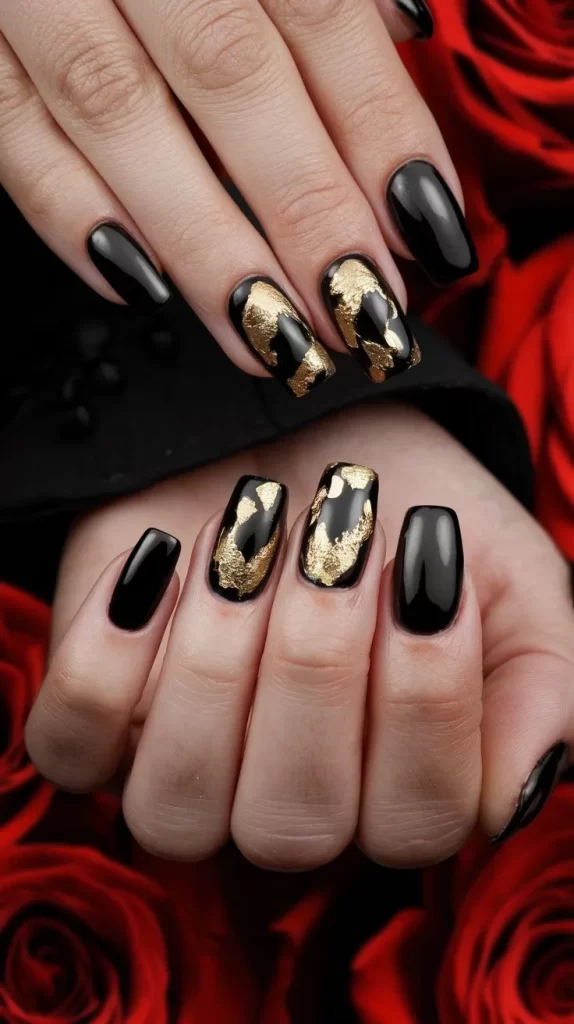
2. Black with Gold Foil Detail
If you love luxe and glamour, this black and gold combination is perfect for Valentine’s Day. The gold foil adds an opulent touch to the dark base, making your nails pop with elegance.
Steps & Tips:
- Apply a black base coat and let it dry.
- Use gold foil or gold leafing and apply it randomly across your nails to create a shattered, artistic effect.
- Seal with a clear topcoat for a glossy, smooth finish.
Tips:
- For the best results, use tweezers to carefully apply the gold foil to avoid smudging.
- If you want a more structured look, create thin gold lines using a nail art brush.
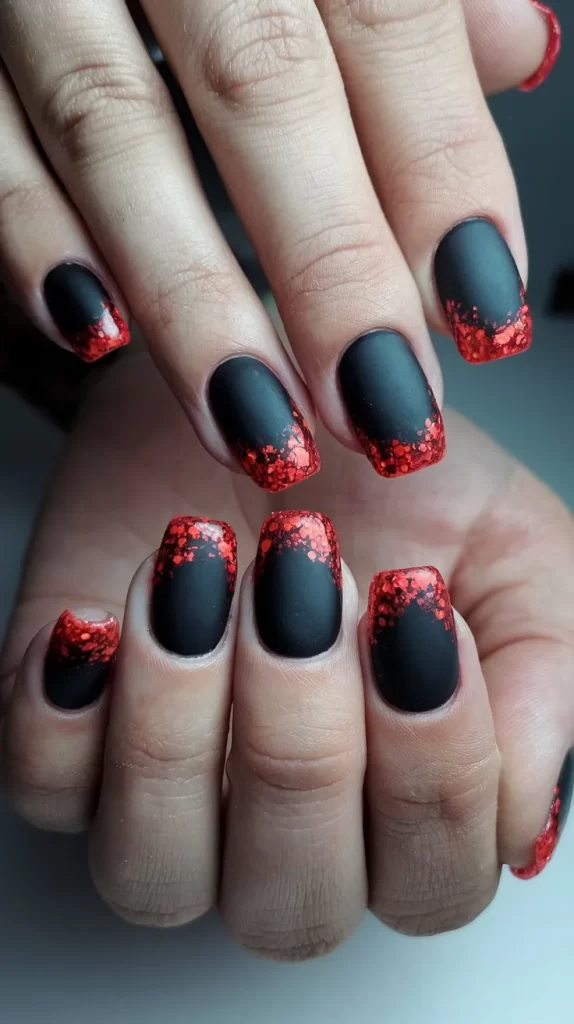
3. Black Matte with Red Glitter Tips
Matte black nails combined with sparkling red tips bring the perfect amount of contrast. This design is perfect for anyone who loves a touch of glamour but still wants to keep it subtle.
Steps & Tips:
- Start with a matte black base coat and let it dry completely.
- Using a red glitter polish, apply it to the tips of your nails, creating a French-tip style but with a bold twist.
- Seal the design with a matte topcoat to maintain the matte effect while protecting the glitter.
Tips:
- Choose a fine red glitter for a more sophisticated look or go with chunky glitter for a fun, bold effect.
- Ensure the matte base is dry before adding glitter to avoid smudging.
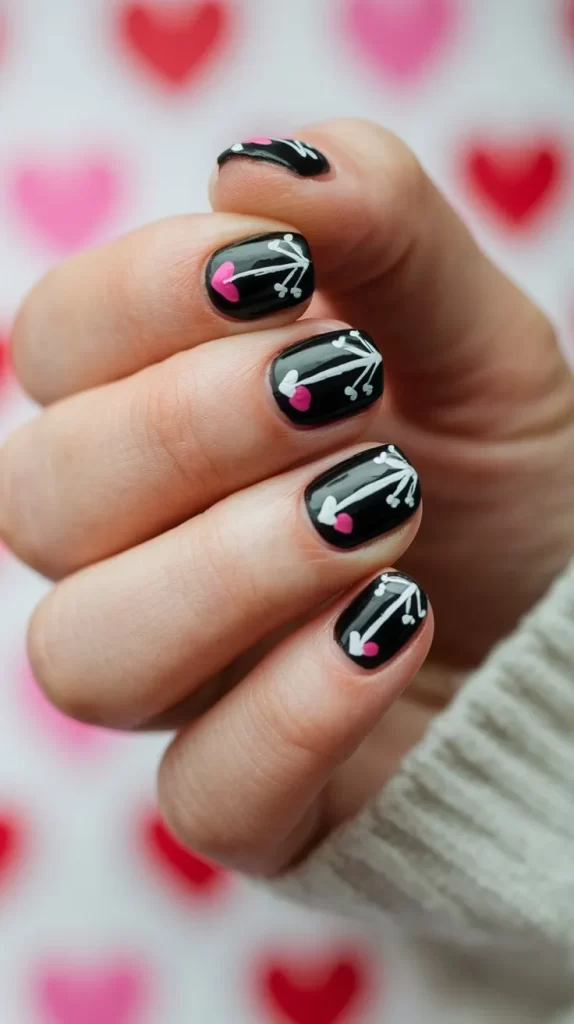
4. Black and White Cupid’s Arrows
A sleek black base with delicate white Cupid’s arrows is a striking design that captures the spirit of Valentine’s Day with an edgy flair.
Steps & Tips:
- Apply a solid black base coat.
- Using a white nail art pen or brush, draw small Cupid’s arrows across your nails. Add details like hearts at the end of the arrows for added charm.
- Once the design is dry, finish with a clear topcoat to protect the nail art.
Tips:
- If you’re not comfortable with freehand drawing, use small arrow decals for a precise and quick design.
- Ensure the white paint is dry before applying the topcoat to prevent smudging.
5. Black Lace Nail Art
Lace patterns on black nails bring an air of romance and mystery. This design is perfect for anyone who loves vintage-inspired nail art with a modern twist.
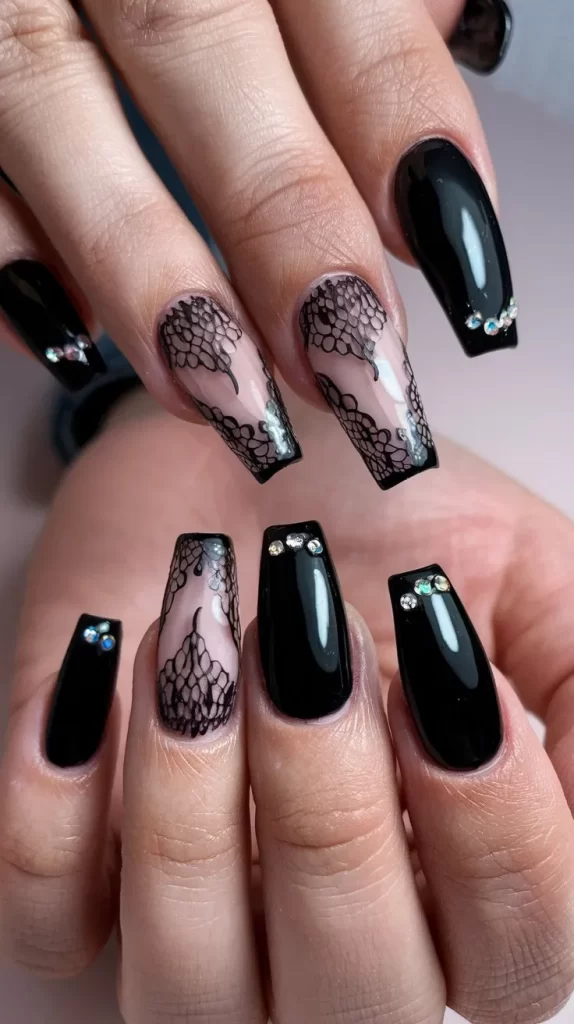
Steps & Tips:
- Start with a black base coat and let it dry completely.
- Using a lace nail art stencil or a fine nail art brush, create intricate lace designs on one or two nails.
- Add small embellishments, such as rhinestones or tiny pearls, to enhance the elegance of the lace.
Tips:
- Practice your lace designs on a piece of paper before attempting them on your nails.
- Use a matte topcoat for a vintage feel or a glossy topcoat for a more refined, modern look.
6. Black and Pink Ombre
Black and pink ombre nails are bold yet soft, making them an ideal Valentine’s Day design for anyone who wants to combine edginess with romance.
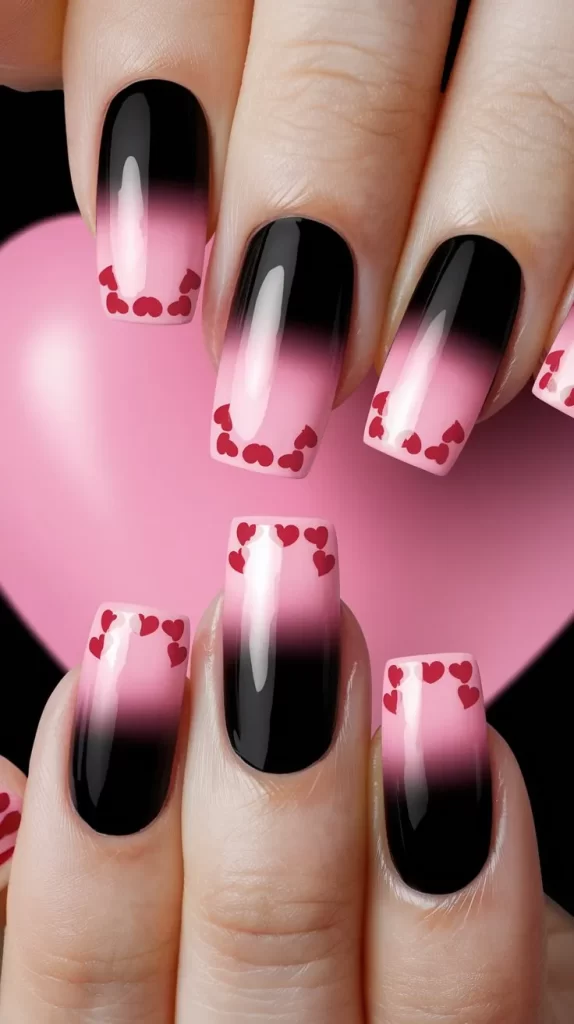
Steps & Tips:
- Start with a black base color on your nails.
- Using a sponge, apply a light pink or pastel pink polish at the tips of your nails, gradually blending it into the black base.
- Seal with a topcoat to ensure a smooth, glossy finish.
Tips:
- Use a makeup sponge for the best gradient effect, and apply the pink polish in layers for a gradual transition.
- Choose a soft pink for a romantic look, or go for a brighter pink for a more dramatic contrast.
7. Black and Silver Heart-Stone Design
Black nails with silver heart-shaped rhinestones create a chic and romantic design that’s sure to catch the eye on Valentine’s Day.
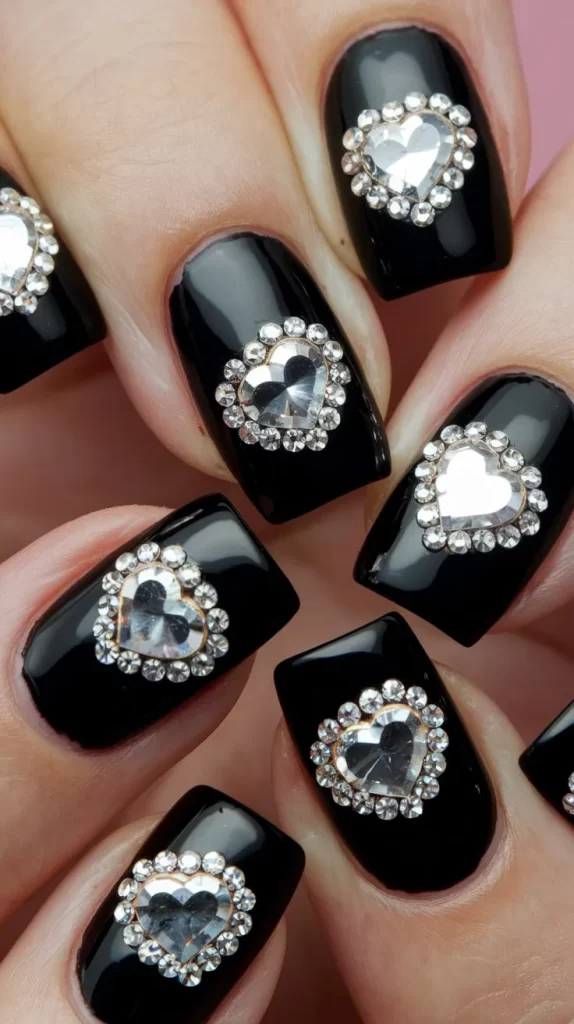
Steps & Tips:
- Start with a black base coat on all nails.
- Once dry, apply a few heart-shaped rhinestones near the cuticle or in the center of your nails for a focal point.
- Use a nail glue to secure the rhinestones and finish with a topcoat to hold everything in place.
Tips:
- Choose heart-shaped rhinestones in silver or metallic colors for a modern, high-fashion feel.
- Be careful when applying rhinestones to avoid smudging the black polish.
8. Black Roses Nail Art
Black roses on a dark background create an effortlessly romantic and edgy design. This is a great way to combine romantic imagery with a bold color scheme.
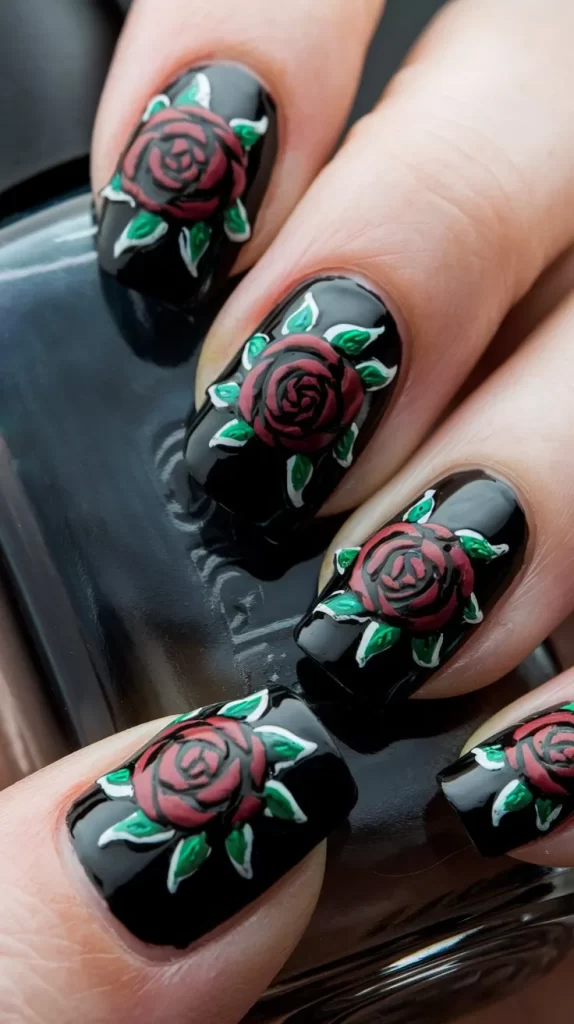
Steps & Tips:
- Apply a black base coat and allow it to dry.
- Use a nail art brush to paint small black rose designs on one or two nails using a slightly lighter black or dark gray polish.
- Add white accents in the center of the roses for contrast and finish with a glossy topcoat.
Tips:
- If you’re not confident in freehand painting, use rose nail stickers for a precise design.
- Add a touch of silver glitter around the roses for extra sparkle.
9. Black Heart Cut-Outs
Black nails with cut-out heart shapes offer a bold and edgy twist on classic Valentine’s Day nail art. The cut-out design reveals a peek of the natural nail underneath, creating a striking contrast.
Steps & Tips:
- Start with a solid black base coat.
- Use a nail art pen or a fine-tip brush to outline small heart shapes at the tips or around the nail.
- Carefully cut out the hearts using a small nail scissors or nail cutter.
- Apply a topcoat to secure the design.
Tips:
- Be very careful when cutting out the hearts to avoid damaging the nail surface.
- Use a matte topcoat for a more edgy look or a glossy one for added shine.
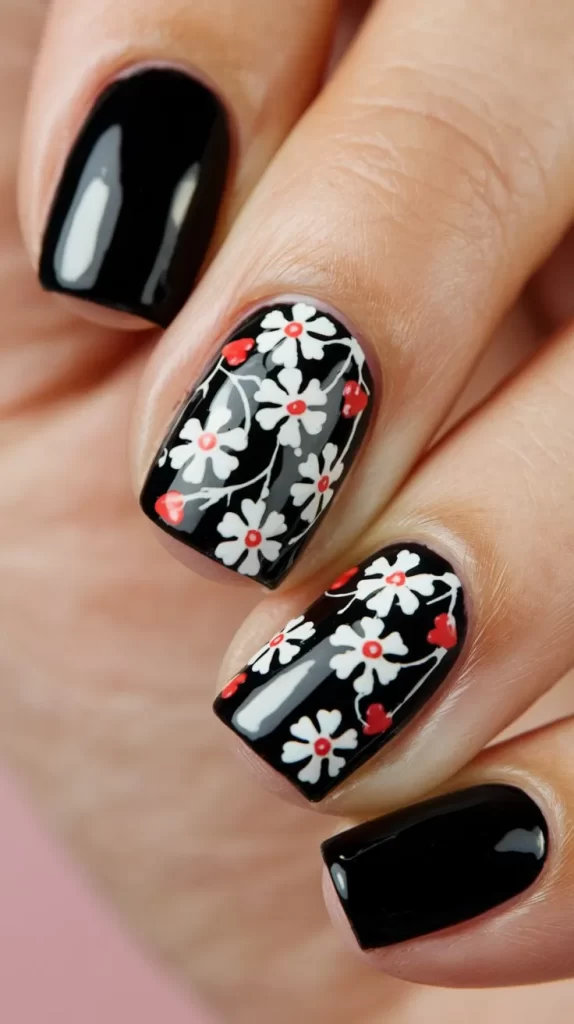
10. Black with White Floral Accents
For a romantic and elegant Valentine’s look, black nails with white floral accents create a striking contrast. The delicate white flowers add a soft, feminine touch to the bold black base.
Steps & Tips:
- Apply a solid black base coat to all nails.
- Use a thin nail art brush or dotting tool to create small white flowers on one or two nails.
- Add tiny dots in the center of each flower for added detail and finish with a topcoat for smoothness.
Tips:
- If freehand painting flowers feels challenging, use floral nail stickers to achieve a precise look.
- For a more modern touch, consider adding silver accents in the center of the flowers.
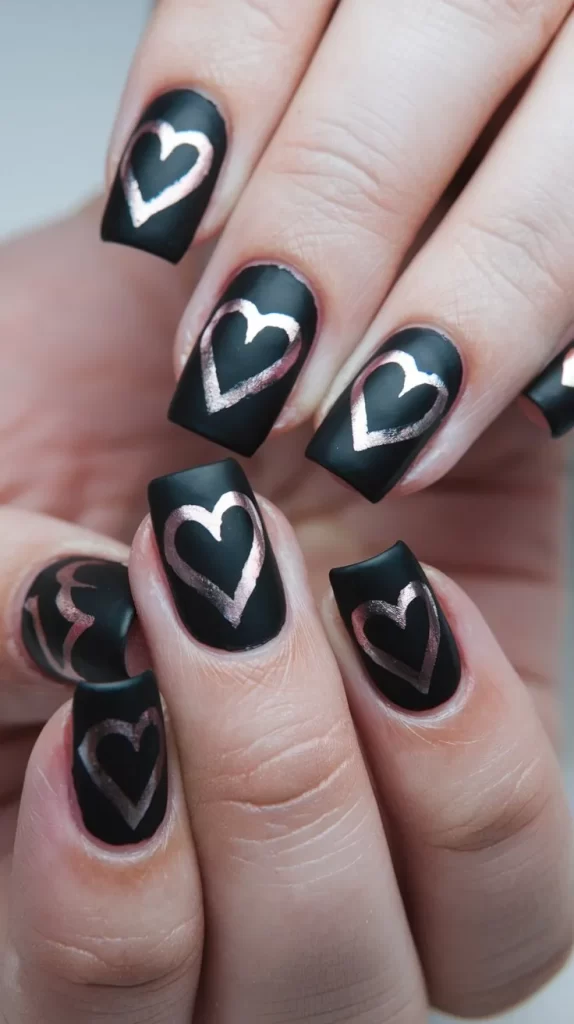
11. Black with Metallic Heart Streaks
For a futuristic and bold take on Valentine’s nails, black nails with metallic heart-shaped streaks can be a fun and chic way to express love in a modern way.
Steps & Tips:
- Start with a black base coat and let it dry.
- Using a metallic polish (gold, silver, or copper), create streaks that form heart shapes on your nails.
- Add a topcoat to seal the design and ensure longevity.
Tips:
- To make the heart streaks more defined, use a striping brush for precise lines.
- Metallic hearts will pop more on matte black nails than glossy black nails, so choose your finish based on the effect you desire.
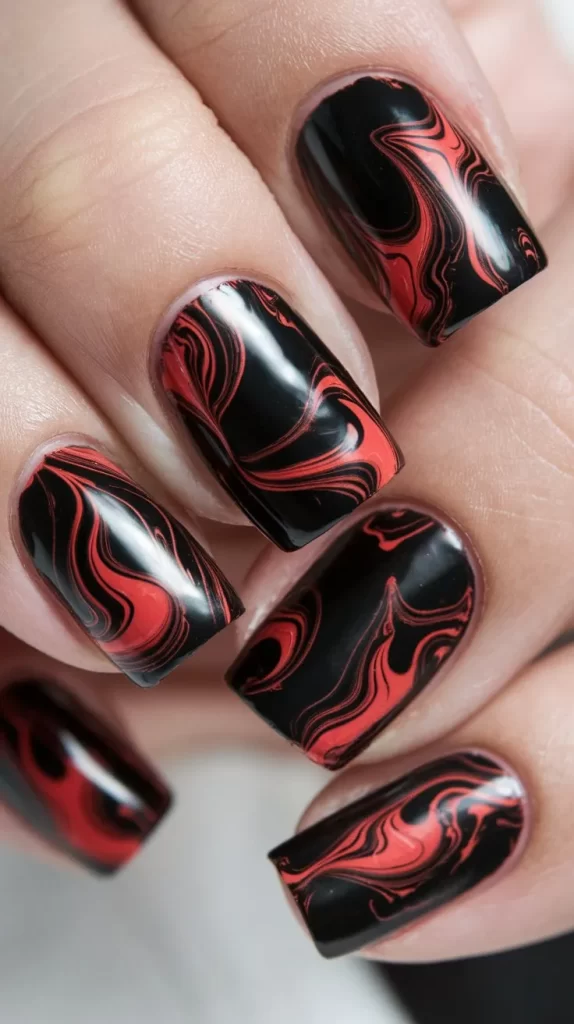
12. Black with Red Marble Design
A red marble design on black nails brings a striking, luxurious vibe to your Valentine’s Day look. The combination of deep red and black gives off a mysterious yet romantic aura.
Steps & Tips:
- Apply a black base coat to all nails.
- Using a thin nail art brush, create swirls of red polish over the black base to form a marble effect.
- Use a small amount of acetone to blend the red, creating a soft marble look, then seal with a glossy topcoat.
Tips:
- For a more sophisticated marble design, experiment with dark shades of red and burgundy.
- Be patient when swirling the colors to create a smooth transition.
13. Black Nails with Glitter Heart French Tips
Combining the classic French tip with a bold black base and glitter hearts is a romantic and chic choice for Valentine’s Day.
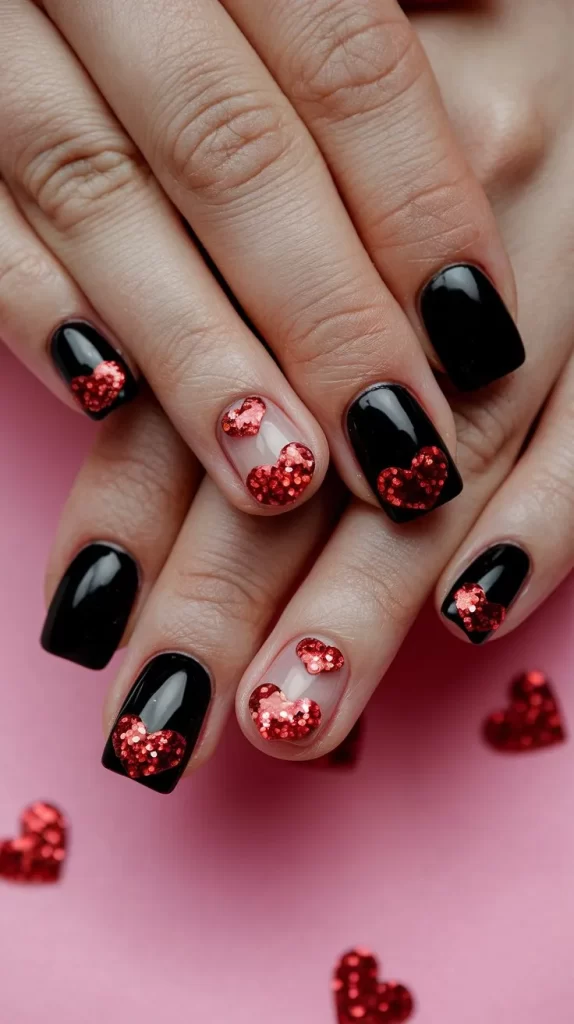
Steps & Tips:
- Apply a black base coat on all nails.
- Once dry, use a glitter polish to create a heart shape at the tips of each nail, forming a playful and romantic French tip.
- Seal the design with a clear topcoat for a smooth finish.
Tips:
- To ensure the hearts are sharp, use a fine-tipped nail art brush to draw the shape.
- Choose a red or pink glitter for a traditional Valentine’s Day feel or opt for gold or silver for a more modern twist.
14. Black Nails with a Rose Gold Accent
Black nails with rose gold accents combine the boldness of black with the elegance of rose gold for a romantic and sophisticated Valentine’s Day manicure.
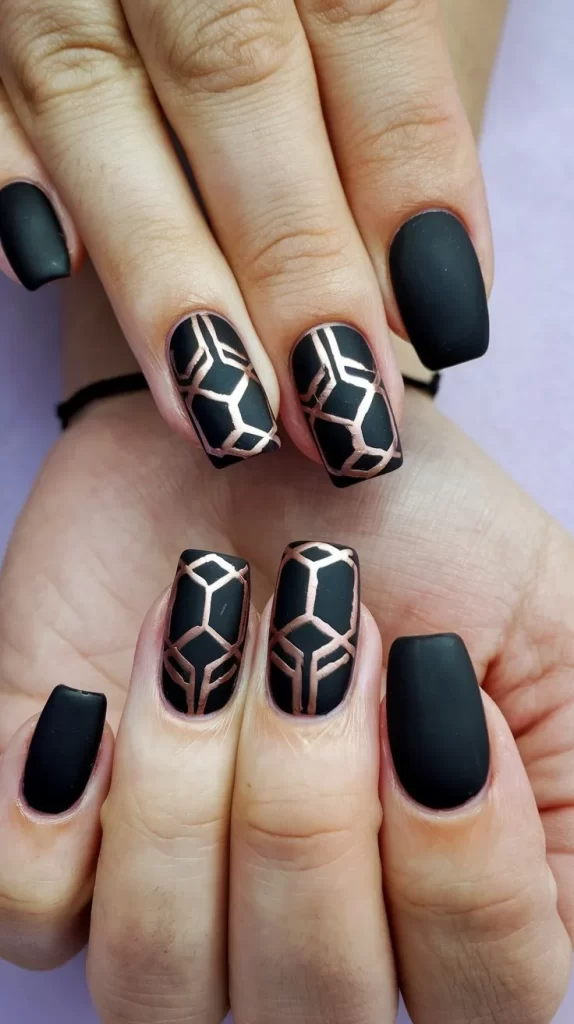
Steps & Tips:
- Apply a black base coat on all nails.
- On one or two nails, use a rose gold polish or foil to create a geometric accent (such as a line, triangle, or square).
- Seal with a topcoat to enhance the shine and protect the design.
Tips:
- Rose gold adds a luxurious touch, so make sure to choose a high-quality rose gold polish or foil to avoid a dull finish.
- Consider adding tiny rhinestones or crystals to the rose gold accent nails for an extra touch of glamour.
With these 14 stunning black Valentine’s Day nail ideas, you’re sure to turn heads and express your romantic spirit in a bold and unique way. Whether you prefer a classic heart design, edgy metallic streaks, or elegant marble effects, there’s a perfect black nail design for every personality and style this Valentine’s Day.
