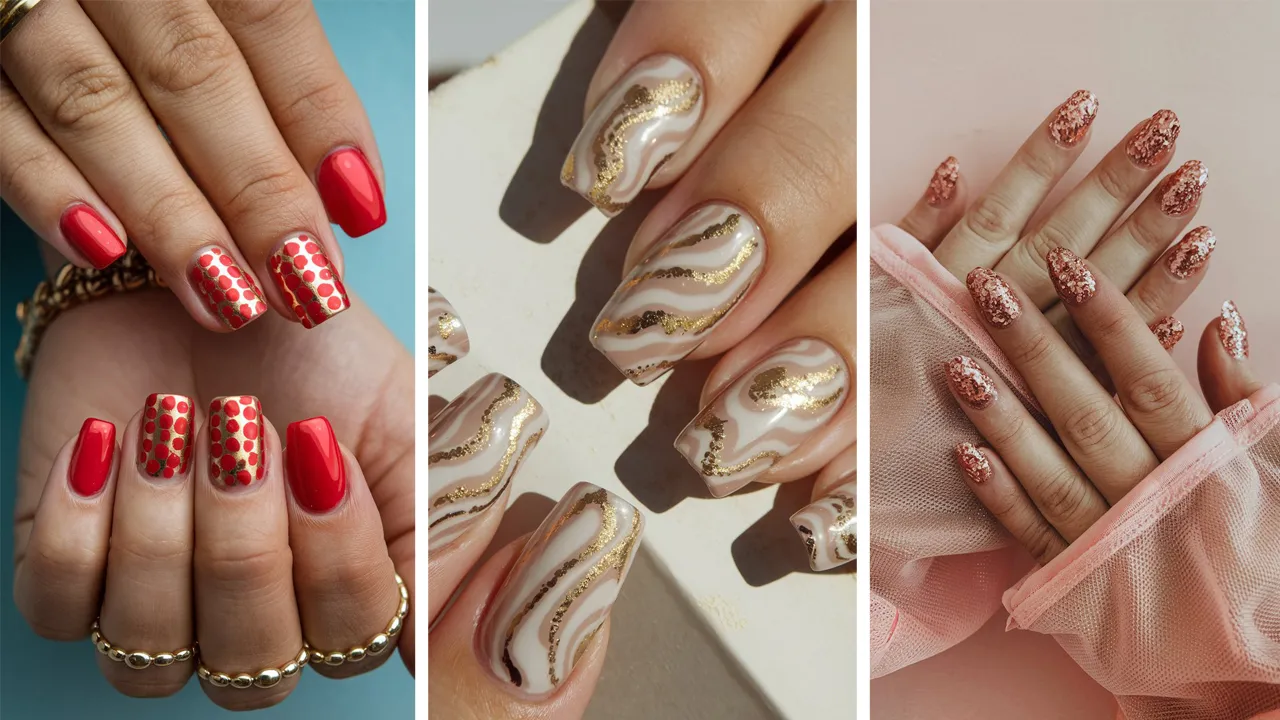
Valentine’s Day is a celebration of love, and what better way to show off your stylish side than with timelessly classy Valentine’s Day nail designs? From elegant French tips to subtle, romantic details, these chic nail ideas will give you the perfect polished look for the holiday. Whether you prefer something minimalist or a bit more intricate, these designs are sure to suit any personality and will have you feeling glamorous in no time!
In this post, we’ve curated 14 stunning Valentine’s Day nail ideas that will keep you looking chic while embracing the romantic spirit of the day. Get ready to fall in love with these elegant, timeless designs!
Table of Contents
- 1. Classic Red French Tips
- 2. Soft Pink Ombre Nails
- 3. Gold and Nude Marble Nails
- 4. Elegant Red and White Hearts
- 5. Minimalist Negative Space Hearts
- 6. Rose Gold Glitter French Tips
- 7. Classic Red with Gold Foil Accents
- 8. White Lace Nail Art
- 9. Pink Marble Nails
- 10. Elegant Pearl Accents
- 11. Soft Nude and White Stripes
- 12. Soft Lavender with Gold Tips
- 13. Sculpted French Tips with Pink Roses
- 14. Crystal Accent Nails
- Conclusion
1. Classic Red French Tips
French tips are timeless, and when paired with a bold red, they’re perfect for Valentine’s Day.
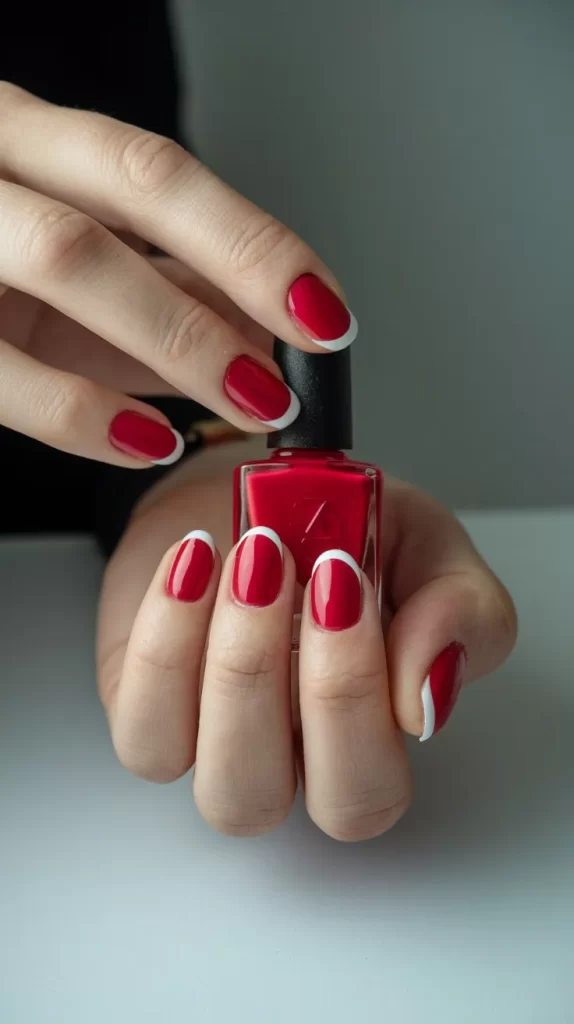
Steps:
- Start with a nude or light pink base coat for a clean canvas.
- Apply a classic red polish to the tips of your nails, either freehand or using a French tip guide for precision.
- Once dry, add a glossy top coat to finish.
Tips:
- Keep the red tips clean and neat for a chic, professional finish.
- Let each layer dry completely before applying the next to avoid smudging.
2. Soft Pink Ombre Nails
A soft pink ombre effect gives your nails a romantic, dreamy look.
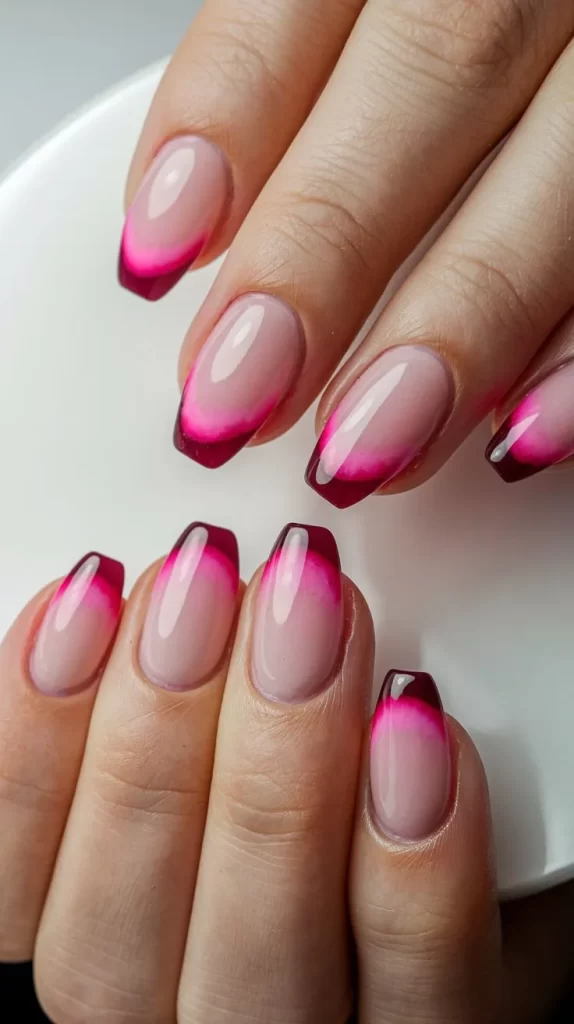
Steps:
- Apply a light pink or nude base coat.
- Use a makeup sponge to gently apply a darker pink or red polish starting from the tips, blending towards the base of your nail.
- Blend the colors together by tapping lightly with the sponge until you achieve a smooth ombre.
- Seal the design with a glossy top coat.
Tips:
- Be patient with the blending process to achieve a smooth gradient.
- If the transition isn’t smooth, lightly go over the area with a sponge dipped in base color to blend.
3. Gold and Nude Marble Nails
For a luxurious, elegant look, gold and nude marble nails are timeless and classy.
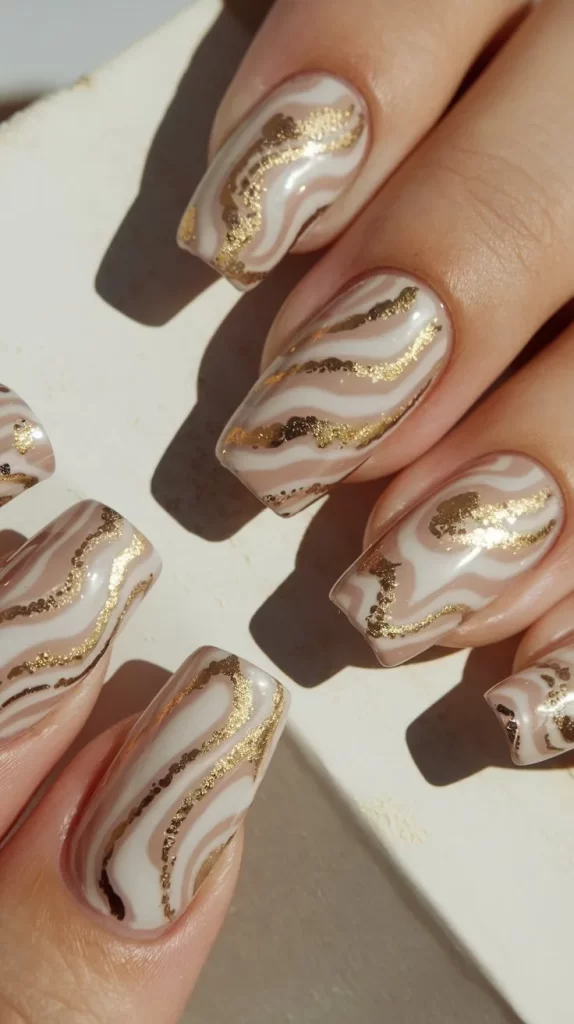
Steps:
- Apply a nude base coat and let it dry completely.
- Use a thin brush to swirl gold and white polish gently over your nails to create a marble effect.
- Once satisfied with the design, finish with a top coat to seal the look.
Tips:
- Work in small sections when applying the marble to avoid over-mixing the colors.
- A fine, thin brush is essential for creating precise marble veins.
4. Elegant Red and White Hearts
Hearts are a classic symbol of love, and incorporating them into your nails creates a sweet, timeless look.
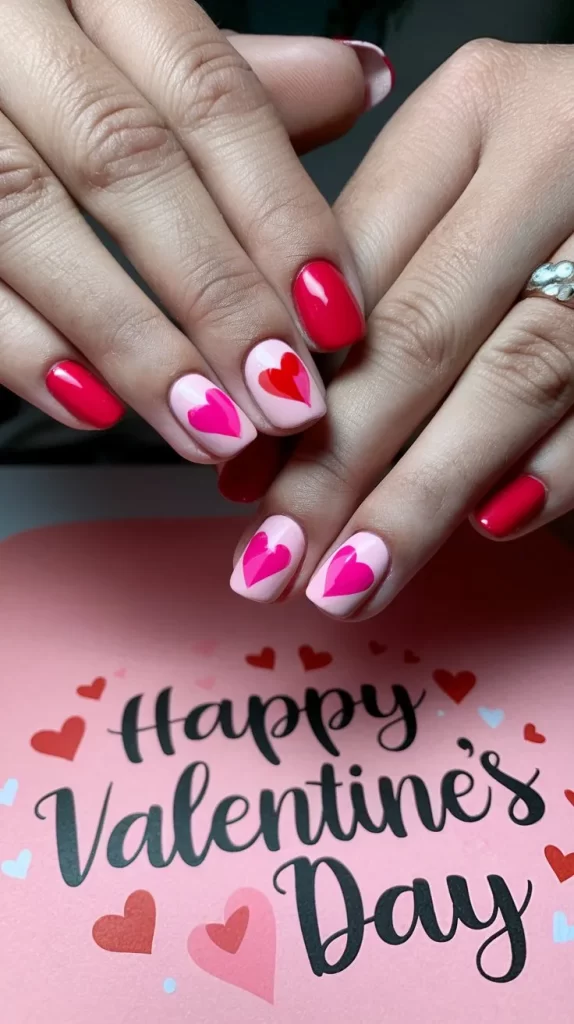
Steps:
- Start with a pale pink or white base coat.
- Use a fine nail art brush or dotting tool to paint small red hearts on the tips or across the nails.
- Seal the design with a glossy top coat for extra shine.
Tips:
- Keep the hearts small and simple for a subtle, classy look.
- Make sure the hearts are evenly spaced for a symmetrical design.
5. Minimalist Negative Space Hearts
Negative space nails are minimalist yet chic, and when combined with heart accents, they give off a sophisticated Valentine’s Day vibe.
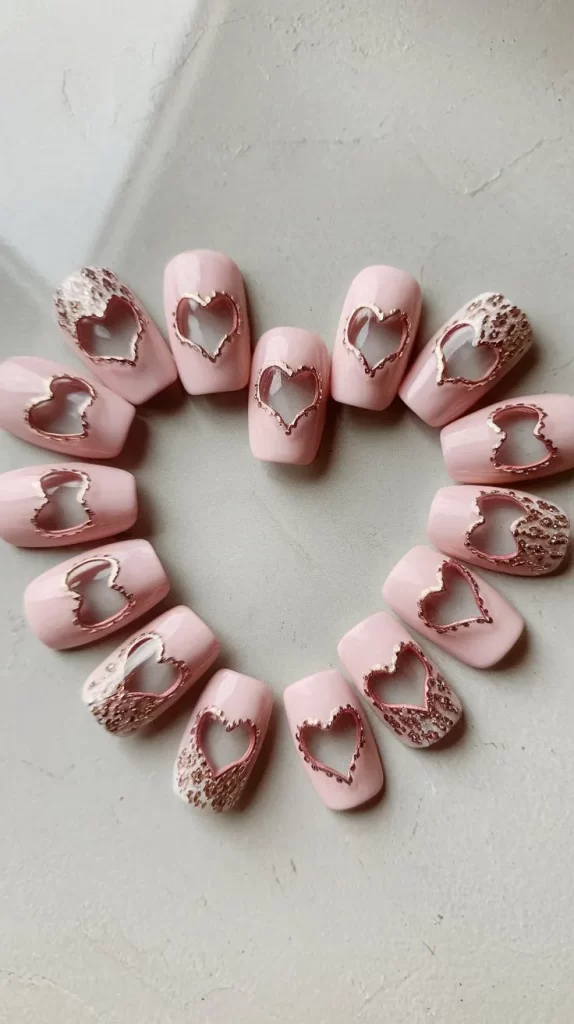
Steps:
- Apply a clear base coat to your nails.
- Use striping tape to create small heart shapes at the tips or side of each nail.
- Paint over the nail with a soft pink or nude polish, leaving the heart-shaped negative space visible.
- Finish with a top coat.
Tips:
- Ensure the striping tape is securely pressed down to prevent polish from leaking underneath.
- Keep the design simple to maintain that minimalist, clean aesthetic.
6. Rose Gold Glitter French Tips
A subtle, sparkly take on the classic French tip, rose gold glitter adds an elegant touch for Valentine’s Day.
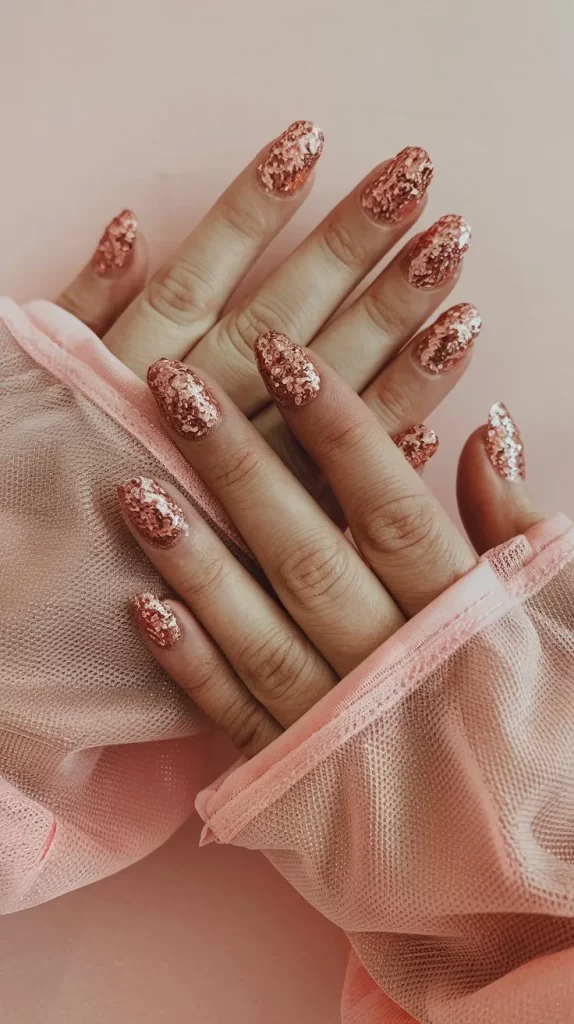
Steps:
- Begin with a soft pink or nude base coat.
- Apply a thin layer of rose gold glitter polish to the tips of your nails.
- Finish with a glossy top coat to smooth out the glitter.
Tips:
- Layer the glitter polish to build up the sparkle gradually.
- Be careful when applying glitter near the cuticle to avoid an uneven look.
7. Classic Red with Gold Foil Accents
A deep red base combined with gold foil accents is a perfect way to add a luxurious touch to your Valentine’s Day nails.
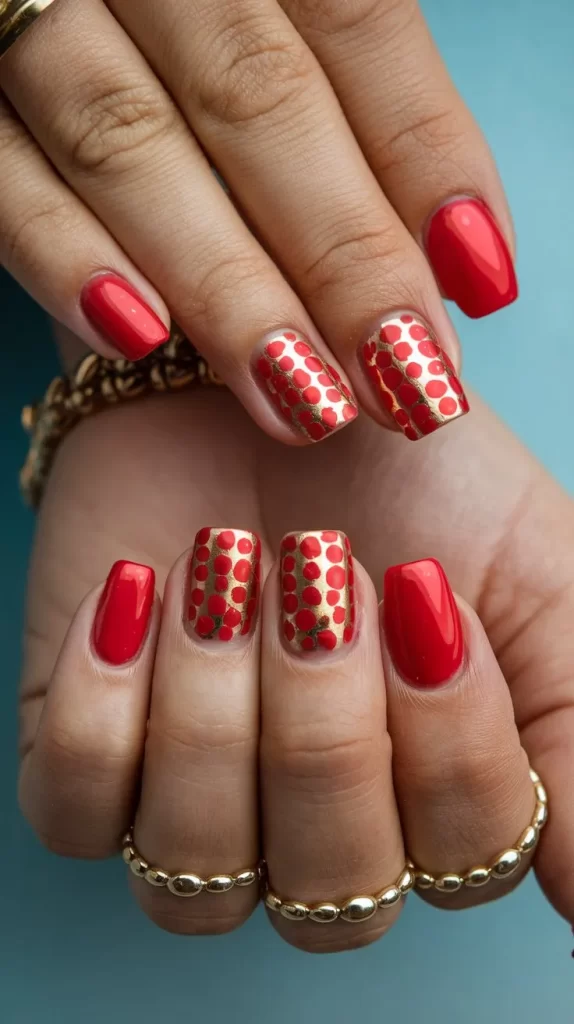
Steps:
- Apply a rich red base coat to your nails and let it dry.
- Once dry, use a fine nail art brush to apply small pieces of gold foil onto your nails.
- Seal the design with a top coat to preserve the gold foil.
Tips:
- Use a tweezers to place the gold foil pieces accurately.
- Apply a thin layer of top coat to prevent the foil from peeling off.
8. White Lace Nail Art
Add a touch of vintage romance with delicate white lace designs on your nails.
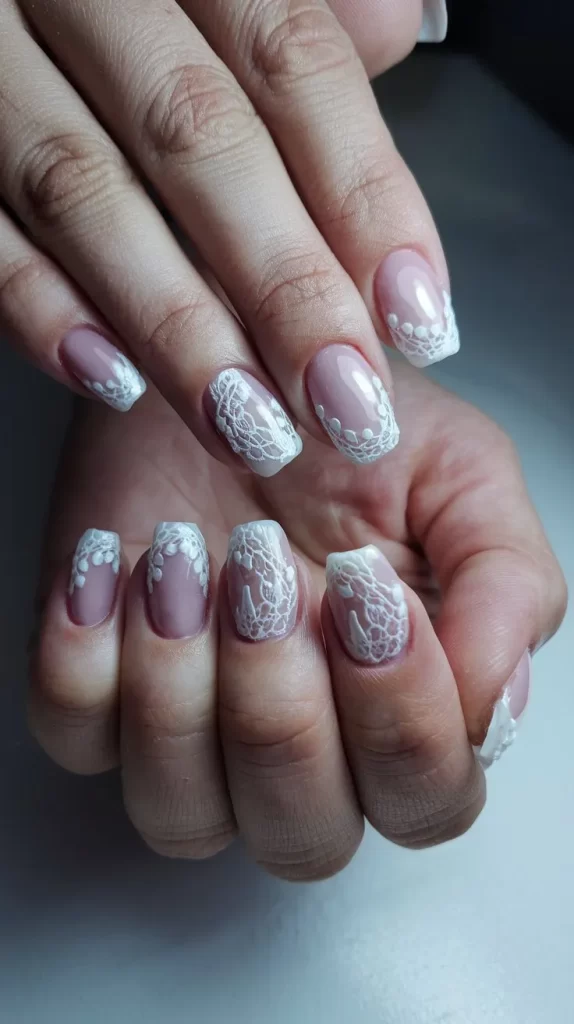
Steps:
- Apply a soft pink or nude base coat to your nails.
- Using white nail polish and a fine nail art brush, create lace-like patterns at the tips or across the nail.
- Finish with a glossy top coat for a smooth, shiny finish.
Tips:
- Keep the lace pattern delicate and subtle for a more elegant look.
- Practice on a piece of paper before drawing directly onto your nails to perfect the design.
9. Pink Marble Nails
For a soft, romantic look, pink marble nails offer a timeless yet trendy aesthetic.
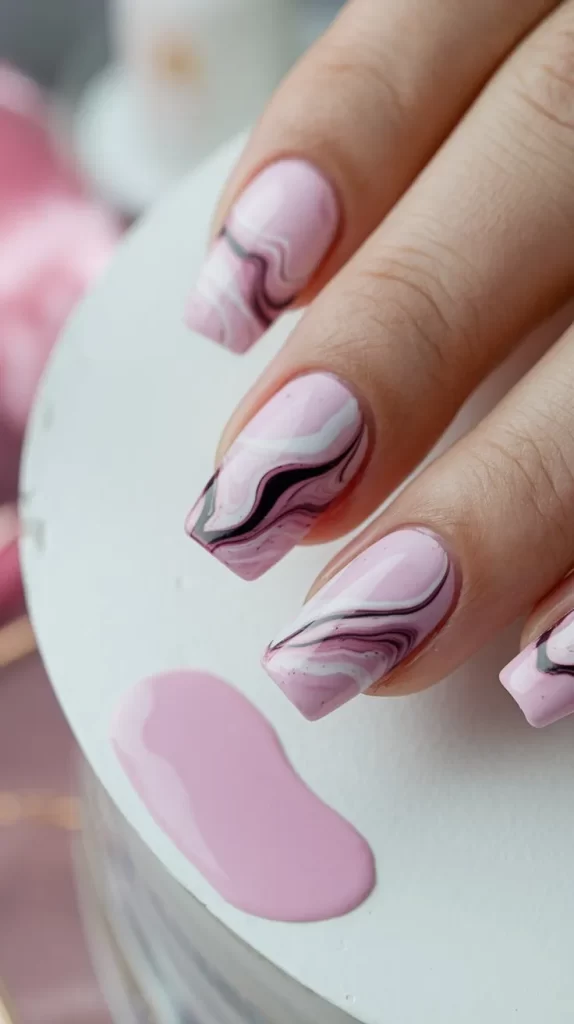
Steps:
- Apply a pale pink base coat to your nails.
- Using a fine nail art brush, swirl white and darker pink polish to create a marble effect.
- Seal with a top coat to smooth out the design.
Tips:
- Don’t overmix the colors to maintain distinct marble patterns.
- Work on one nail at a time to ensure the marble design stays intact.
10. Elegant Pearl Accents
Incorporating pearls into your nail design brings a sophisticated, classy touch to your look.
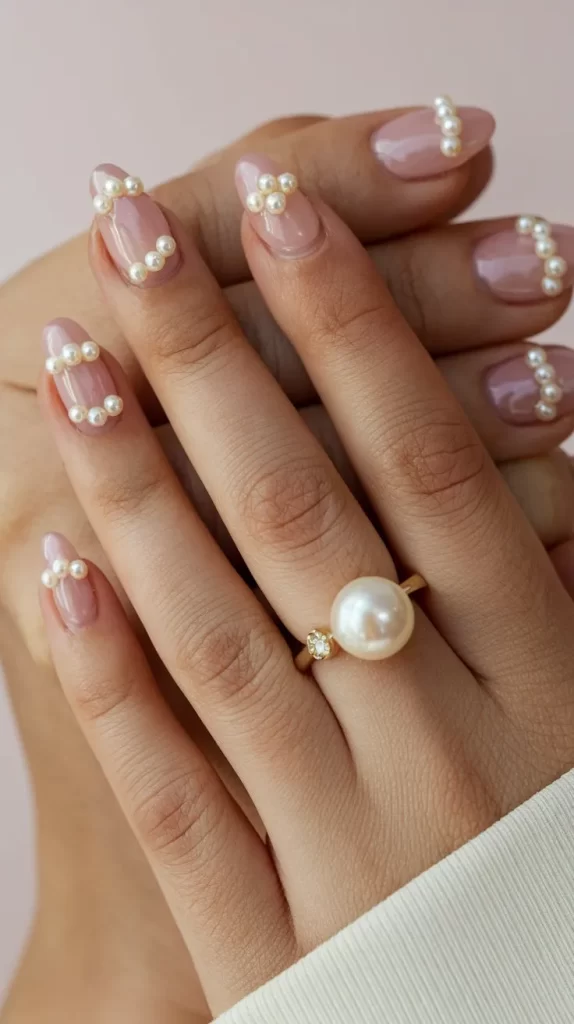
Steps:
- Start with a neutral or pale pink base coat.
- Apply small pearl accents along the tips or near the cuticles.
- Finish with a top coat to secure the pearls in place.
Tips:
- Use a small dot of nail glue to secure the pearls in place.
- Keep the pearl design minimal to maintain a timeless look.
11. Soft Nude and White Stripes
For a clean and modern look, nude and white stripes are a chic design choice.
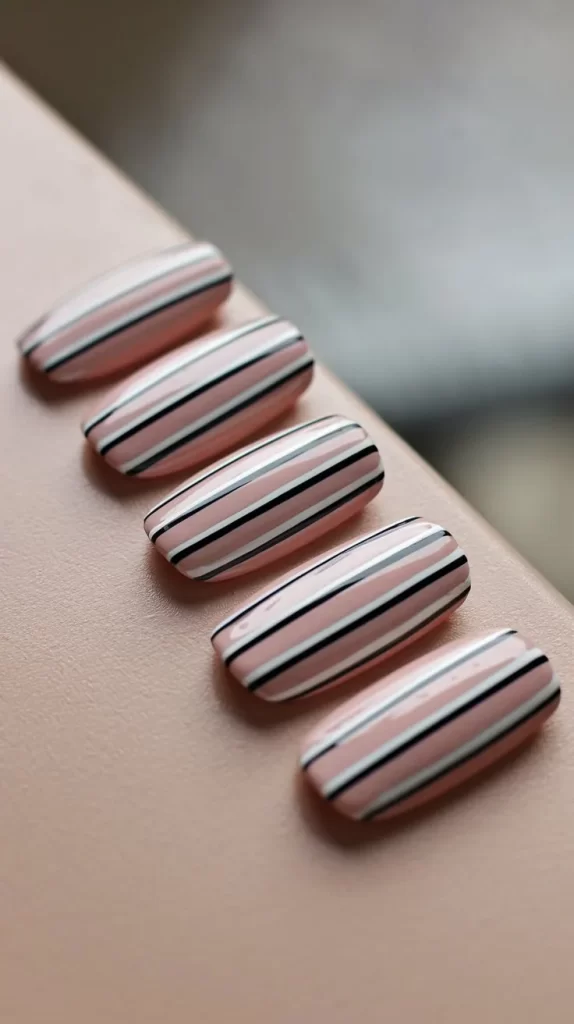
Steps:
- Apply a nude base coat and let it dry.
- Use a striping brush or tape to create thin white stripes at the tips or across the nails.
- Seal the design with a top coat for added shine.
Tips:
- Ensure the stripes are evenly spaced for a clean and modern look.
- Use thin tape for the straightest, sharpest lines.
12. Soft Lavender with Gold Tips
Soft lavender nails with gold tips offer a chic, refined look with a touch of elegance.
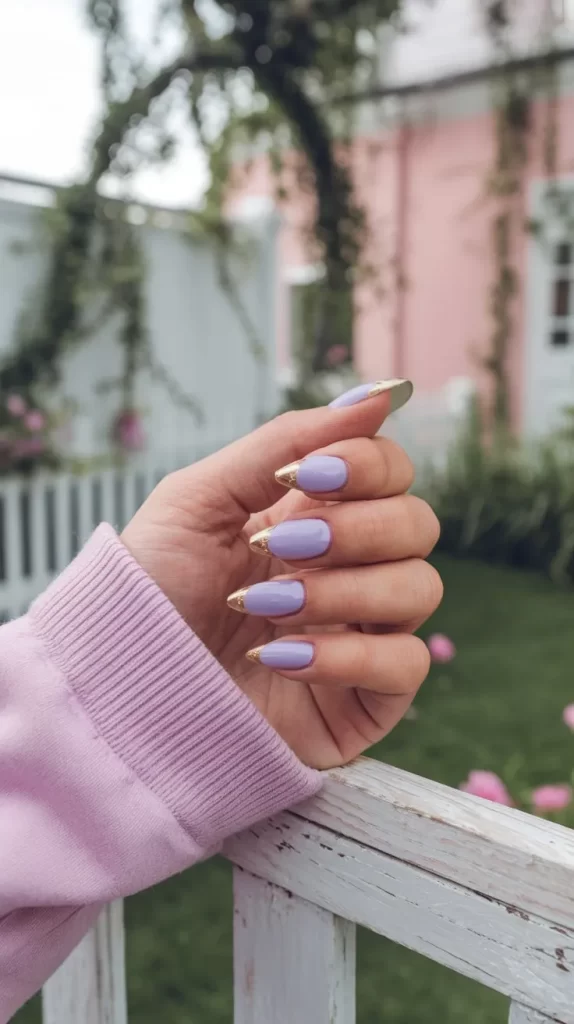
Steps:
- Apply a soft lavender base coat to your nails.
- Use a fine brush or French tip guide to paint gold tips.
- Finish with a glossy top coat for added shine.
Tips:
- Gold adds a sophisticated touch, making this design perfect for a Valentine’s Day celebration.
- Ensure your lines are crisp and clean for a sharp look.
13. Sculpted French Tips with Pink Roses
Add a sculpted twist to classic French tips by incorporating small, hand-painted roses.
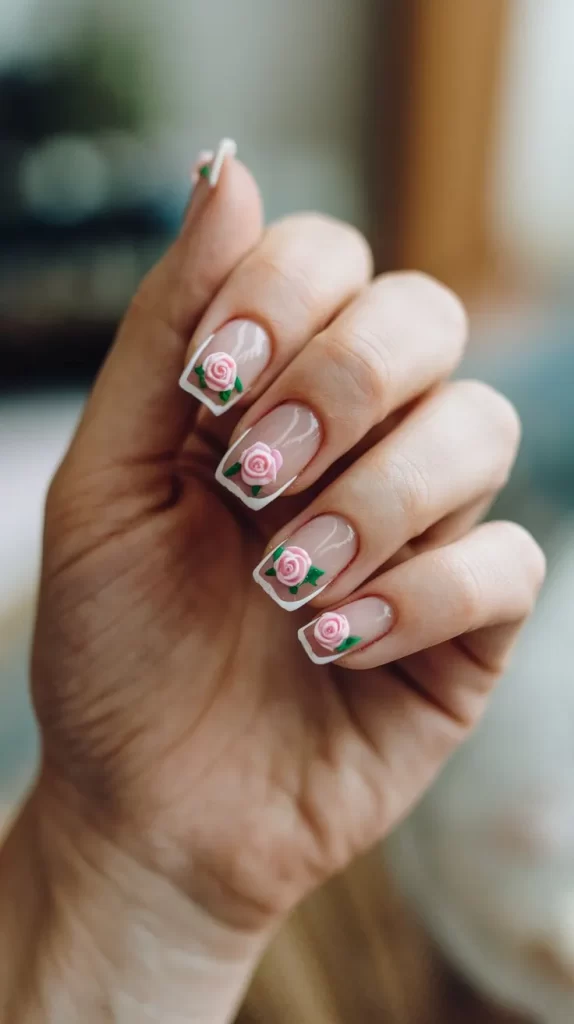
Steps:
- Apply a nude or pale pink base coat.
- Paint a classic French tip with white or light pink polish.
- Using a fine brush, paint tiny roses along the cuticle area or tips of the nails.
- Finish with a glossy top coat.
Tips:
- Keep the roses small for a delicate, refined design.
- Be patient when painting the roses to ensure precision.
14. Crystal Accent Nails
Add a touch of glam with crystals that sparkle against a nude or pale pink base.
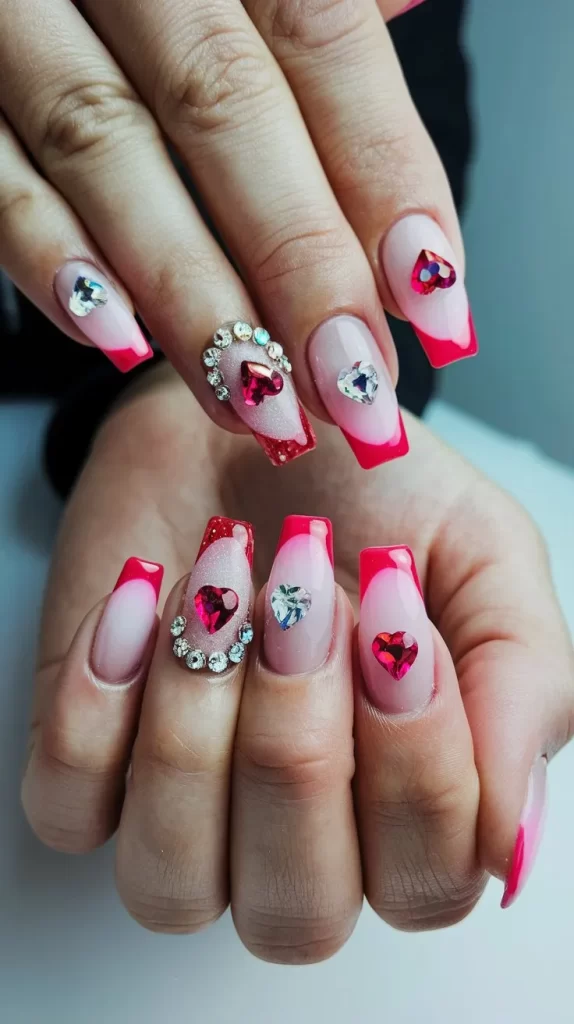
Steps:
- Apply a neutral base coat and let it dry.
- Place small rhinestones or crystals on one or two accent nails.
- Secure the crystals with nail glue and finish with a top coat.
Tips:
- Use a small dot of nail glue to secure the crystals properly.
- Keep the design minimal by adding crystals to only one or two nails.
Conclusion
These timelessly classy Valentine’s Day nail designs are perfect for anyone looking to celebrate the season of love with elegance and style. Whether you prefer a minimalist design, luxurious metallics, or intricate hand-painted accents, these nail ideas will give you a chic, polished look that’s perfect for the occasion. Enjoy creating your Valentine’s Day nails and let your creativity shine!
