Valentine’s Day is the perfect time to show off your romantic side, and what better way to do that than with cherry-inspired nail art? From subtle designs to bold statements, we’ve got 14 cherry nail ideas that will have you swooning. Each idea comes with detailed descriptions, steps to achieve the look, and pro tips to make your nails shine.
Table of Contents
- 1. Classic Cherry Accent Nails
- 2. Glittery Cherry French Tips
- 3. Matte Cherry Bliss
- 4. Cherry Blossom Meets Cherry Fruit
- 5. Heart-Shaped Cherry Nails
- 6. Cherry Ombre Nails
- 7. Polka Dot Cherries
- 8. Cherry Glitter Bomb
- 9. Minimalist Cherry Lines
- 10. Bold Cherry Stiletto Nails
- 11. Cherry and Stripes Combo
- 12. Negative Space Cherries
- 13. Cherry Valentine’s Day Lettering
- 14. 3D Cherry Nails
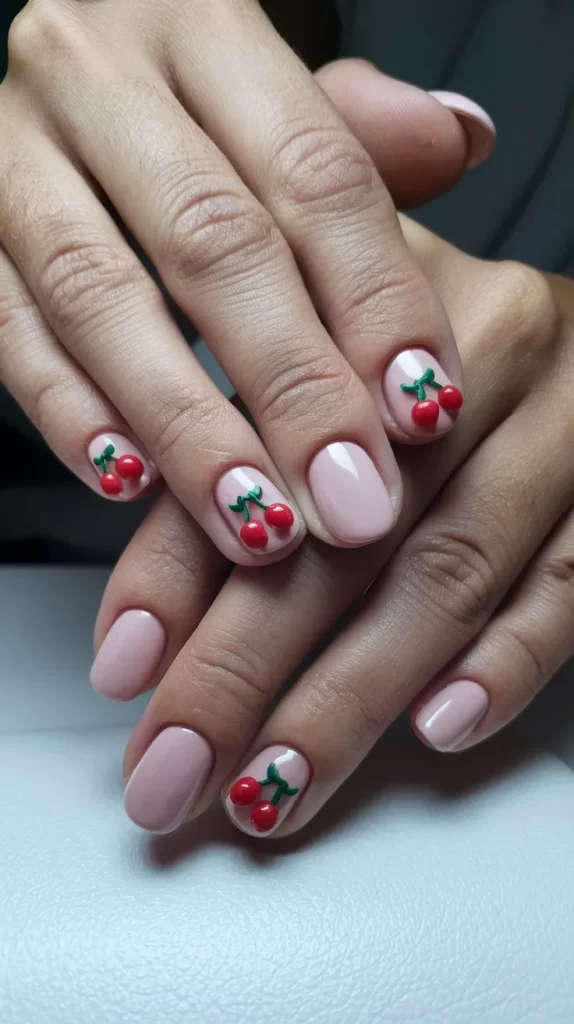
1. Classic Cherry Accent Nails
Keep it simple and sweet with a classic cherry design as an accent on a nude or pastel base. This timeless look is perfect for those who prefer understated elegance.
Steps:
- Apply a base coat to protect your nails.
- Paint your nails with a nude or pastel polish and let it dry.
- Using a dotting tool, create small red circles to represent cherries on one or two accent nails.
- Add green stems and leaves with a thin nail art brush.
- Seal the design with a glossy top coat.
Tips: Use quick-drying nail polish to avoid smudges when layering colors.
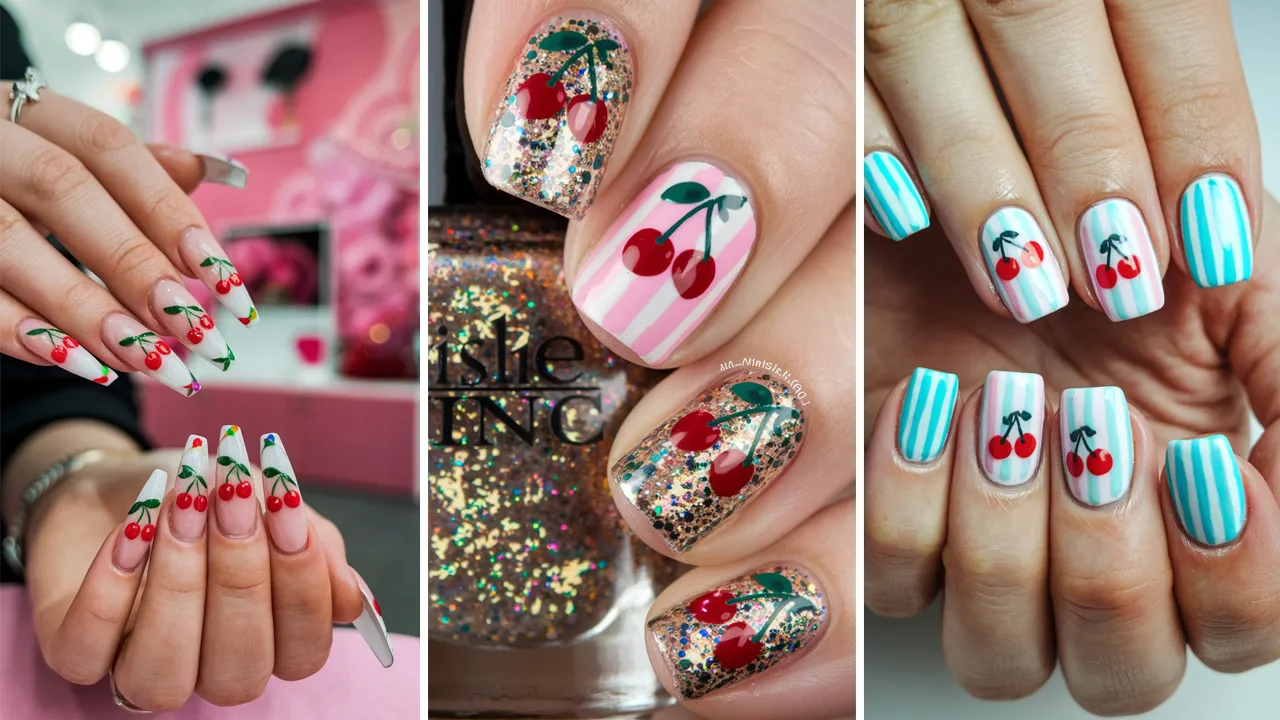
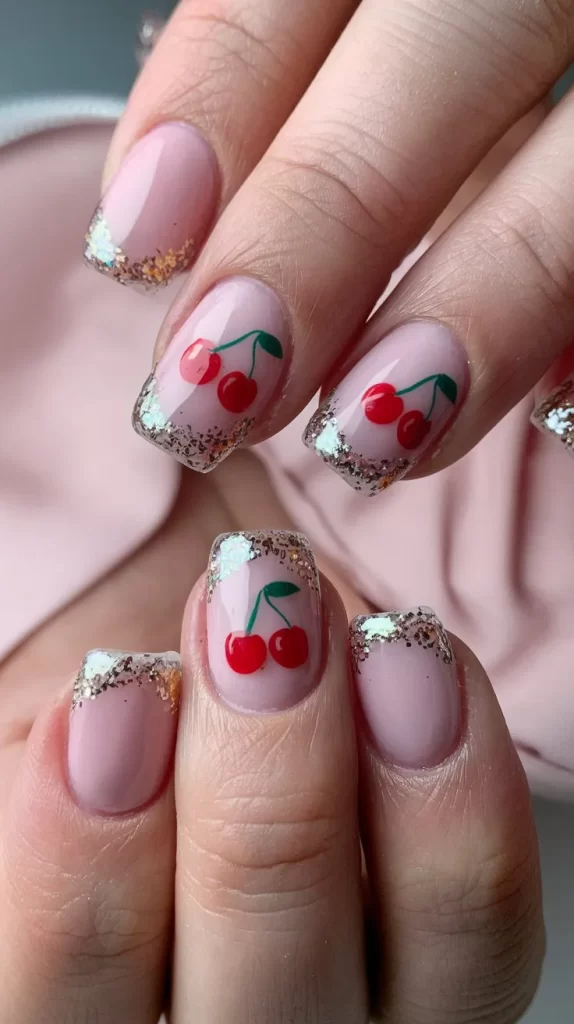
2. Glittery Cherry French Tips
Give the classic French manicure a festive twist by adding cherry motifs and glitter accents.
Steps:
- Apply a clear or soft pink base coat.
- Create white French tips on all nails.
- Add tiny cherry designs near the tips using red and green polish.
- Sprinkle fine glitter over the cherries for a sparkling effect.
- Finish with a shiny top coat.
Tips: Use striping tape to achieve clean French tips if you’re a beginner.
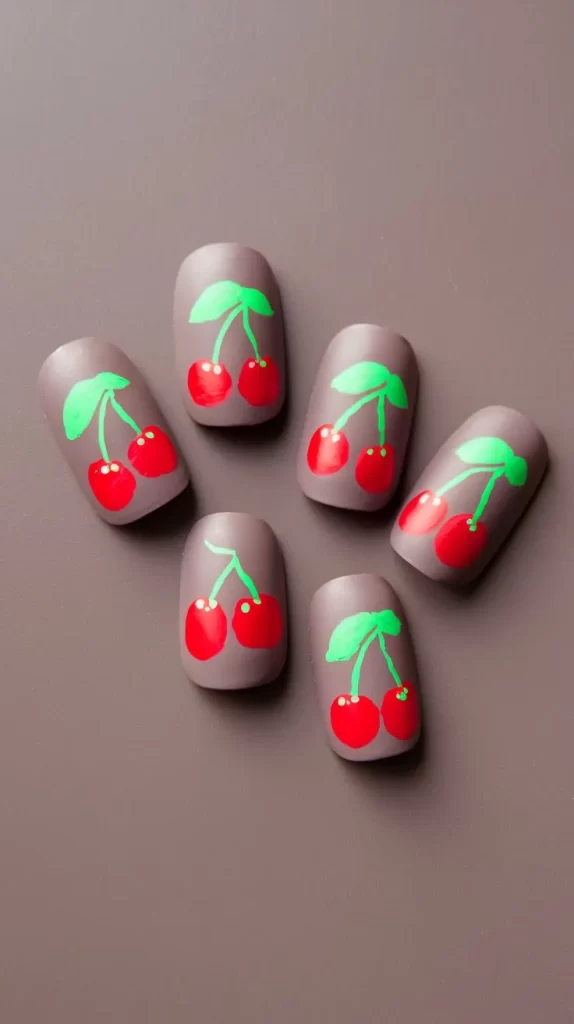
3. Matte Cherry Bliss
Combine sophistication and fun with a matte finish and bold cherry designs.
Steps:
- Apply a matte base coat in a neutral color.
- Use a thin brush to paint vibrant red cherries on each nail.
- Add green leaves and stems for detail.
- Top it off with a matte top coat to preserve the look.
Tips: Work with quick-drying polishes for matte finishes to avoid uneven textures.
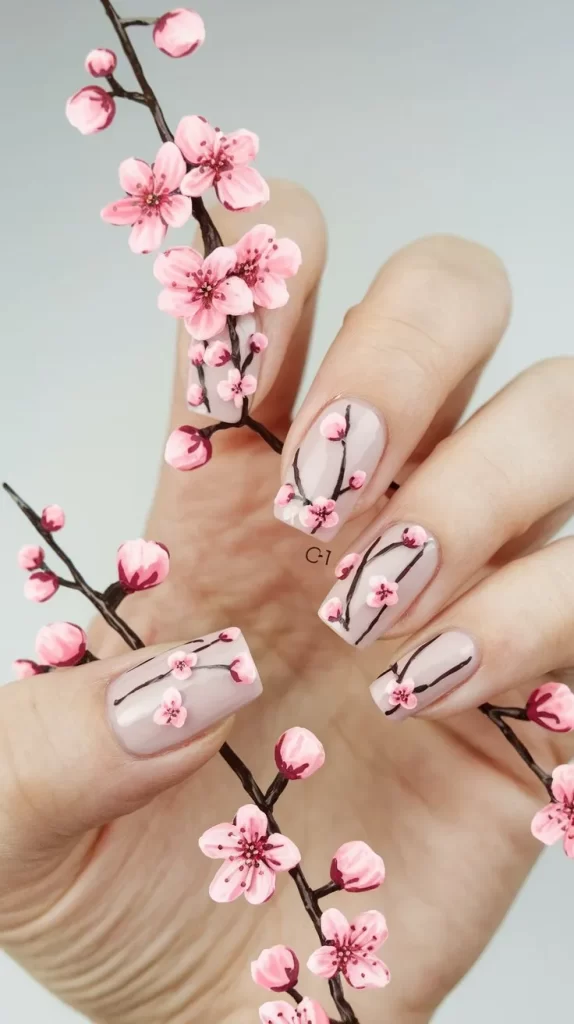
4. Cherry Blossom Meets Cherry Fruit
Blend the elegance of cherry blossoms with the fun of cherry fruit for a unique Valentine’s Day look.
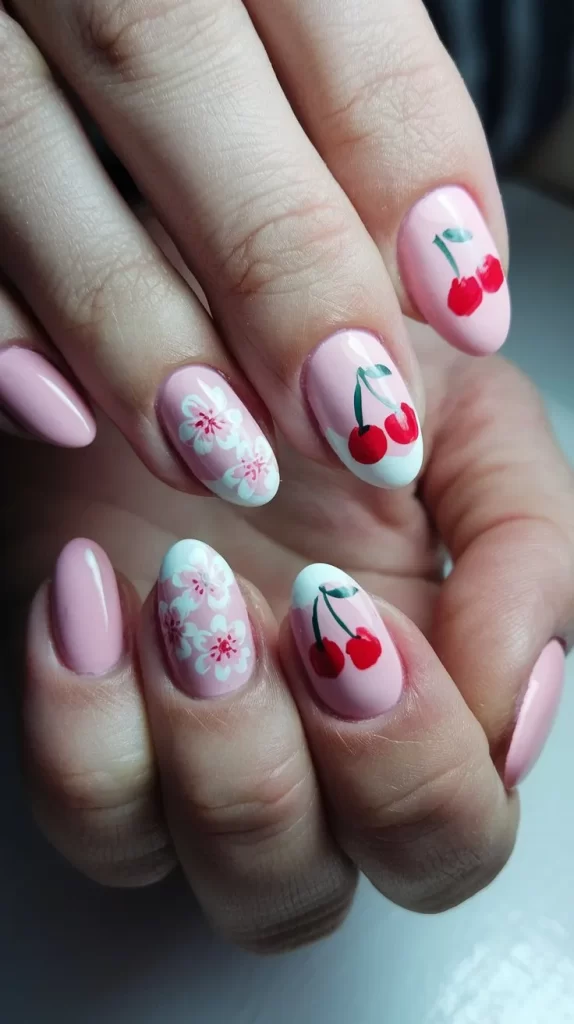
Steps:
- Apply a pale pink or white base coat.
- Paint cherry blossom branches on some nails using a fine brush.
- Add tiny cherries on the remaining nails.
- Seal with a glossy top coat.
Tips: Practice drawing thin lines for the branches on a piece of paper before painting your nails.
5. Heart-Shaped Cherry Nails
Combine cherries and hearts for the ultimate Valentine’s Day design.
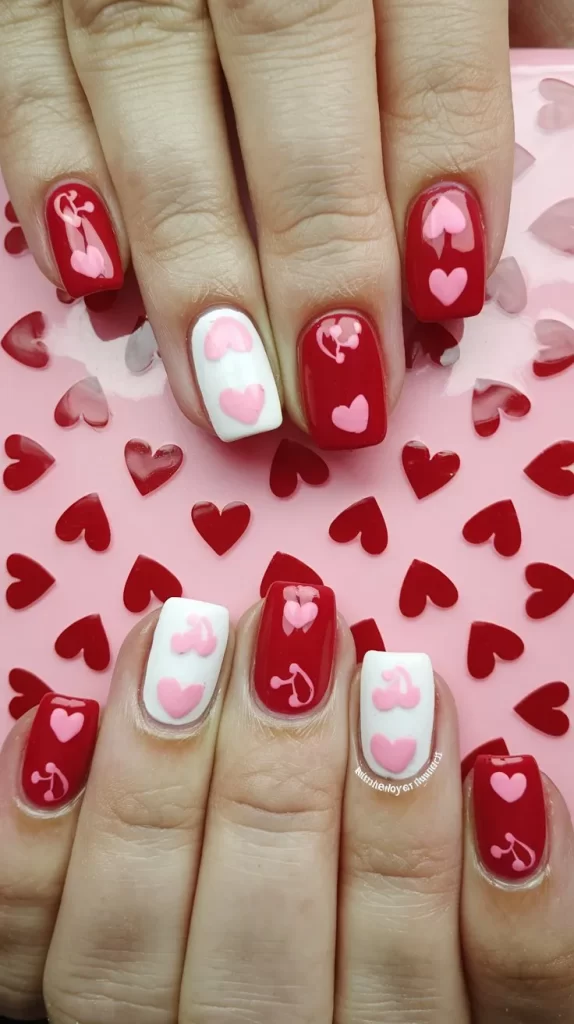
Steps:
- Apply a red or pink base coat.
- Use a dotting tool to create heart-shaped cherries.
- Paint green stems and leaves above each heart.
- Add small white dots for a glossy effect.
- Finish with a glossy top coat.
Tips: Experiment with different shades of red to make the hearts pop.
6. Cherry Ombre Nails
Combine the ombre trend with cherry accents for a chic and modern look.
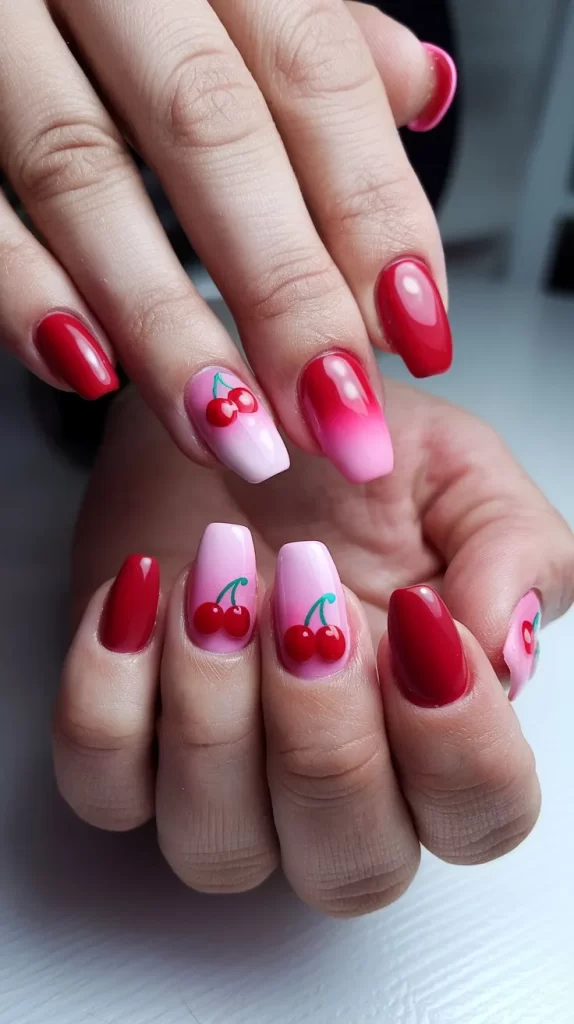
Steps:
- Apply a base coat and let it dry.
- Use a sponge to create a red-to-pink ombre effect on your nails.
- Paint tiny cherries on the accent nails using a dotting tool.
- Add green stems and leaves for detail.
- Seal with a top coat.
Tips: Use a makeup sponge for smooth ombre transitions.
7. Polka Dot Cherries
Playful and fun, this design combines polka dots with tiny cherries for a retro vibe.
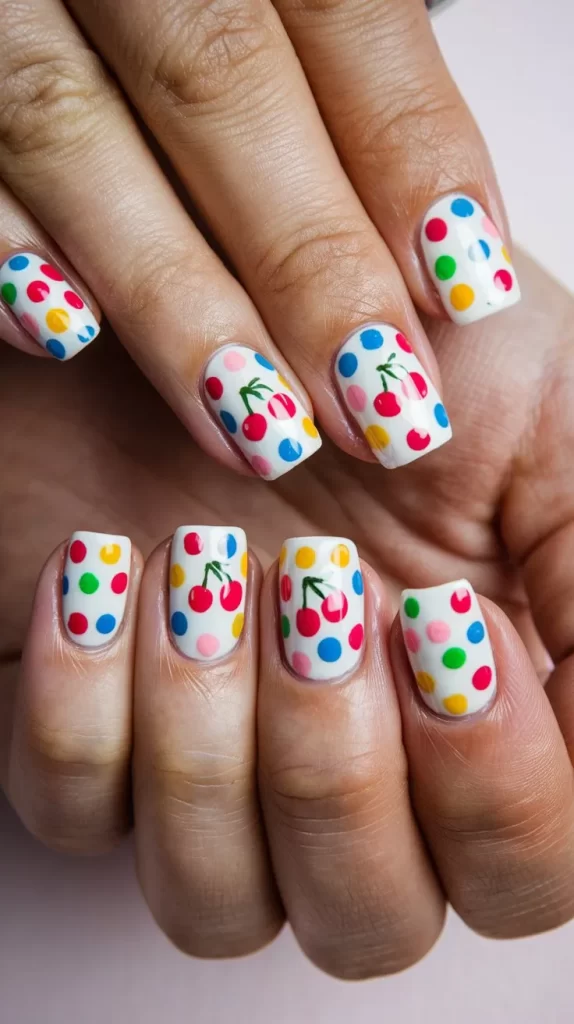
Steps:
- Apply a white or pastel base coat.
- Use a dotting tool to create colorful polka dots across your nails.
- Add tiny cherry clusters randomly over the polka dots.
- Seal with a top coat.
Tips: Choose complementary colors for the polka dots to avoid clashing.
8. Cherry Glitter Bomb
Make a bold statement with a glittery base and standout cherry designs.
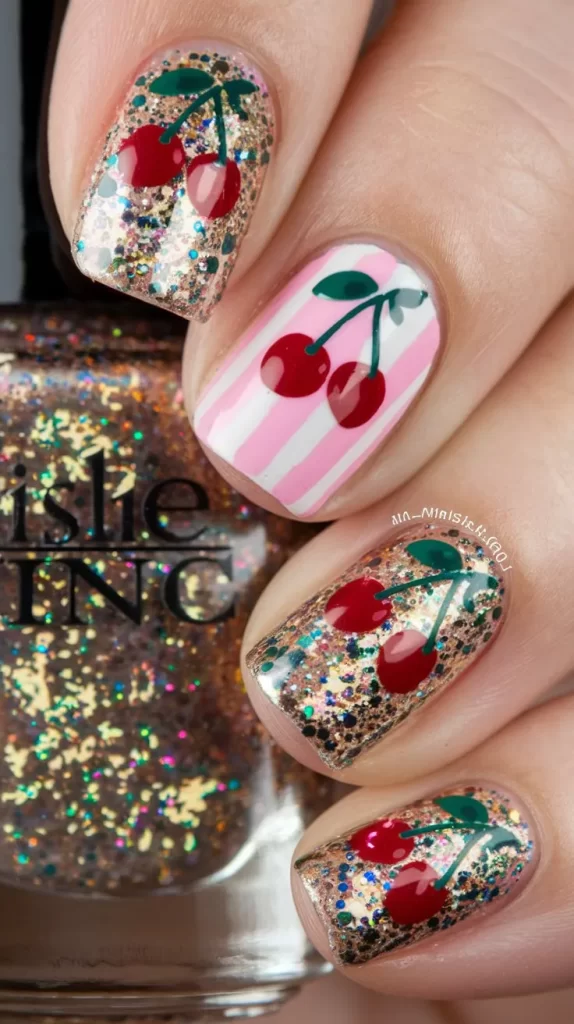
Steps:
- Apply a clear or soft pink base coat.
- Layer a chunky glitter polish over the base coat and let it dry.
- Use a dotting tool to create red cherries on top of the glitter.
- Add green stems and leaves for detail.
- Seal with a thick top coat for a smooth finish.
Tips: Choose a glitter polish with a mix of fine and chunky pieces for added dimension.
9. Minimalist Cherry Lines
Opt for a minimalist take with fine cherry line art over a neutral base.
Steps:
- Apply a nude or clear base coat.
- Use a fine nail art brush to paint red cherries with delicate green stems.
- Add thin white lines to mimic shine on the cherries.
- Seal with a matte or glossy top coat, depending on your preference.
Tips: Keep your hand steady by resting it on a flat surface while painting the lines.
10. Bold Cherry Stiletto Nails
Go all out with long stiletto nails featuring oversized cherry designs.
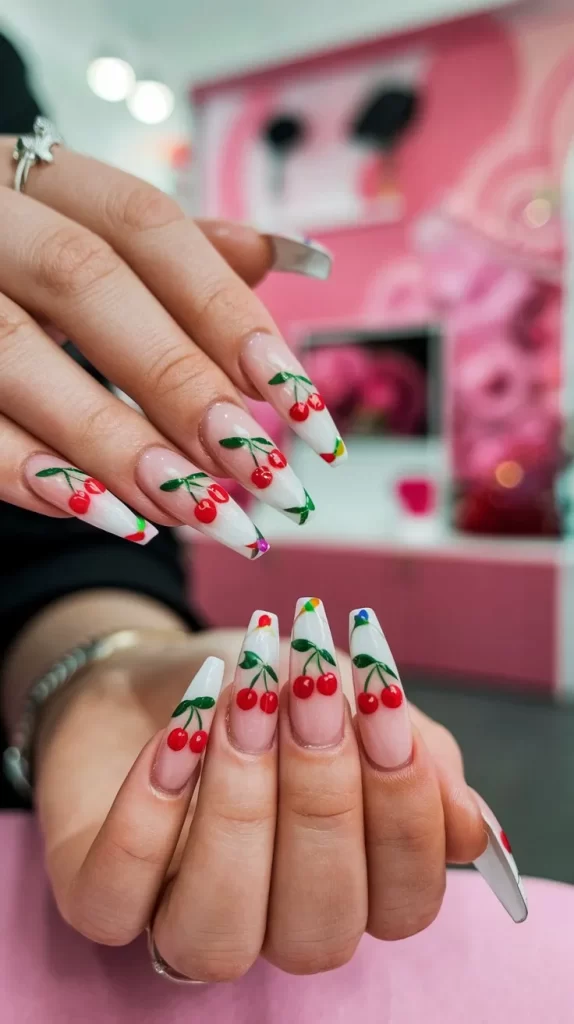
Steps:
- Shape your nails into a stiletto style and apply a base coat.
- Paint the nails with a bright red or deep burgundy base color.
- Use a nail art brush to create oversized cherries and leaves across the nails.
- Add white accents for dimension.
- Seal the look with a glossy top coat.
Tips: Use nail stickers or decals if freehand painting feels challenging.
11. Cherry and Stripes Combo
Pair cherries with chic stripes for a stylish and playful design.
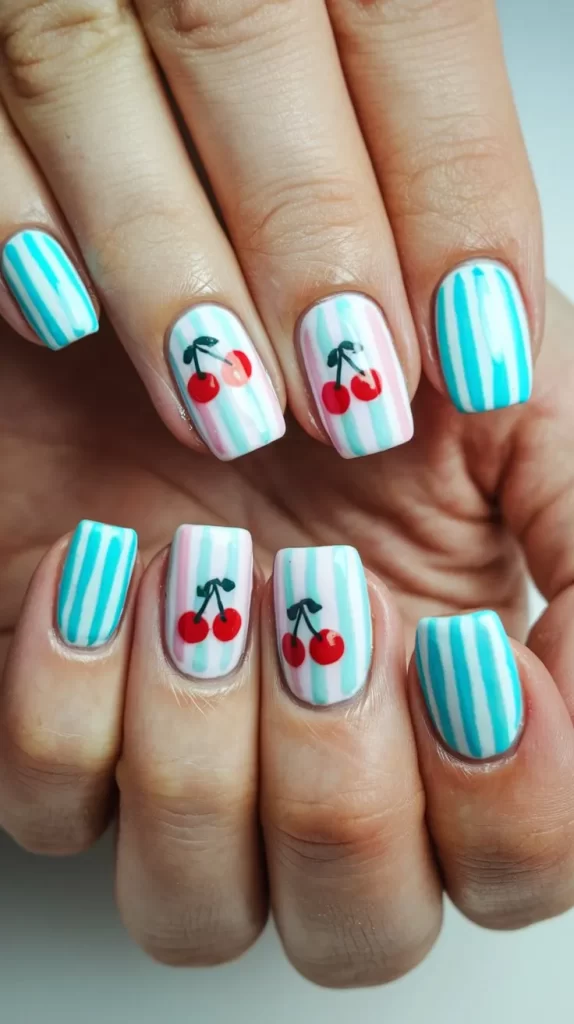
Steps:
- Apply a white or pastel base coat.
- Use striping tape to create vertical or horizontal stripes on some nails.
- Add cherry designs in between the stripes using red and green polish.
- Seal with a glossy top coat.
Tips: Ensure the base color is fully dry before applying striping tape to avoid smudging.
12. Negative Space Cherries
Use negative space to create a modern and artistic cherry design.

Steps:
- Apply a clear base coat to protect your nails.
- Use red polish to paint cherry shapes, leaving parts of the nail bare for a negative space effect.
- Add green stems and leaves with a thin brush.
- Seal with a glossy top coat.
Tips: Clean up any mistakes with a small brush dipped in nail polish remover.
13. Cherry Valentine’s Day Lettering
Combine cherries with romantic lettering for a personalized Valentine’s look.

Steps:
- Apply a soft pink or white base coat.
- Use a thin brush to paint cherries on some nails.
- Write romantic words like “Love” or “XOXO” on the remaining nails.
- Add small hearts or glitter for extra charm.
- Seal with a top coat.
Tips: Use nail art pens for precise lettering.
14. 3D Cherry Nails
Add dimension to your nails with 3D cherry embellishments.
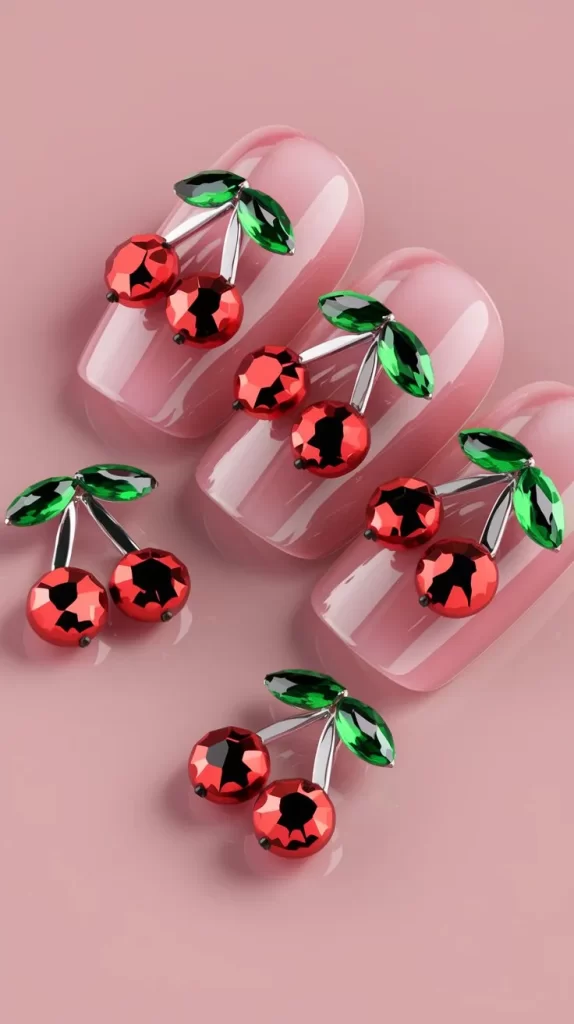
Steps:
- Apply a bright or neutral base coat.
- Use nail glue to attach small red gems or beads as cherries.
- Add green rhinestones or painted stems for the leaves.
- Seal the entire design with a thick top coat for durability.
Tips: Opt for lightweight embellishments to prevent them from falling off easily.
With these 14 cherry nail ideas, you’re all set to bring some sweet and romantic vibes to your Valentine’s Day look. Whether you’re into minimalism or bold statements, there’s a design here for everyone. Happy Valentine’s Day!