Valentine’s Day is the perfect excuse to treat yourself to a new manicure. Red nails are a timeless classic for the season of love, offering a combination of romance, elegance, and boldness. Below, we’ve curated 14 stunning red Valentine’s Day nail ideas, each with detailed descriptions, steps to recreate, and tips to make your nails truly pop.
Table of Contents
- 1. Classic Red Glossy Nails
- 2. Matte Red with Gold Accents
- 3. French Tips with a Red Twist
- 4. Red and Pink Ombre Nails
- 5. Glittery Red Nails
- 6. Red Velvet Nails
- 7. Heart-Shaped Nail Art
- 8. Red Chrome Nails
- 9. Red Nails with White Polka Dots
- 10. Stiletto Red Nails with Rhinestones
- 11. Red Jelly Nails
- 12. Red Marble Nails
- 13. Red Plaid Nails
- 14. Red and Black Gradient Nails
1. Classic Red Glossy Nails
Timeless and elegant, glossy red nails are perfect for any Valentine’s Day look.
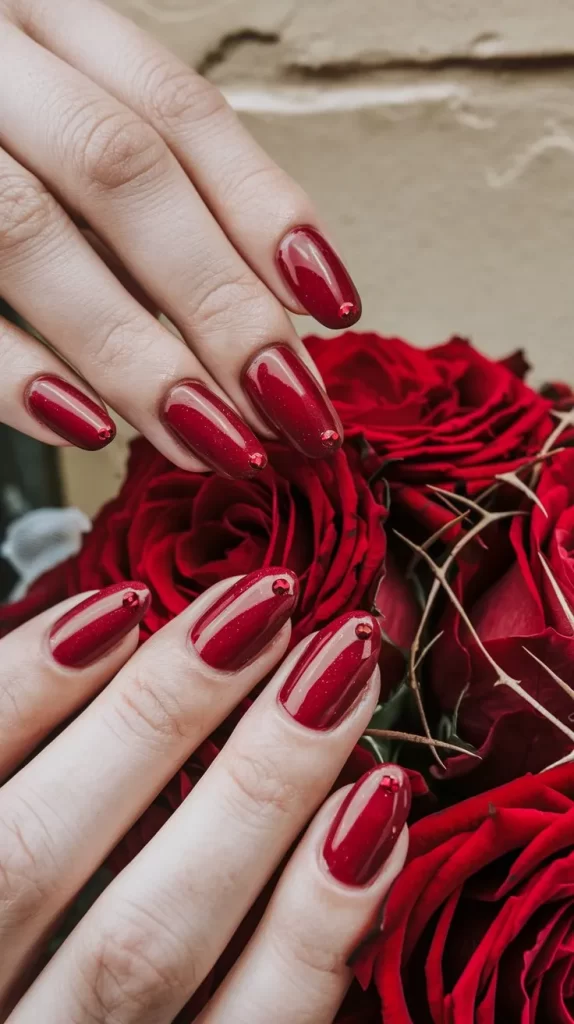
Steps:
- Start with clean, shaped nails.
- Apply a clear base coat to prevent staining.
- Paint two thin coats of glossy red nail polish, allowing each coat to dry.
- Seal with a high-shine top coat.
Tip: Choose a long-lasting nail polish to keep your manicure fresh for days.
2. Matte Red with Gold Accents
This modern twist on classic red nails combines a velvety matte finish with luxurious gold accents.

Steps:
- Apply a base coat to your nails.
- Paint two coats of matte red nail polish.
- Use a thin nail art brush or a dotting tool to add gold designs like stripes, dots, or hearts.
- Finish with a matte top coat to seal the design.
Tip: Use nail stickers or stencils for precise gold patterns.
3. French Tips with a Red Twist
A chic and subtle nod to Valentine’s Day, this look features classic French tips in red.
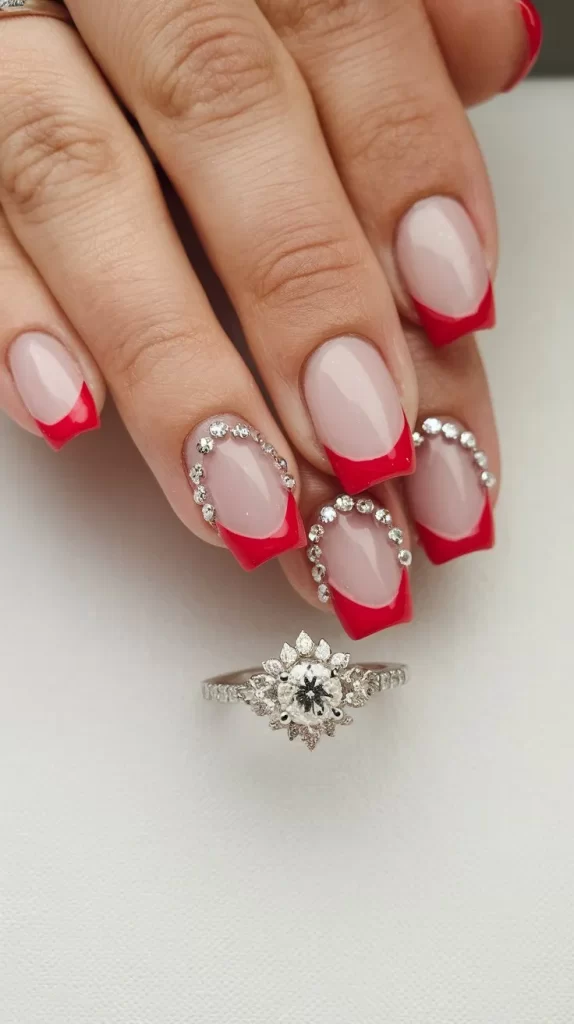
Steps:
- Apply a nude or sheer pink base color to your nails.
- Use a nail art brush to paint red tips.
- Correct any uneven lines with a small angled brush dipped in nail polish remover.
- Finish with a glossy top coat.
Tip: Use nail tape for clean and consistent tip lines.
4. Red and Pink Ombre Nails
Blend red and pink shades seamlessly for a soft, romantic gradient effect.
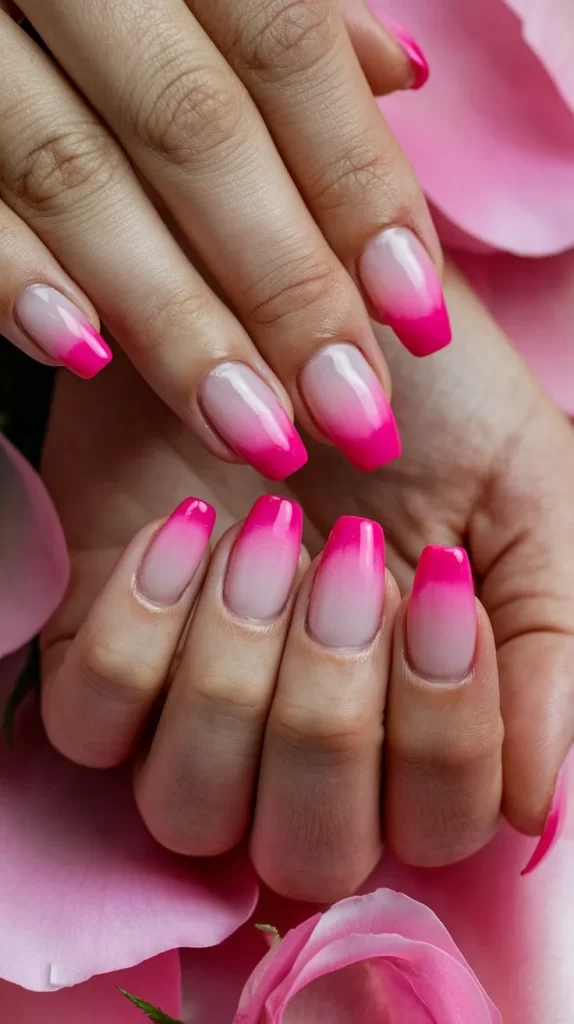
Steps:
- Apply a light pink base coat and let it dry.
- Use a sponge to dab red polish onto the tips of your nails, blending it downward.
- Repeat until you achieve the desired ombre effect.
- Finish with a clear top coat.
Tip: Use a latex barrier around your nails to make clean-up easier.
5. Glittery Red Nails
Add sparkle to your Valentine’s Day with glittery red nails that catch the light.

Steps:
- Apply a clear base coat.
- Paint two coats of red nail polish.
- Apply a red glitter polish on top or sprinkle loose glitter while the polish is still wet.
- Seal with a glossy top coat.
Tip: Focus glitter on the tips or base for a gradient effect.
6. Red Velvet Nails
Mimic the luxurious texture of red velvet with this soft, matte design.

Steps:
- Apply a base coat to your nails.
- Paint two coats of a deep red matte polish.
- Add a velvet powder while the polish is still tacky for a textured effect.
- Let it dry completely.
Tip: Work over a clean surface to easily collect excess velvet powder.
7. Heart-Shaped Nail Art
Showcase your love with red nails featuring adorable heart designs.

Steps:
- Paint your nails with a red base coat.
- Use a fine brush or stencil to paint hearts in white, gold, or pink.
- Seal with a top coat.
Tip: Practice heart shapes on paper first to perfect your technique.
8. Red Chrome Nails
Achieve a futuristic and bold Valentine’s Day look with reflective red chrome nails.

Steps:
- Apply a black or dark base coat.
- Use a red chrome powder with an applicator to rub the powder onto each nail.
- Seal with a gel top coat and cure under a UV lamp.
Tip: Keep the chrome powder off your cuticles for a clean finish.
9. Red Nails with White Polka Dots
This playful and vintage-inspired design adds a touch of fun to your Valentine’s Day look.
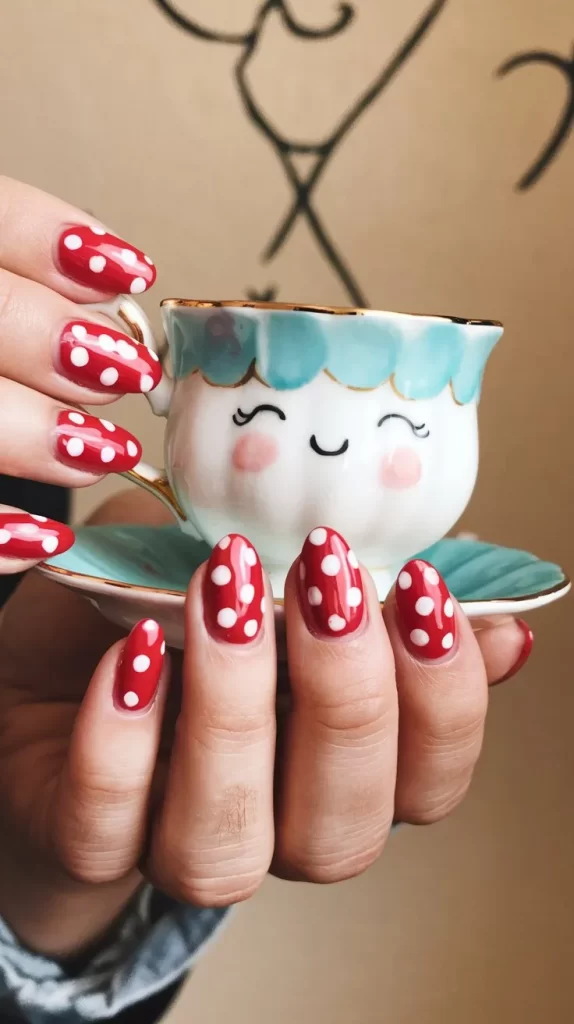
Steps:
- Apply a base coat and let it dry.
- Paint your nails with a vibrant red polish.
- Use a dotting tool to create evenly spaced white polka dots.
- Finish with a clear top coat.
Tip: Practice dot placement on a piece of paper before applying to your nails.
10. Stiletto Red Nails with Rhinestones
Go glam with stiletto-shaped red nails adorned with sparkling rhinestones.

Steps:
- Shape your nails into a stiletto point and apply a base coat.
- Paint two coats of red nail polish.
- Use nail glue to affix rhinestones at the base or along the tips of your nails.
- Seal with a strong top coat.
Tip: Use tweezers for precise placement of rhinestones.
11. Red Jelly Nails
Semi-transparent red jelly nails offer a trendy and youthful vibe for Valentine’s Day.
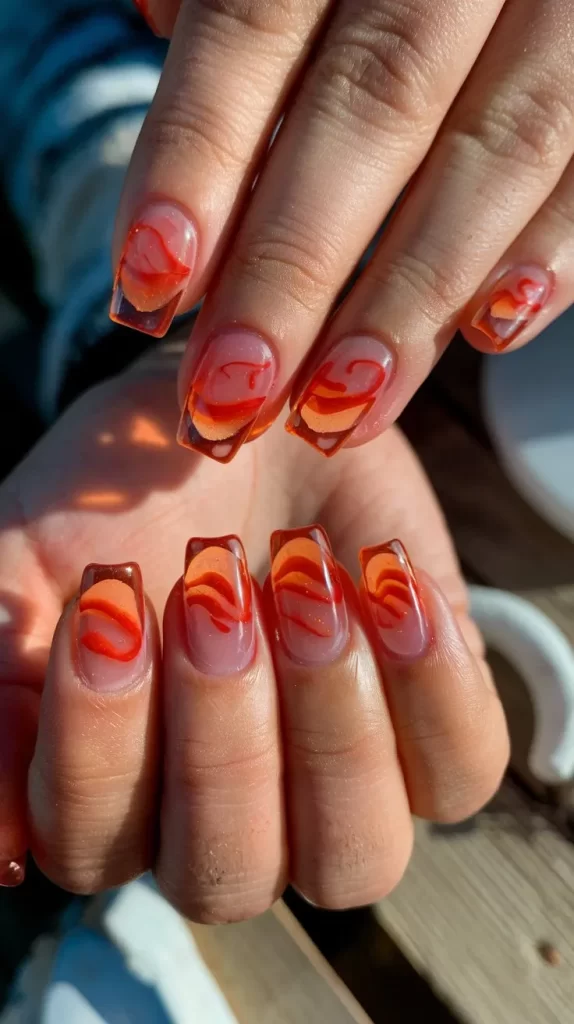
Steps:
- Apply a base coat.
- Use a sheer red polish to paint 2-3 coats until you achieve the desired translucency.
- Finish with a glossy top coat.
Tip: Keep the layers thin to maintain the jelly-like effect.
12. Red Marble Nails
This sophisticated design mimics the look of luxurious marble using red and white tones.
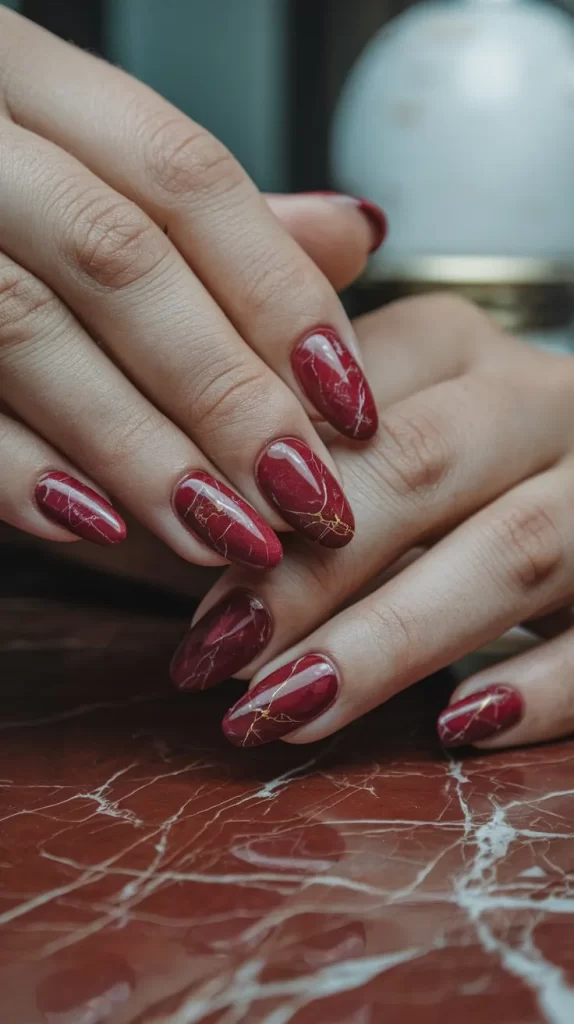
Steps:
- Apply a red base coat.
- Use a fine brush to swirl white polish in random patterns while the red is still wet.
- Add gold accents for an extra touch of elegance.
- Finish with a clear top coat.
Tip: Use a nail art brush or toothpick for precise marbling.
13. Red Plaid Nails
Create a cozy and stylish look with red plaid nail art, perfect for the winter season of love.

Steps:
- Paint your nails with a red base coat.
- Use a thin brush to draw black and white plaid lines.
- Add a glossy top coat to finish.
Tip: Use nail art tape for perfectly straight lines.
14. Red and Black Gradient Nails
This bold and edgy design features a striking gradient from red to black.
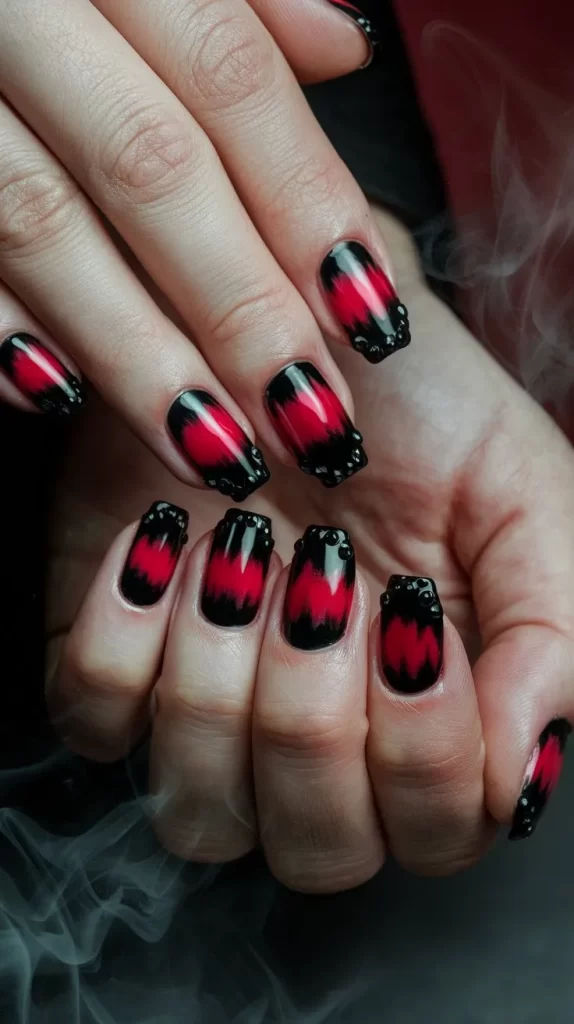
Steps:
- Apply a red base coat.
- Use a sponge to blend black polish onto the tips, creating a gradient effect.
- Repeat for a smooth blend, then finish with a top coat.
Tip: Use a makeup sponge for better control over the gradient blending.
