
Hey there, fall enthusiast! As the air gets crisp and the leaves start to turn those gorgeous shades of amber and crimson, our minds turn to one thing: decorating! And what’s the centerpiece of any great American fall porch? The pumpkin, of course.
But let’s be honest, carving can be a messy, time-consuming chore. The slimy pulp, the sharp tools, and the fact that your masterpiece starts to sadly droop in just a few days can put a damper on the festive spirit.
What if you could create a stunning, Instagram-worthy pumpkin display that’s easy, fun for the whole family, and lasts from the first hint of autumn all the way through Thanksgiving? Welcome to the wonderful world of no-carve pumpkins! We’ve gathered 15 fresh and unique Fall Porch Decor ideas to spark your creativity and make your porch the envy of the neighborhood.
Table of Contents
- 1. The Cosmic Galaxy Pumpkin
- 2. Elegant Marbled Pumpkins
- 3. Decoupage Autumn Leaf Pumpkin
- 4. Gilded Glam Pumpkins
- 5. Reusable Chalkboard Pumpkins
- 6. Melted Crayon Drip Pumpkin
- 7. Cozy Fabric-Wrapped Pumpkins
- 8. Modern Thumbtack Art Pumpkins
- 9. Vintage Lace & Doily Pumpkins
- 10. Confetti Pop Pumpkin
- 11. Botanical Pressed Flower Pumpkin
- 12. Washi Tape Pattern Pumpkin
- 13. House Number Pumpkin Topiary
- 14. Spooky Hot Glue Spiderweb Pumpkin
- 15. Minimalist Line Art Face Pumpkin
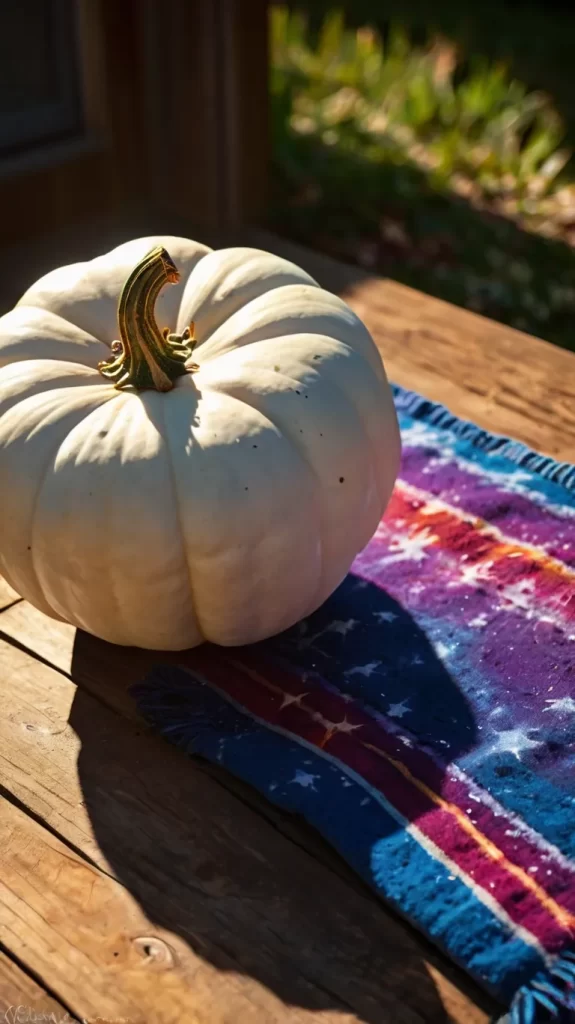
1. The Cosmic Galaxy Pumpkin
Transform an ordinary pumpkin into a celestial masterpiece. With deep, swirling nebulas of blue, purple, and black, flecked with a constellation of white stars, this design is truly out of this world and a modern twist on fall decor.
Steps:
- Apply a solid base coat of black or navy blue spray paint to your pumpkin and let it dry completely.
- Use sponges to dab on acrylic paints in galaxy colors like purple, magenta, and deep blue. Blend the edges for a soft, cloudy effect.
- Dip an old toothbrush or a stiff-bristled brush in white paint, pull back the bristles with your thumb, and release to splatter “stars” across your galaxy.
Pro Tip: Use a fine silver glitter spray as a final coat to give your galaxy a shimmering, magical finish.
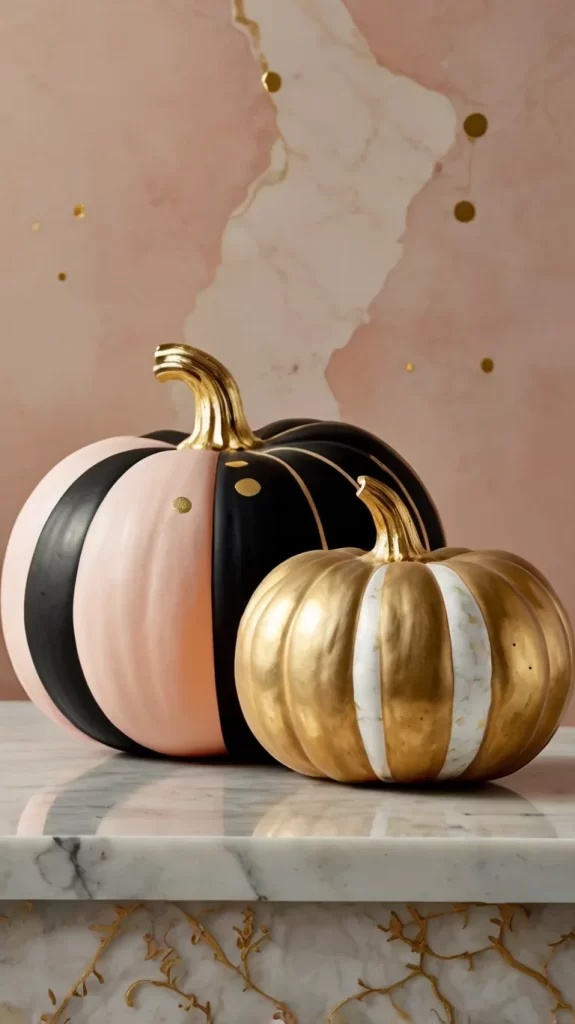
2. Elegant Marbled Pumpkins
Achieve a sophisticated, high-end look with the art of marbling. This technique uses nail polish and water to create elegant, one-of-a-kind swirls of color that look like polished stone.
Steps:
- Fill a disposable container with room-temperature water.
- Drizzle 2–3 different nail polish colors onto the water. Use a toothpick to gently swirl.
- Dip your pumpkin into the water, rolling to coat with the marbled pattern. Let dry on wax paper.
Pro Tip: Work quickly—nail polish film forms fast!
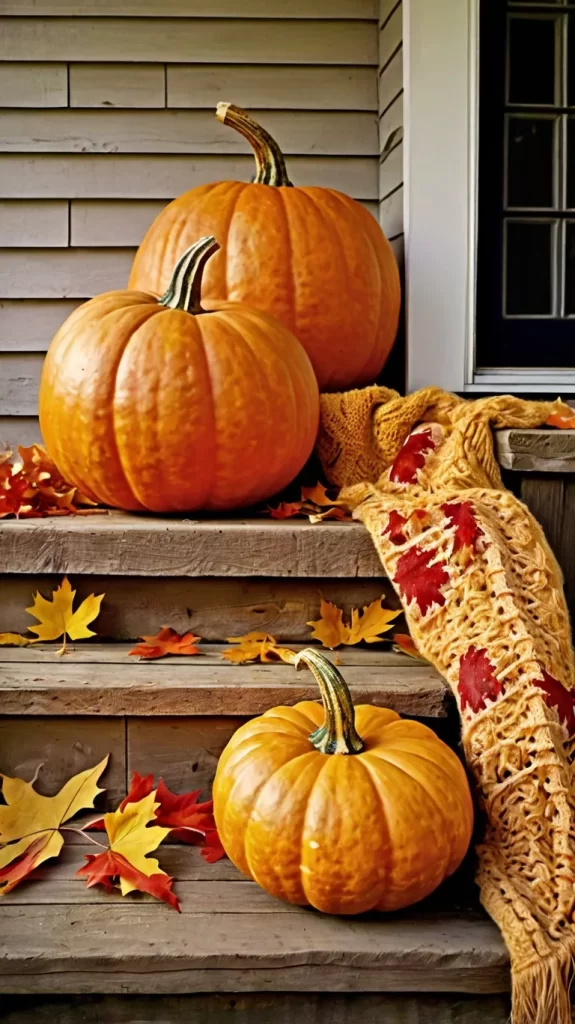
3. Decoupage Autumn Leaf Pumpkin
Capture the essence of fall by adorning your pumpkin with real or faux autumn leaves. This classic technique celebrates seasonal beauty.
Steps:
- Clean your pumpkin. Collect pressed or faux leaves.
- Brush Mod Podge onto a section of the pumpkin.
- Press a leaf onto it, smoothing it out. Repeat. Seal with a top coat.
Pro Tip: Use matte Mod Podge for a natural, non-glossy finish.
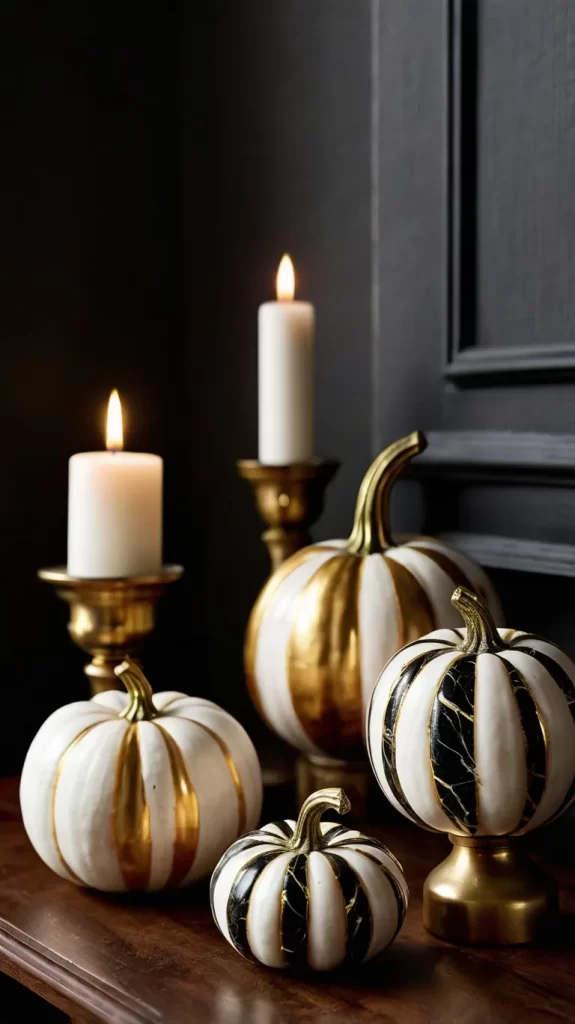
4. Gilded Glam Pumpkins
Add a touch of opulence with gold leaf. Whether you use simple patterns or full coverage, gilded pumpkins bring a luxurious touch.
Steps:
- Paint your pumpkin a solid color and let dry.
- Apply metal leaf adhesive and let it get tacky.
- Press gold leaf sheets on, then brush off the excess.
Pro Tip: Small cracks and imperfections give it a beautiful, antique appearance.
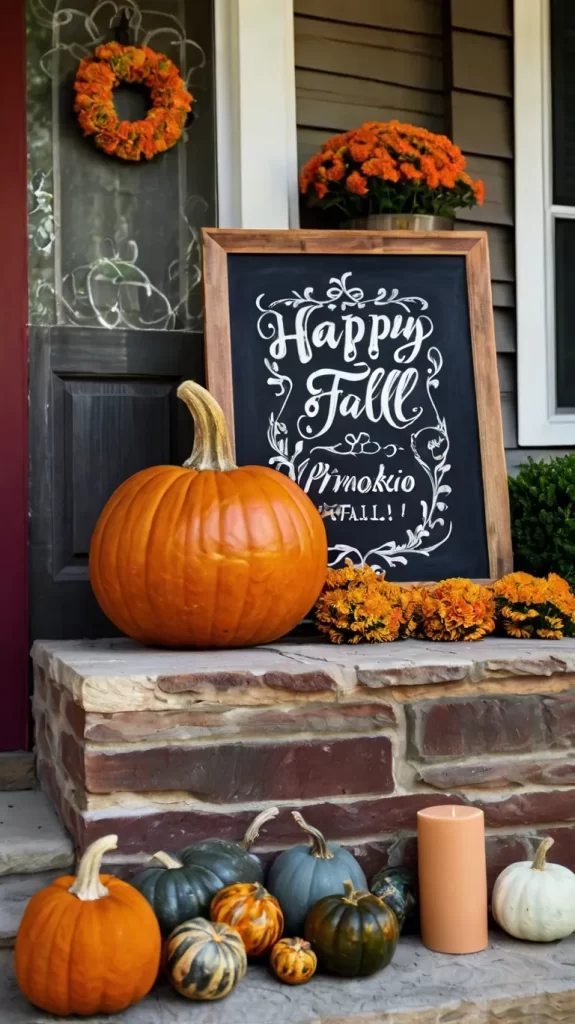
5. Reusable Chalkboard Pumpkins
Turn your pumpkin into a reusable canvas with chalkboard paint for messages, doodles, or countdowns.
Steps:
- Prime the pumpkin and let dry.
- Apply two or three coats of black chalkboard paint.
- Season the surface with chalk, then erase.
Pro Tip: Use chalkboard markers for more vibrant, clean lines.
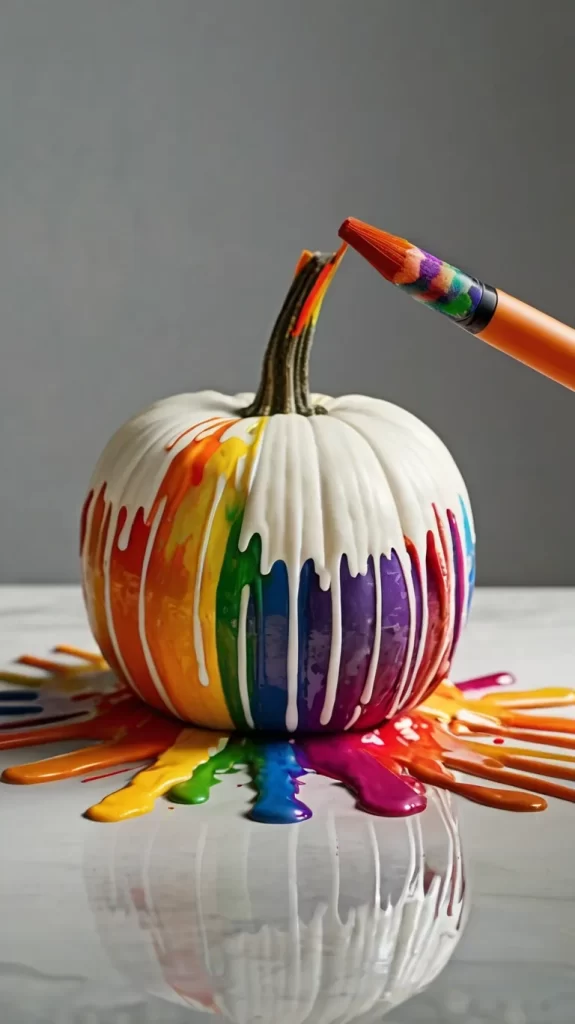
6. Melted Crayon Drip Pumpkin
A colorful and fun project, especially for kids. Melting crayons creates a unique abstract art piece.
Steps:
- Choose a light-colored pumpkin.
- Hot glue crayons around the stem.
- Use a hairdryer to melt them, letting the wax drip down the sides.
Pro Tip: Lay down newspaper—this gets messy!
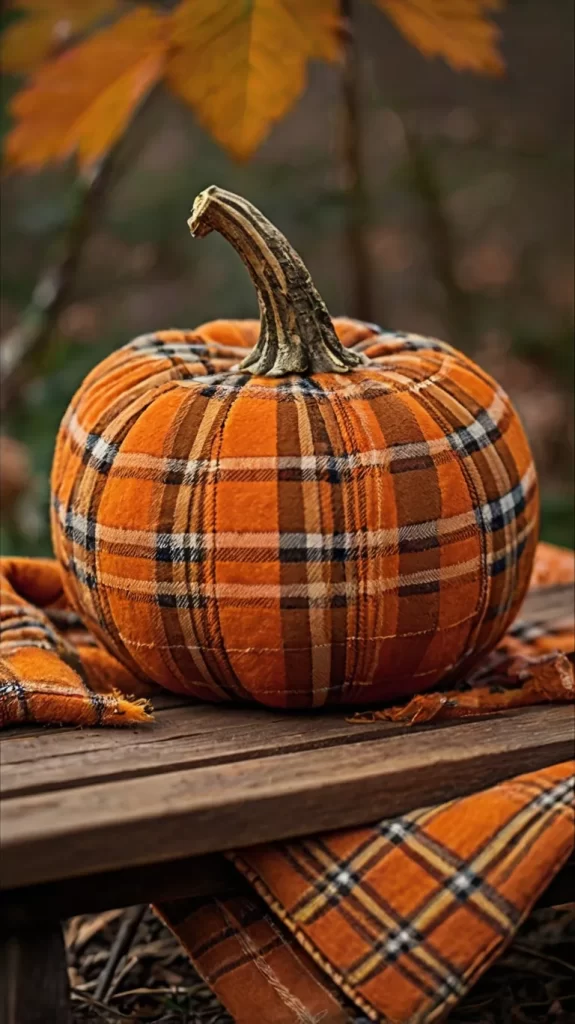
7. Cozy Fabric-Wrapped Pumpkins
Give your pumpkins a warm, textured look with cozy fabric scraps.
Steps:
- Cut fabric into 1–2 inch strips.
- Glue one end near the stem and wrap around the pumpkin.
- Repeat until covered.
Pro Tip: Use a square of fabric and tie it off with twine for a no-glue option.
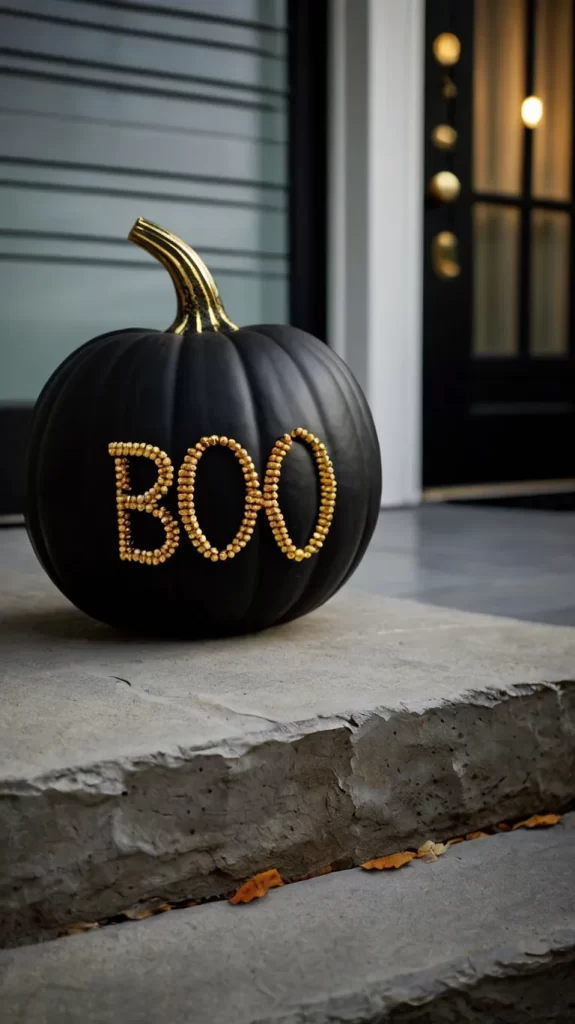
8. Modern Thumbtack Art Pumpkins
Create geometric or lettered designs using thumbtacks for a modern metallic look.
Steps:
- Paint pumpkin in a bold solid color.
- Lightly sketch your design.
- Press in thumbtacks to complete the pattern.
Pro Tip: Use pumpkin grooves as guides for symmetry.
9. Vintage Lace & Doily Pumpkins
Adorn your pumpkins with lace or doilies for a romantic, vintage touch.
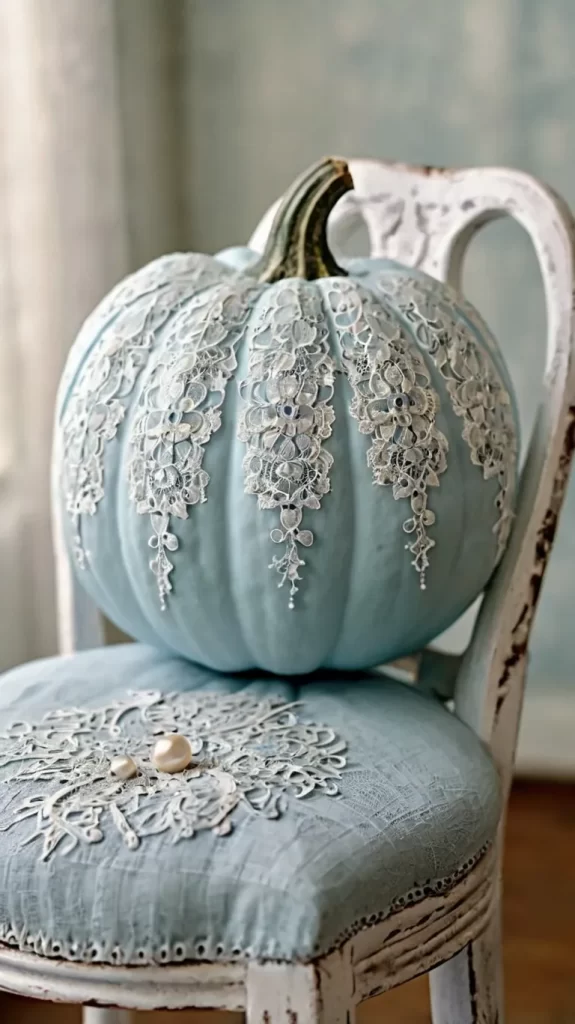
Steps:
- Wrap lace around the pumpkin or cut lace motifs.
- Apply Mod Podge and press lace into place.
- Seal with another layer.
Pro Tip: Spray paint lace-covered pumpkins for a monochrome texture.
10. Confetti Pop Pumpkin
A fun and festive pumpkin design with glitter and color!
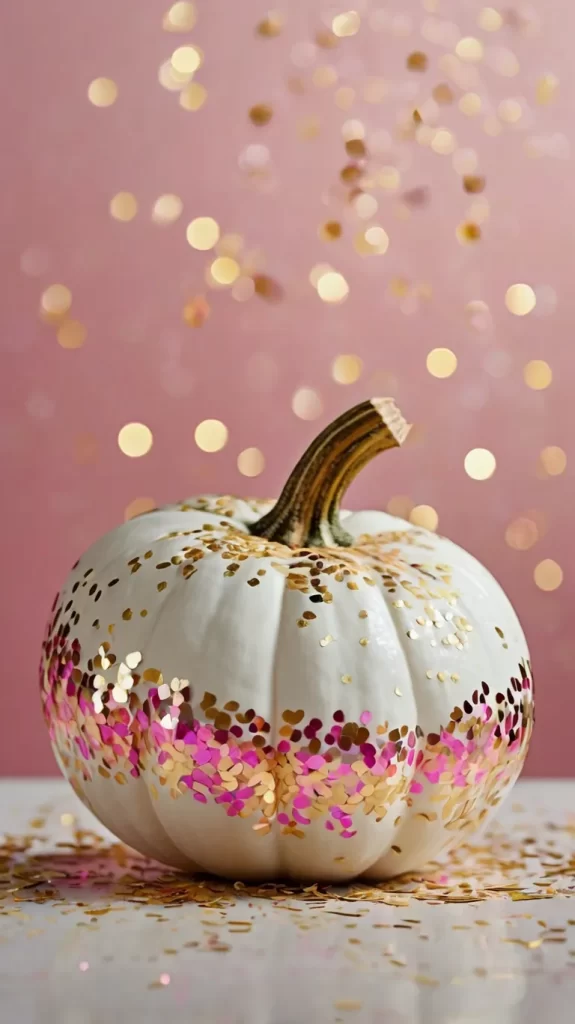
Steps:
- Paint areas of the pumpkin with glue.
- Sprinkle confetti generously.
- Press in gently and let dry.
Pro Tip: Use metallic confetti for maximum sparkle.
11. Botanical Pressed Flower Pumpkin
Decorate your pumpkin with dried flowers and leaves for a whimsical, cottagecore vibe.
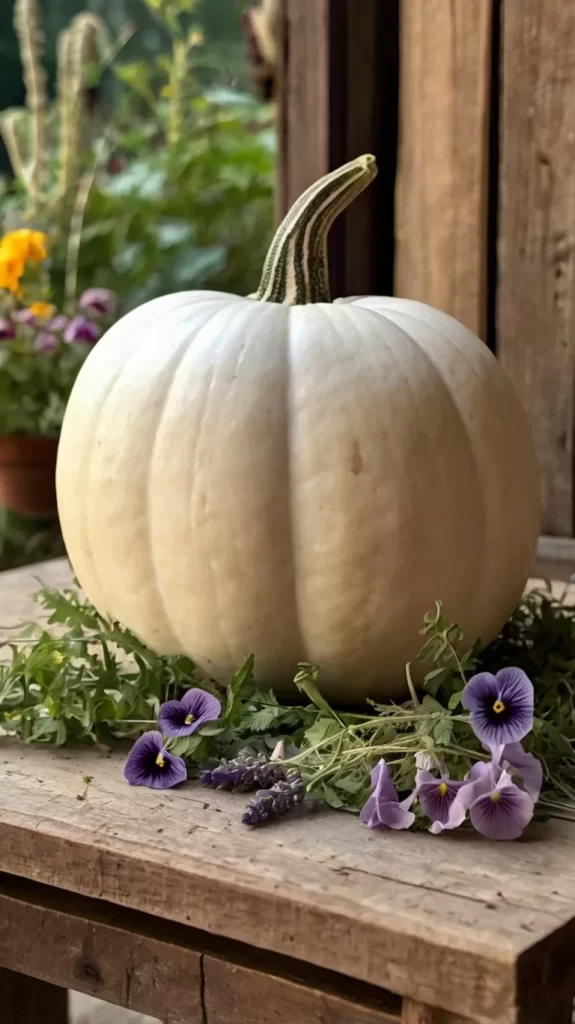
Steps:
- Press flowers for 7–10 days.
- Arrange them on your pumpkin.
- Use Mod Podge to adhere and seal.
Pro Tip: Use tweezers to handle delicate botanicals.
12. Washi Tape Pattern Pumpkin
Washi tape provides a mess-free, reversible decor option.
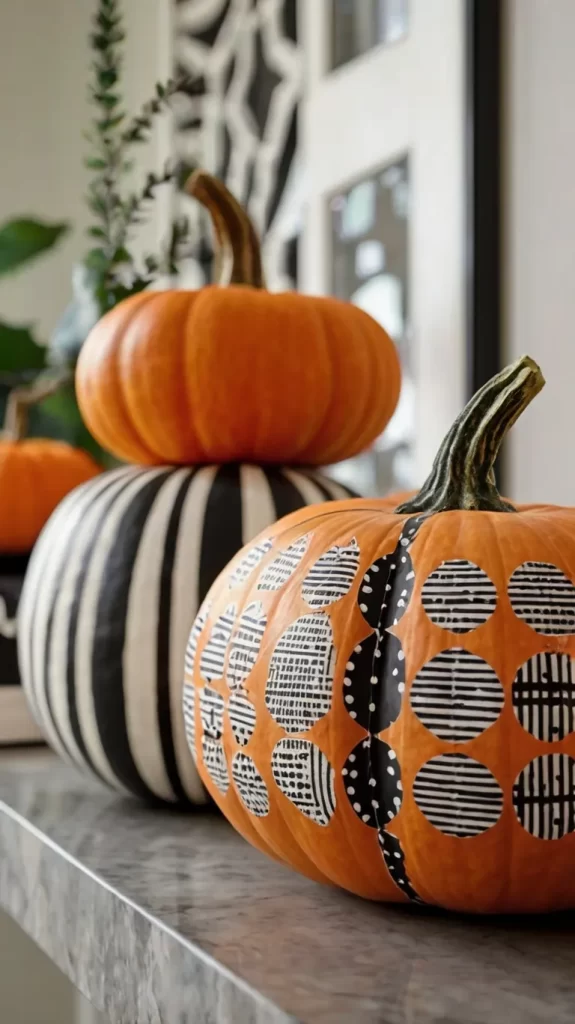
Steps:
- Clean your pumpkin surface.
- Apply washi tape in your desired pattern.
- Press it down firmly.
Pro Tip: Use faux pumpkins to reuse year after year.
13. House Number Pumpkin Topiary
Create a stacked pumpkin display with your house number for a decorative, functional touch.
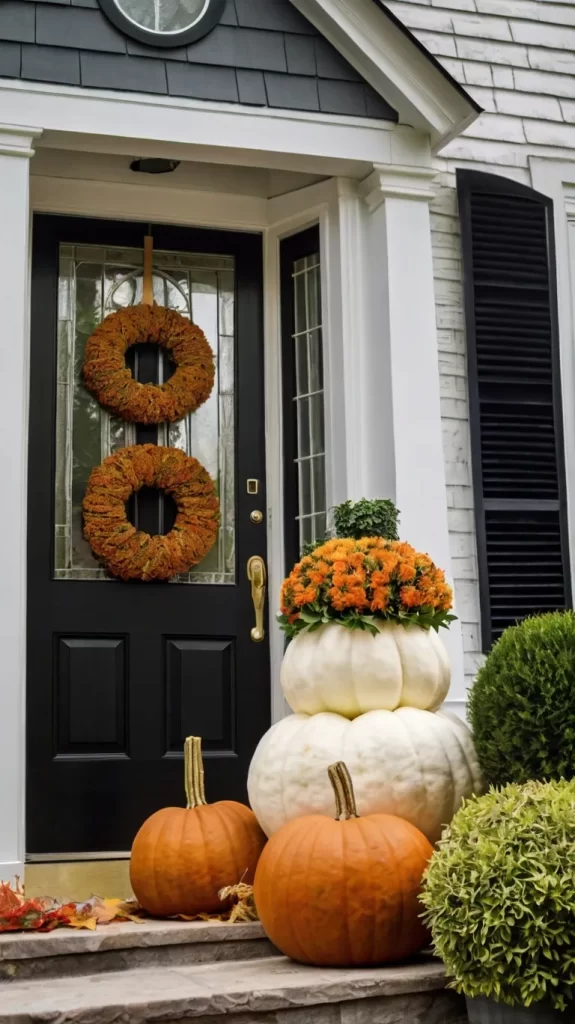
Steps:
- Stack 3 pumpkins (largest to smallest).
- Affix numbers vertically using stencils or vinyl.
- Secure them on a rod or planter.
Pro Tip: Use faux pumpkins for long-lasting stability.
14. Spooky Hot Glue Spiderweb Pumpkin
A raised hot-glue spiderweb adds a dramatic Halloween twist.
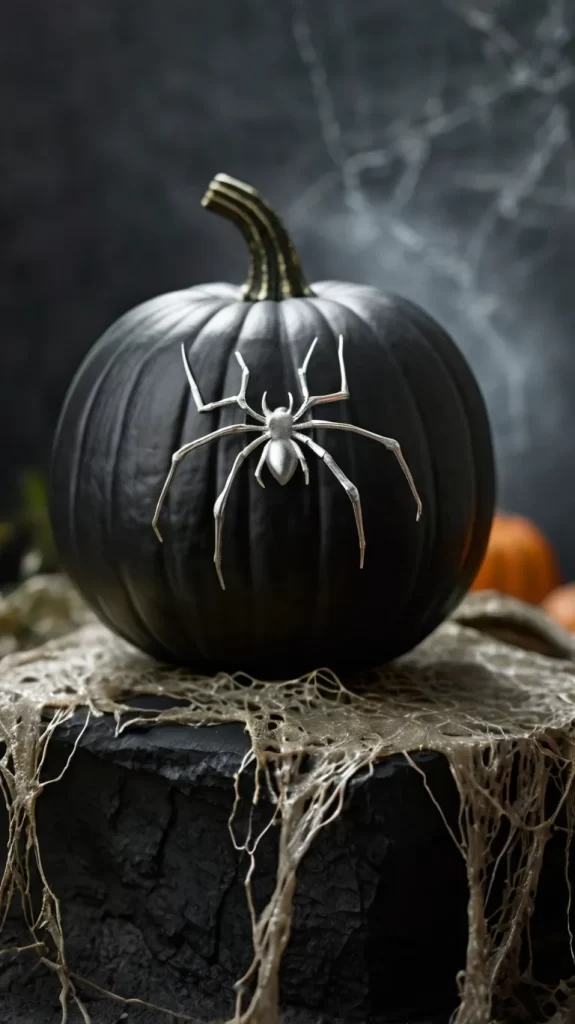
Steps:
- Draw a spiderweb with hot glue.
- Let cool, then spray paint all over.
- Optionally, add a spider detail.
Pro Tip: Dry-brush metallic paint over the glue to highlight the texture.
15. Minimalist Line Art Face Pumpkin
Inspired by abstract line drawings, this simple design is elegant and modern.
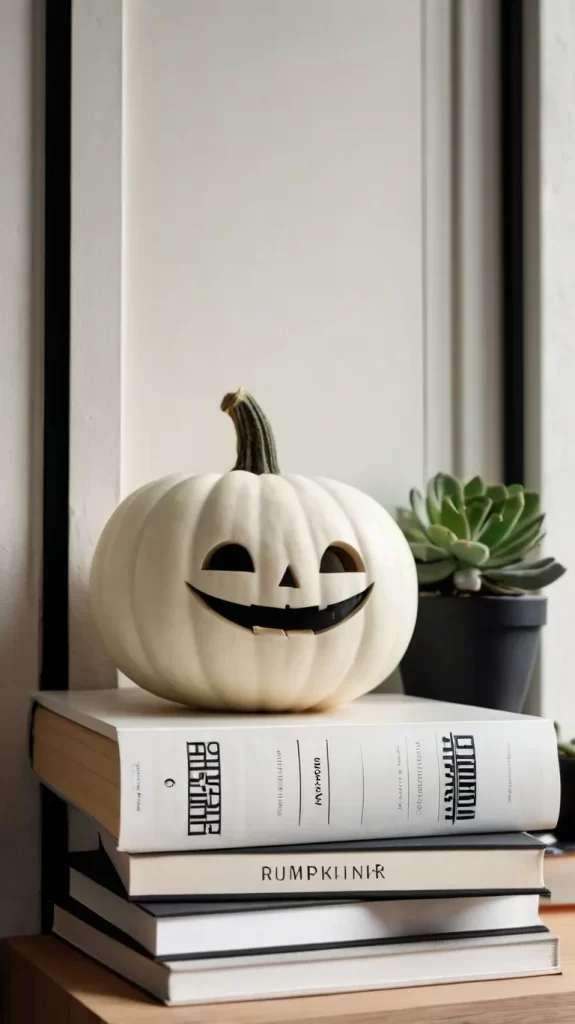
Steps:
- Choose a smooth, light-colored pumpkin.
- Find a simple one-line face design.
- Draw with a paint marker in one continuous motion.
Pro Tip: Practice your design on paper before applying it.