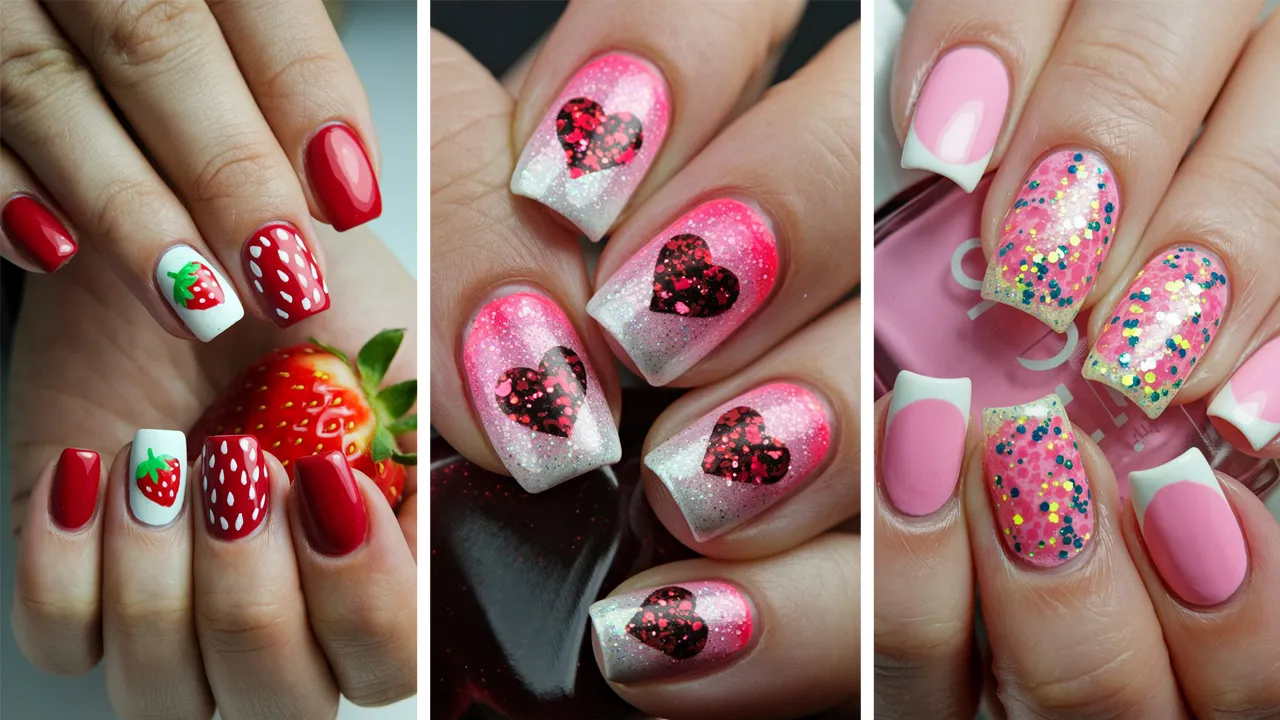
Valentine’s Day is a time to celebrate love and affection, and one of the easiest ways to get in the spirit is by styling your nails! Whether you’re looking for something sweet, chic, or fun, these 14 easy Valentine’s Day nail ideas will have you ready for the occasion. All of these designs can be done at home with minimal tools and effort, making them the perfect DIY projects. Let’s dive into these fabulous nail art ideas, and don’t forget to check out the tips to make each design even better!
Table of Contents
- 1. Classic Red French Tips
- 2. Heart Accents
- 3. Pink Ombre Nails
- 4. Glittery Love Letters
- 5. Polka Dots and Stripes
- 6. Red and White Swirls
- 7. Rose Gold Foil Accents
- 8. Candy Hearts Nails
- 9. Pink and Gold Marble
- 10. Minimalist Love
- 11. Bubblegum Pink with Glitter
- 12. White Lace Designs
- 13. Sweet Strawberry Nails
- 14. Gradient Glitter Hearts
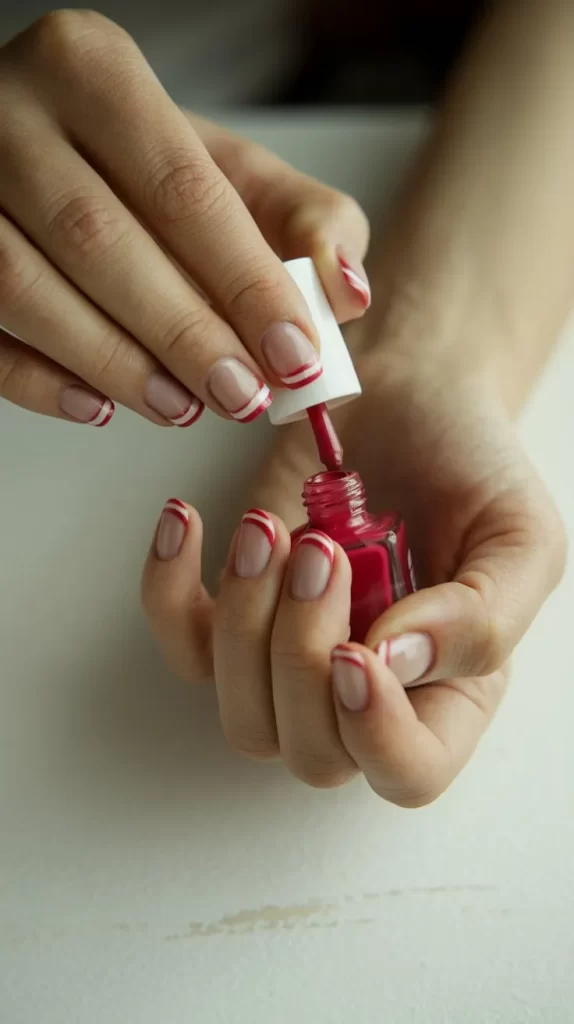
1. Classic Red French Tips
Classic French tips get a romantic twist with a vibrant red hue.
Steps:
- Start by applying a nude or light pink base coat to your nails.
- Once dry, use a red polish to paint the tips of your nails.
- Use tape or a French tip guide to ensure clean lines.
- Finish with a top coat to add shine and longevity.
Tips:
- For a more modern twist, try alternating red with white or gold tips.
- Make sure to let each layer dry completely to avoid smudging.
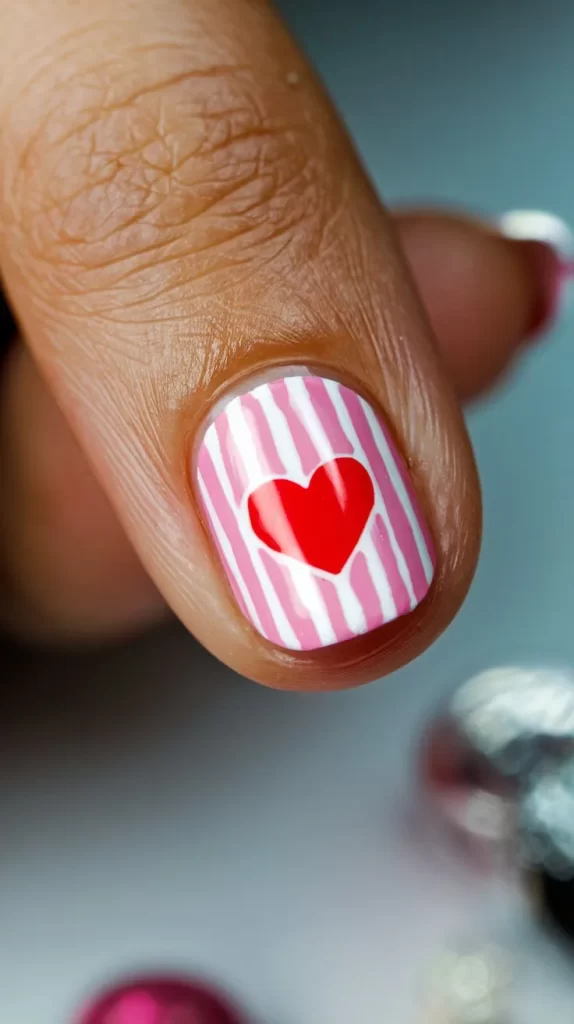
2. Heart Accents
Add a cute heart accent to your nails to bring out the Valentine’s spirit.
Steps:
- Apply a light pink or nude base coat to your nails.
- Use a fine-tipped brush or a dotting tool to create small hearts on one or two nails.
- Fill the hearts with a darker pink or red.
- Seal your design with a top coat.
Tips:
- If you don’t have a dotting tool, a toothpick or bobby pin works great!
- Keep the hearts small and simple for a chic, subtle design.
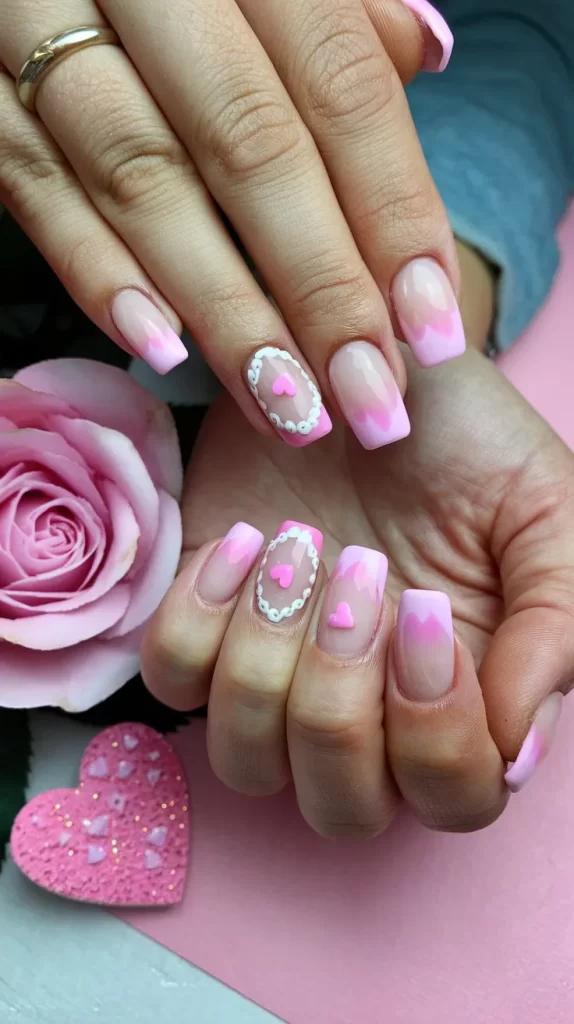
3. Pink Ombre Nails
Soft pink ombre nails create a gentle and romantic look.
Steps:
- Apply a clear base coat to your nails.
- Apply a light pink polish to the tips of your nails.
- Use a makeup sponge to gently blend the light pink into a darker pink or red shade near the cuticles.
- Finish with a shiny top coat to smooth the gradient.
Tips:
- Use a sponge to tap on the colors, gradually layering them for a smooth transition.
- Avoid too much polish on the sponge to prevent streaking.
4. Glittery Love Letters
Spell out love with glittery accents on your nails.
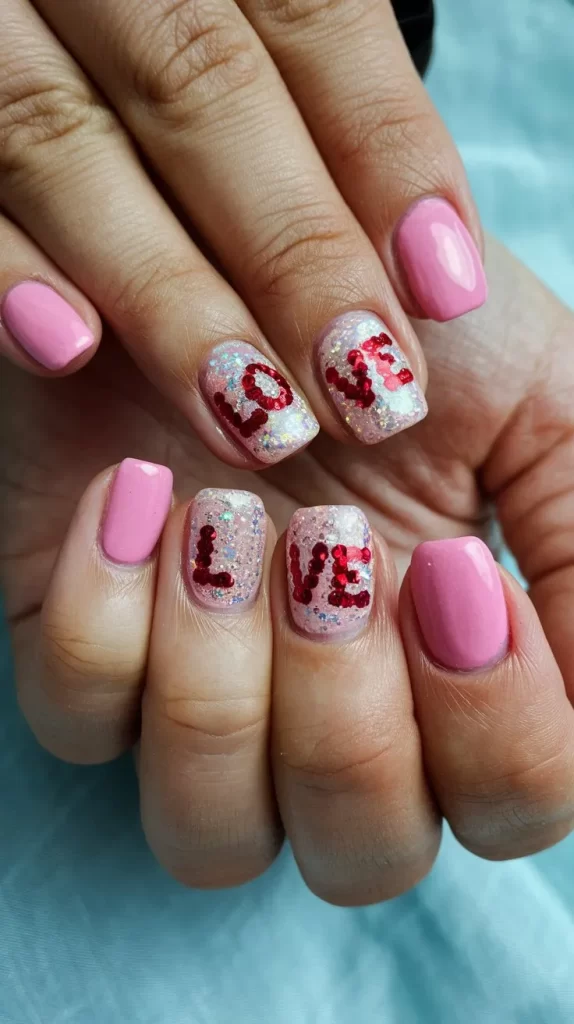
Steps:
- Start with a red or pink base coat.
- Using a nail art brush, paint “LOVE” or initials on your nails with a white or gold polish.
- Add a layer of glitter polish over the text to make it sparkle.
- Seal with a top coat.
Tips:
- Use a fine-tipped brush for precise lettering.
- If the glitter doesn’t adhere well, apply a layer of clear polish before adding it.
5. Polka Dots and Stripes
A playful combination of polka dots and stripes will make your nails stand out.
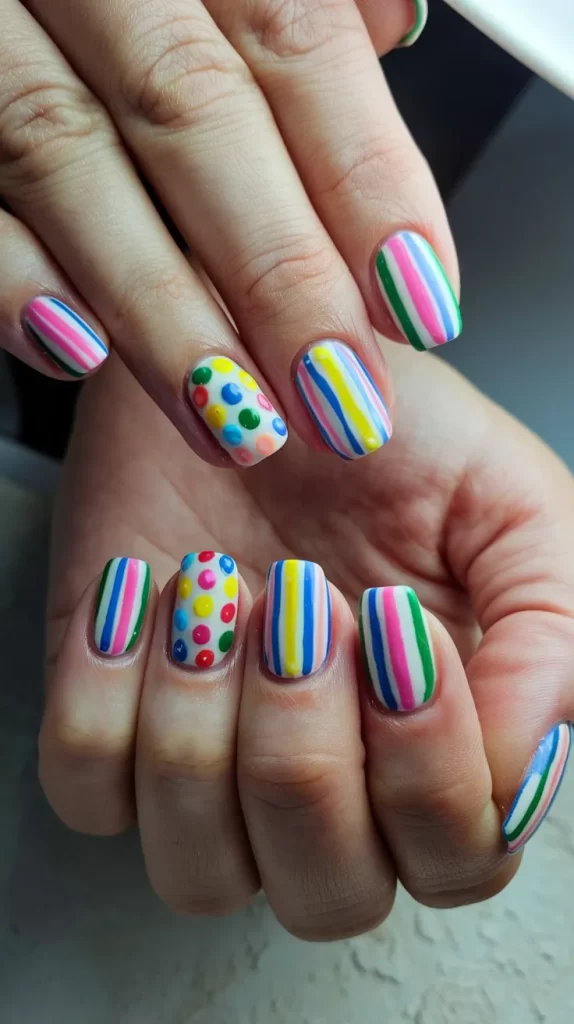
Steps:
- Start with a soft pink or nude base.
- Use a striping brush or tape to create horizontal or vertical stripes on your nails.
- Add small polka dots using a dotting tool or toothpick.
- Top with a glossy finish.
Tips:
- Keep the stripes and dots in contrasting colors to ensure they pop.
- If you want a cleaner look, use tape to create straight lines.
6. Red and White Swirls
For a bold yet playful look, try red and white swirl nail art.
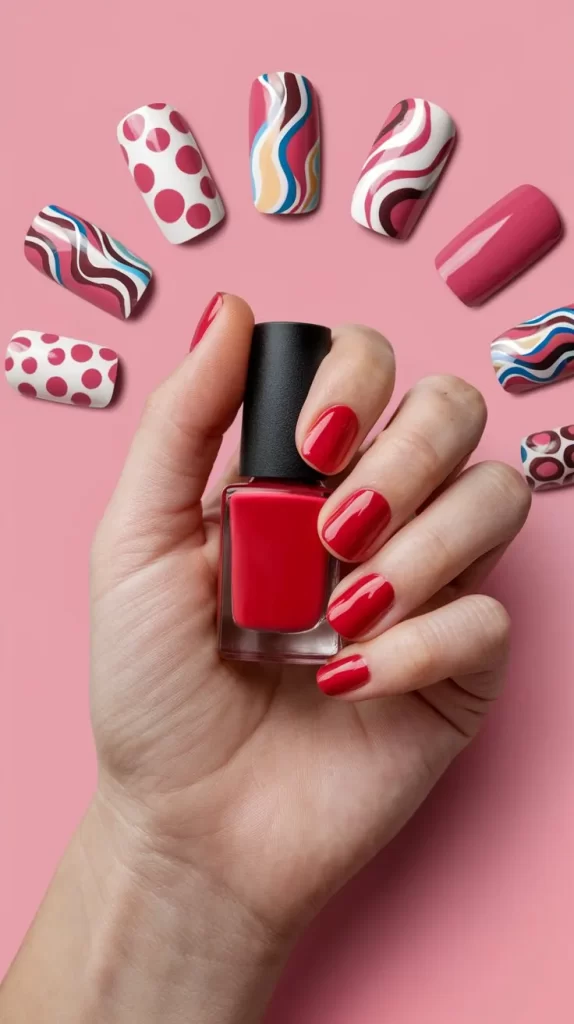
Steps:
- Apply a white base coat to your nails.
- Using a red nail art brush, create swirly lines or curves across each nail.
- Once the design is complete, seal with a top coat.
Tips:
- Practice on a piece of paper before creating the swirls on your nails.
- If you have shaky hands, use a fine brush or toothpick for more control.
7. Rose Gold Foil Accents
Add a touch of glamour with rose gold foil accents on your nails.
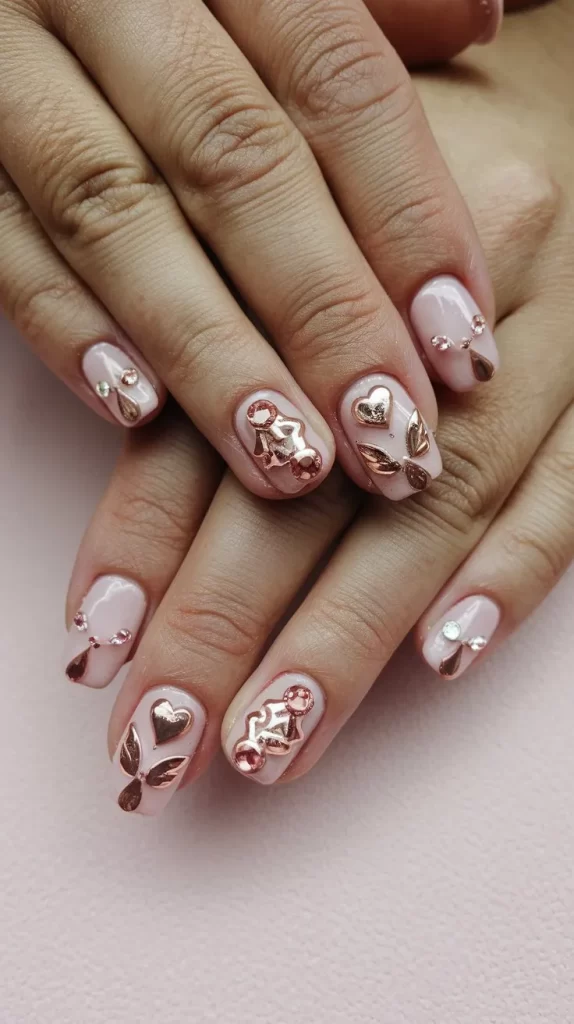
Steps:
- Start with a base coat of light pink or nude.
- After it dries, use a nail glue to apply small pieces of rose gold foil on some nails.
- Seal the foil with a top coat for longevity.
Tips:
- Don’t use too much glue; a thin layer will hold the foil in place without it peeling.
- You can use a tweezers to place the foil pieces accurately.
8. Candy Hearts Nails
Give your nails a sweet touch with candy heart designs.
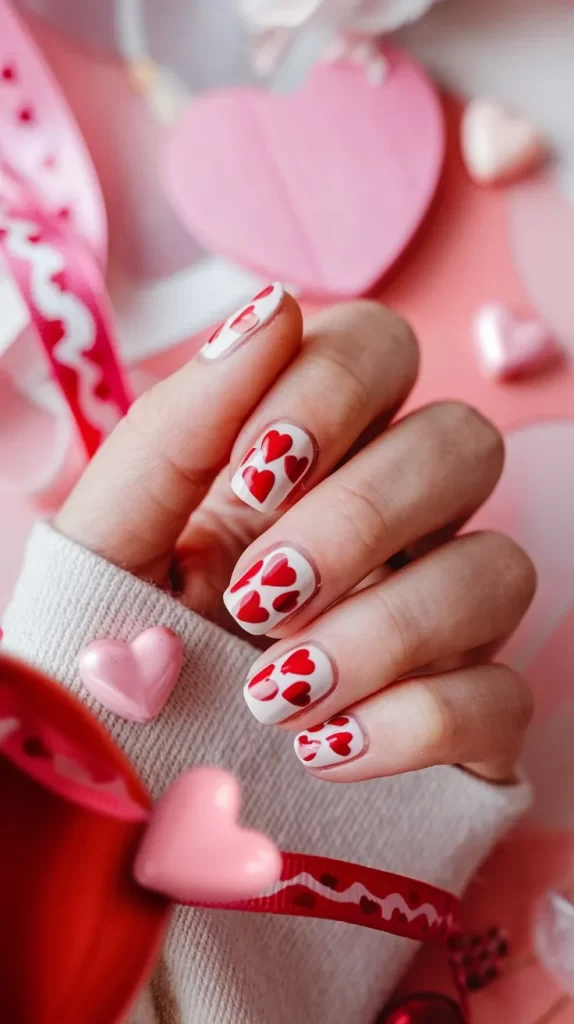
Steps:
- Apply a pastel-colored base coat like pink, yellow, or lavender.
- Using a fine brush, paint small candy hearts on each nail.
- Write short phrases on the hearts using a thin brush or dotting tool (e.g., “XOXO” or “BFF”).
- Finish with a glossy top coat.
Tips:
- Use different colors for the candy hearts to make each nail unique.
- Be careful not to overfill the heart shapes for a cleaner look.
9. Pink and Gold Marble
Create a chic and elegant look with pink and gold marble nails.
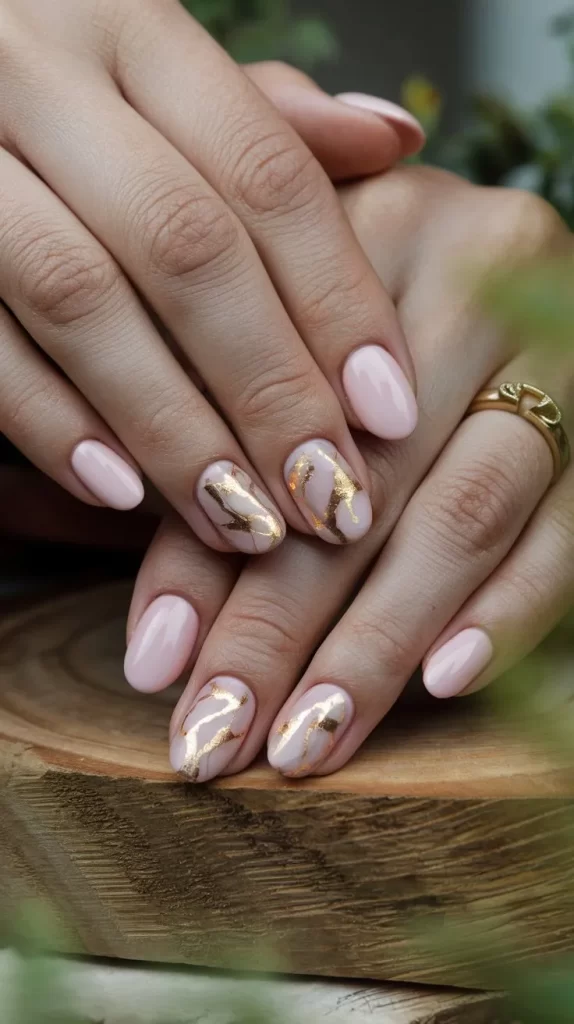
Steps:
- Start with a pink base coat on each nail.
- Use a thin brush to create marble lines with gold nail polish.
- Swirl the gold lines gently to mimic a marble effect.
- Seal with a glossy top coat.
Tips:
- Use a sponge to apply the gold for a more realistic marble effect.
- Don’t overdo the marble; it should remain subtle for a sophisticated look.
10. Minimalist Love
For a simple yet elegant look, minimalist love designs are perfect.
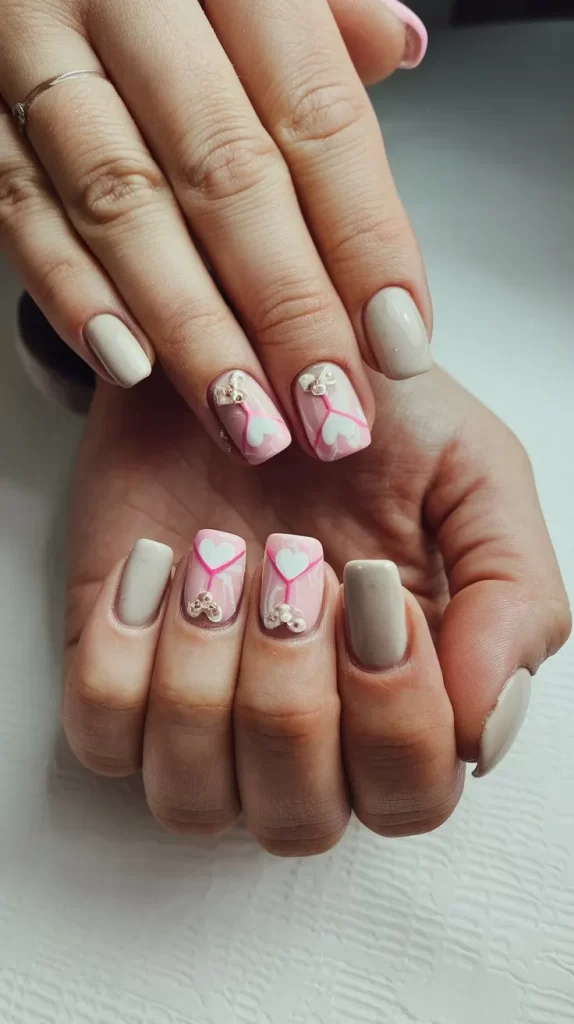
Steps:
- Apply a neutral or soft pink base coat to your nails.
- Use a fine brush to draw small hearts or the letter “L” on the tips of your nails.
- Keep the design clean and simple, with just one or two small accents per nail.
- Finish with a clear top coat.
Tips:
- Focus on symmetry and balance for a minimalist aesthetic.
- Use light colors to ensure the design is delicate and refined.
11. Bubblegum Pink with Glitter
Add a fun and flashy touch with bubblegum pink nails and glitter.
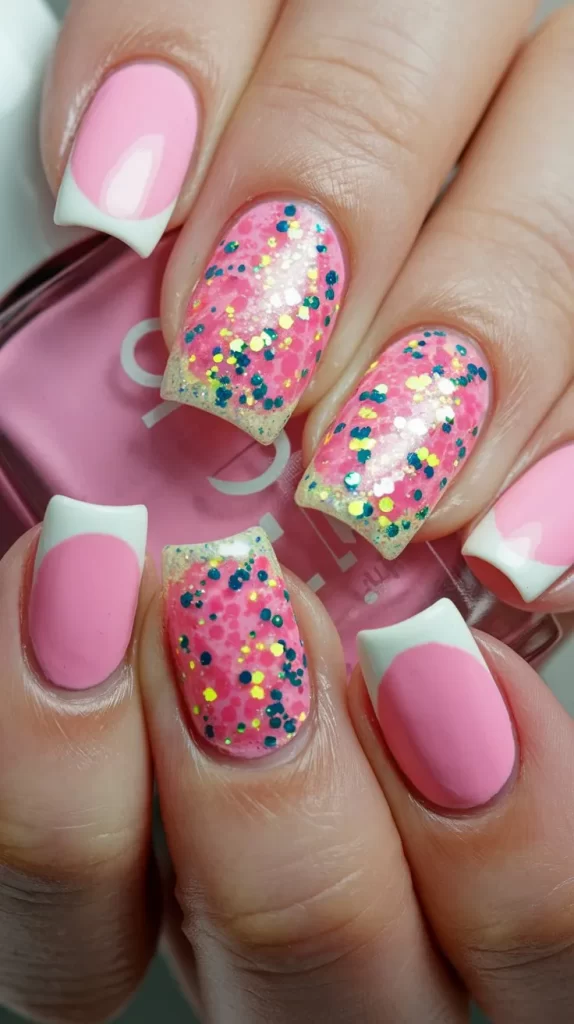
Steps:
- Apply a bubblegum pink base coat.
- Once dry, apply a coat of glitter polish over the entire nail.
- Finish with a top coat to keep the glitter in place.
Tips:
- Apply glitter to the tips or the whole nail for added dimension.
- If the glitter doesn’t spread evenly, use a makeup sponge to dab it on.
12. White Lace Designs
For a vintage, romantic vibe, try delicate white lace patterns.
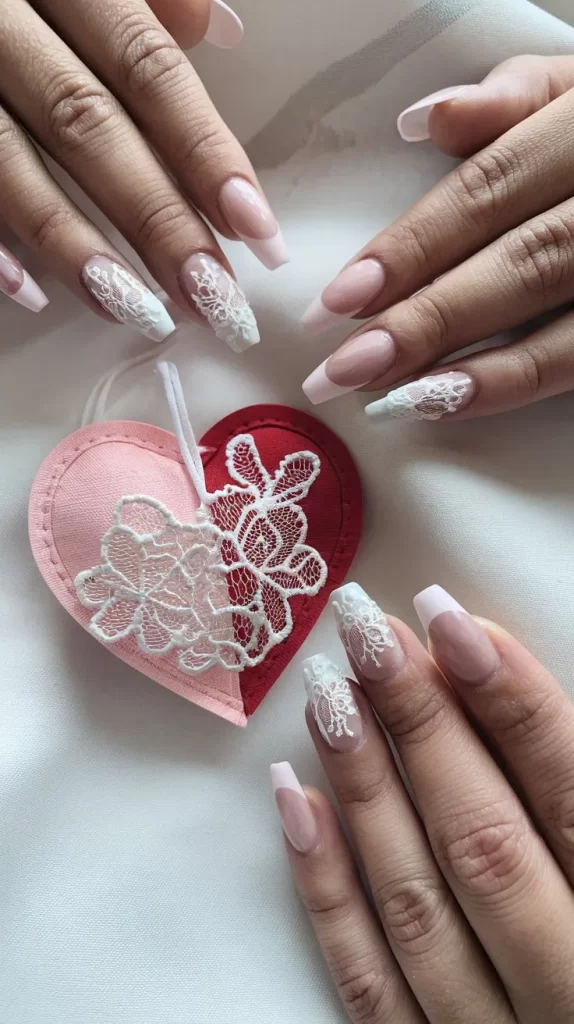
Steps:
- Apply a soft pink or nude base coat to your nails.
- Use a white nail art pen or a fine brush to create lace patterns on the tips or across the nails.
- Finish with a top coat to preserve the delicate design.
Tips:
- Start with simple lace designs, like a few crisscross lines or dots, before advancing.
- Be patient; lace designs take time to perfect.
13. Sweet Strawberry Nails
Get creative with strawberry-inspired nails.
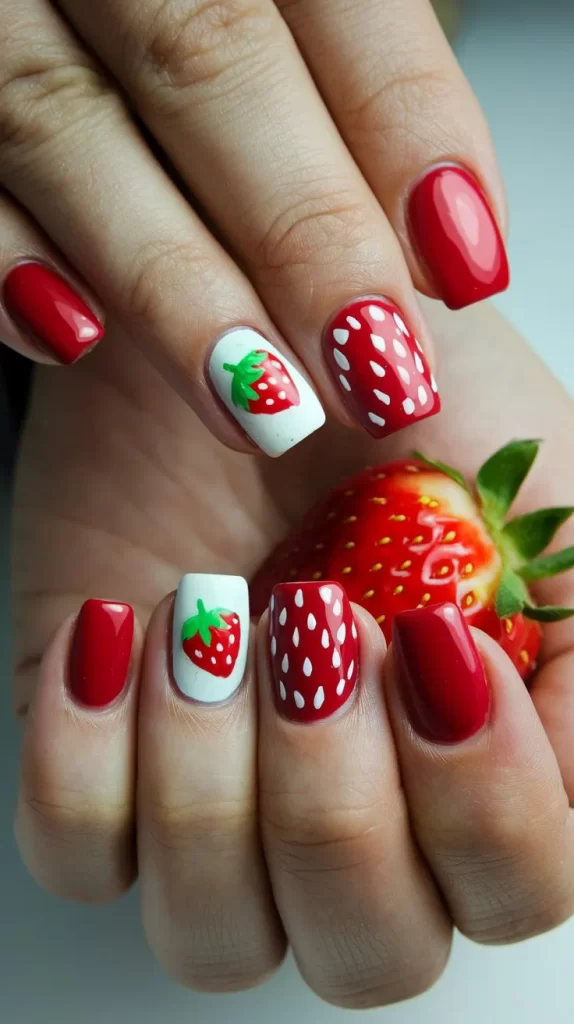
Steps:
- Apply a red base coat for a strawberry look.
- Using green polish, paint small leaves at the base of the nail to mimic a strawberry.
- Add tiny black dots to represent seeds.
- Seal the design with a top coat.
Tips:
- Use a fine brush for the tiny details like the leaves and seeds.
- Don’t overload the nail with too many seeds for a clean look.
14. Gradient Glitter Hearts
Combine glitter with heart designs for a magical, sparkling look.
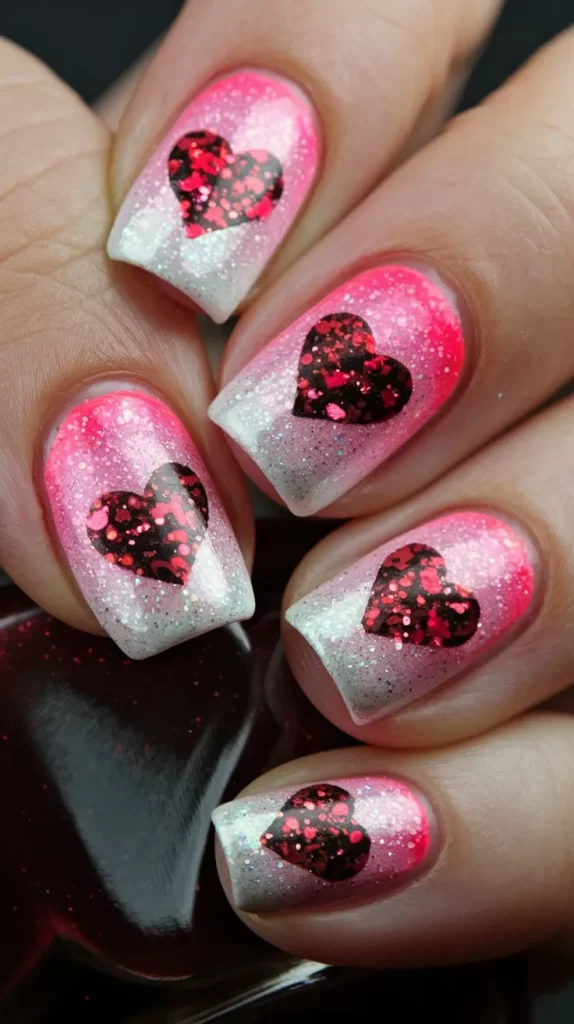
Steps:
- Apply a clear base coat.
- Use a makeup sponge to create a gradient effect with glitter from the tips down.
- On one nail, paint a small heart in a contrasting color like red or gold.
- Seal with a glossy top coat.
Tips:
- Build the glitter gradient slowly to get a smooth transition.
- You can use different shades of glitter for extra dimension.
Valentine’s Day is all about spreading love, and these 14 easy nail designs are the perfect way to get festive. Whether you’re keeping it simple with minimalist designs or going bold with glitter, each idea will have you feeling the love in no time. Enjoy your DIY nail art, and don’t forget to add your personal touch to each design!
